
Post contains Amazon Affiliate links. As an Amazon Associate I earn from qualifying purchases. Please refer to our disclosure policy for more information.
Post contains affiliate links. Purchases made through links provide us with a small commission. As an Amazon Associate I earn from qualifying purchases. Please refer to our disclosure policy for more information.
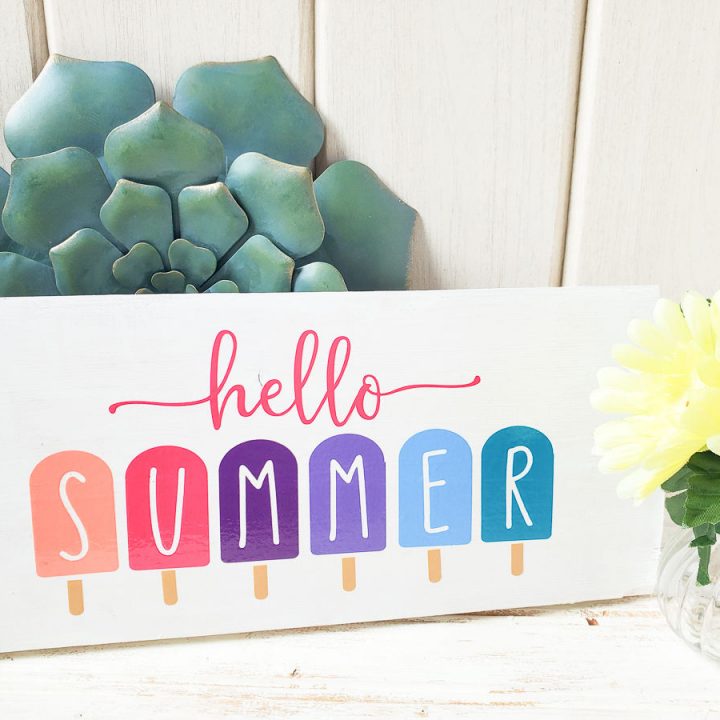
Our Hello Summer Popsicle Sign is not only easy to make with your Cricut, but it's also really cute and is the perfect way to welcome Summer to your home!

I happen to think popsicles and ice cream go together in the Summer like BBQs and family get togethers.
I love decorating for my house in the Summer with bright colors that are both welcoming and calming. That's one of the reasons I love this Hello Summer plaque! I think once you make it, you will too!
Did you know that you can also install fonts that you download on your computer on your Cricut?
If making this sign makes you in the mood for ice cream, then we have you covered! Looking for an easy individual sized dish of warm and gooey chocolate and ice cream? Then our mini sundaes are just what you need! Or is a warm brownie parfait more of what you are craving? We have that too!
Looking for more DIY inspiration? Then make sure to check out all of our easy DIY projects.
📝Materials
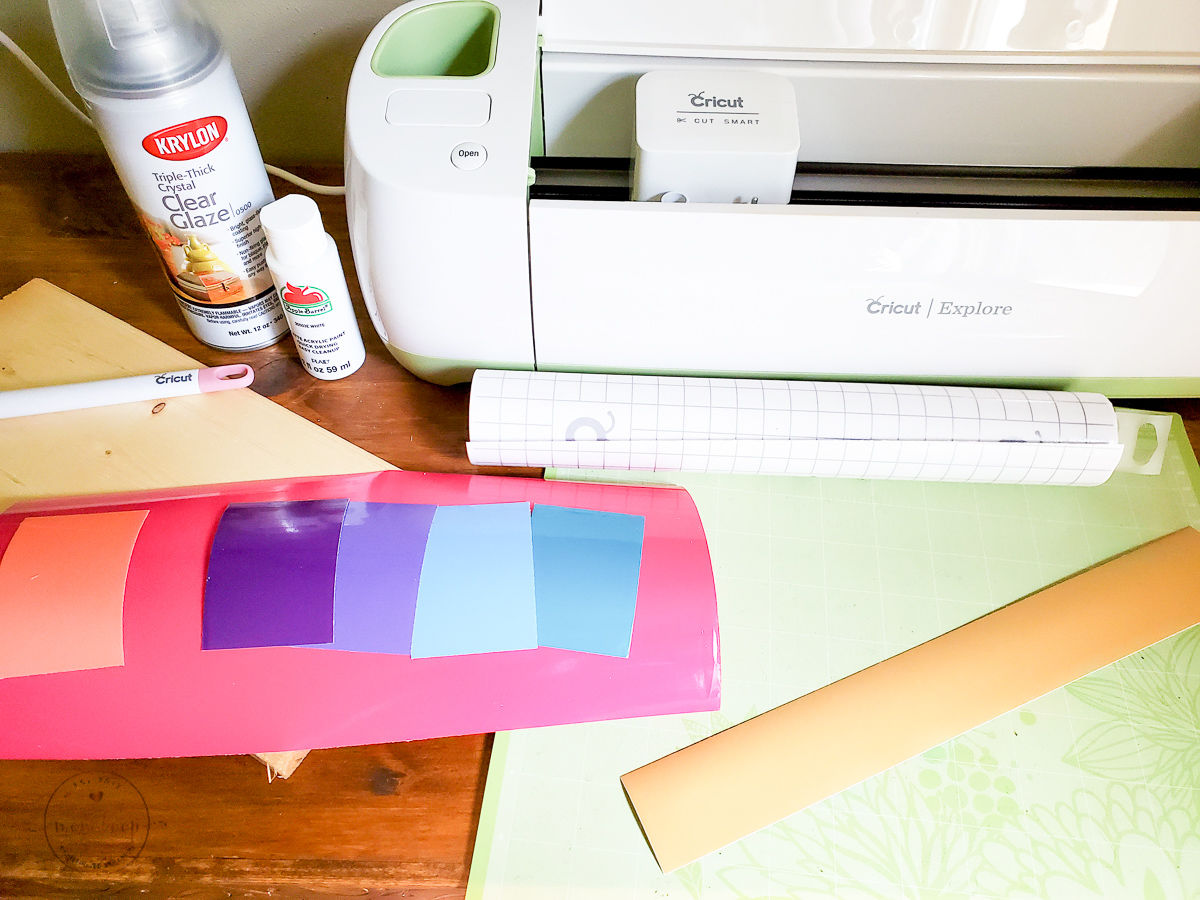
- Summer SVG Bundle
- Cricut Premium Vinyl
- Cricut Transfer Tape
- Wood
- Krylon Clear Glaze
- White craft paint.
✂Instructions
At the bottom of the post, you will find complete step-by-step instructions. These are in-process images for your reference.

Materials needed.
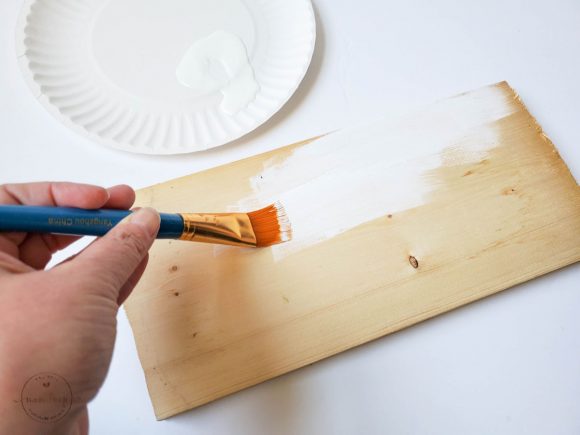
Painting the sign.
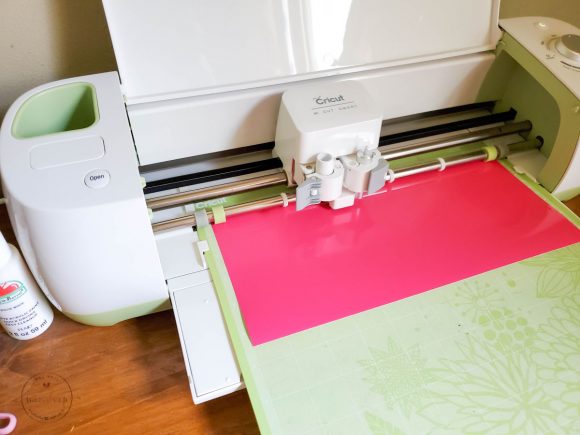
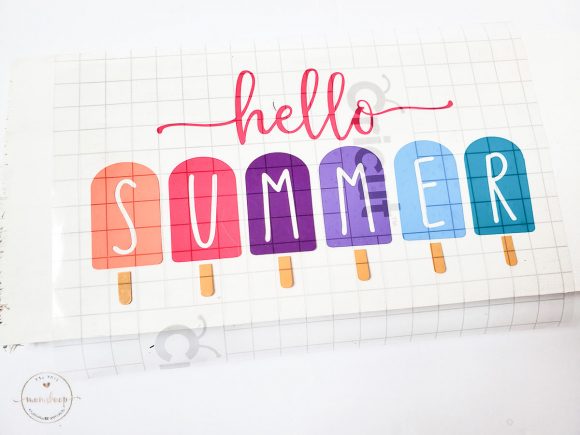
Printing the designs.
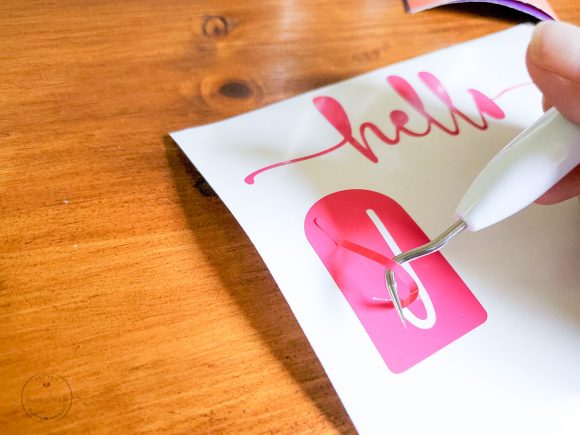
Wedding the design.
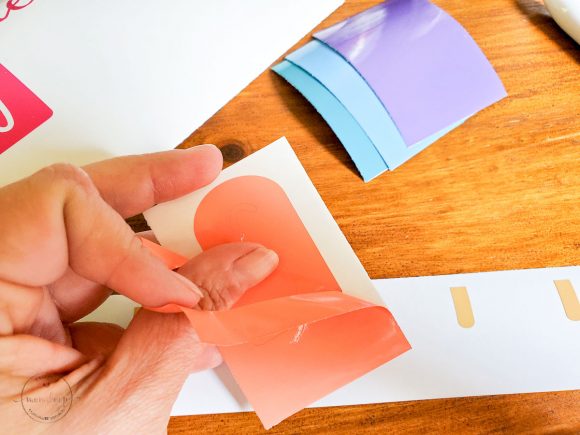
Peeling the designs.
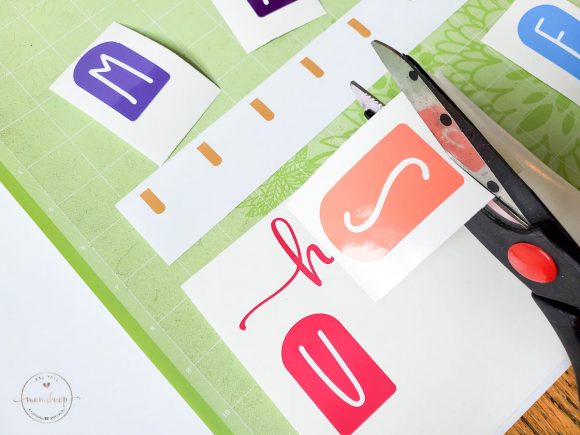
Preparing them.

Laying the design out.
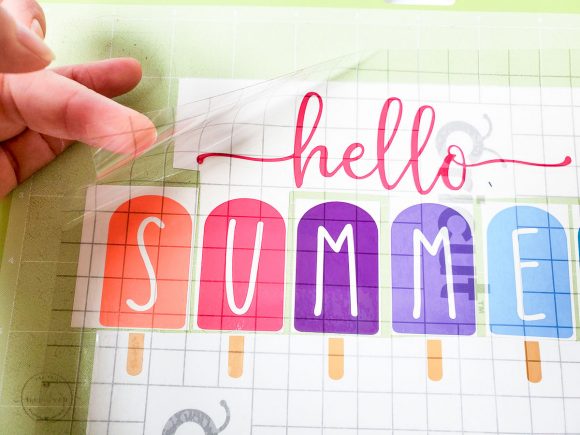
Adding the transfer tape.

Smoothing the transfer tape.
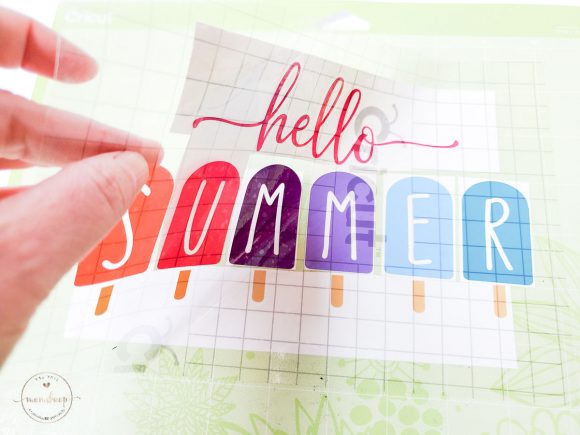
Picking the design up.

Peeling off the backing.
Laying the design on the sign.

Smoothing the design out.
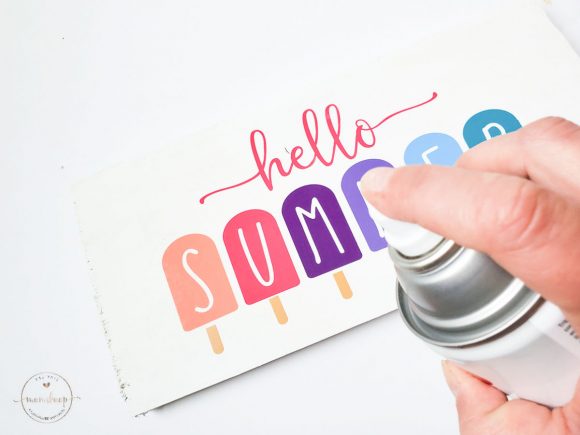
Adding the glaze.
FAQ
Yes, it does. It will stick to wood that is stained; however, it would be best to seal it after you are done so it won't lift away from the wood.
How to Make A Hello Summer Popsicle Plaque with your Cricut
Our Hello Summer Popsicle Sign is not only easy to make with your Cricut, it's also really cute and is the perfect way to welcome Summer to your home!
Materials
- Summer SVG Bundle
- Cricut Premium Vinyl - 6 coordinating colors
- Cricut Premium Vinyl - beige for popsicle sticks
- Cricut Transfer Tape, cut to 5”x9”
- Wood - 5 ½” x 12”
- Krylon Clear Glaze
- White craft paint
Tools
- Cricut machine with fine point blade
- Cricut Spatula, or thick card
- Cricut Standard Grip Mat
- Cricut Weeder tool
- Paint brush
- Scissors or paper cutter
Instructions
- Paint your wood on all sides. A second coat may be necessary.
- Add the svg file to Cricut Design Space and resize to 4 ½ inches high.
- Cut the file, one color at a time, or another method that may be easier for you. The “hello” and the “u” will be the same color, so you will need the largest piece of vinyl 5”x9” for this one.
- Once your design is cut, weed out any excess vinyl, and trim to size if needed.
- Once everything is trimmed, lay the design (starting with the “hello” and “u” out on the Cricut Mat, and line it up.
- Remove the backing from the transfer tape and place the transfer tape over your design.
- Use the spatula or a thick card to rub the design into the transfer tape.
- Remove the vinyl backing.
- Place the design (on transfer tape) centered on your piece of wood, and rub the design onto the wood using the spatula or thick card.
- Carefully peel up the transfer tape, making sure to press down any of your designs that may want to come up.
- Rub the spatula or thick card over your design again, if needed.
- Spray the clear glaze over your project, using newspaper or something disposable to place under it.
- Allow glaze to dry, and add a second coat, if needed.


Comments
No Comments