Baking is both an art and a science, with small details making huge differences in your results. Whether you’re a weekend baker or aspiring pastry chef, mastering a few fundamental techniques can transform your baked goods from decent to spectacular. The following tips will help you avoid common pitfalls that lead to dense cakes, tough breads, and disappointing outcomes. Get ready to elevate your baking game with these game-changing practices!
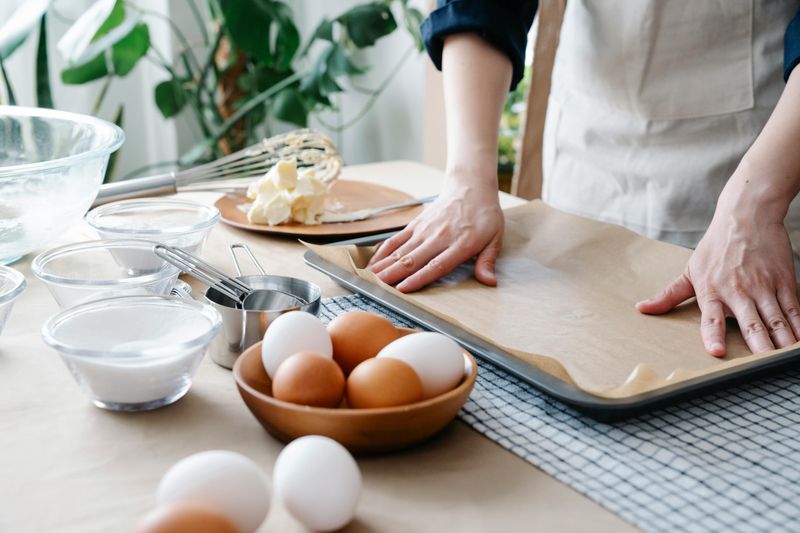
1. Measure Like a Pro
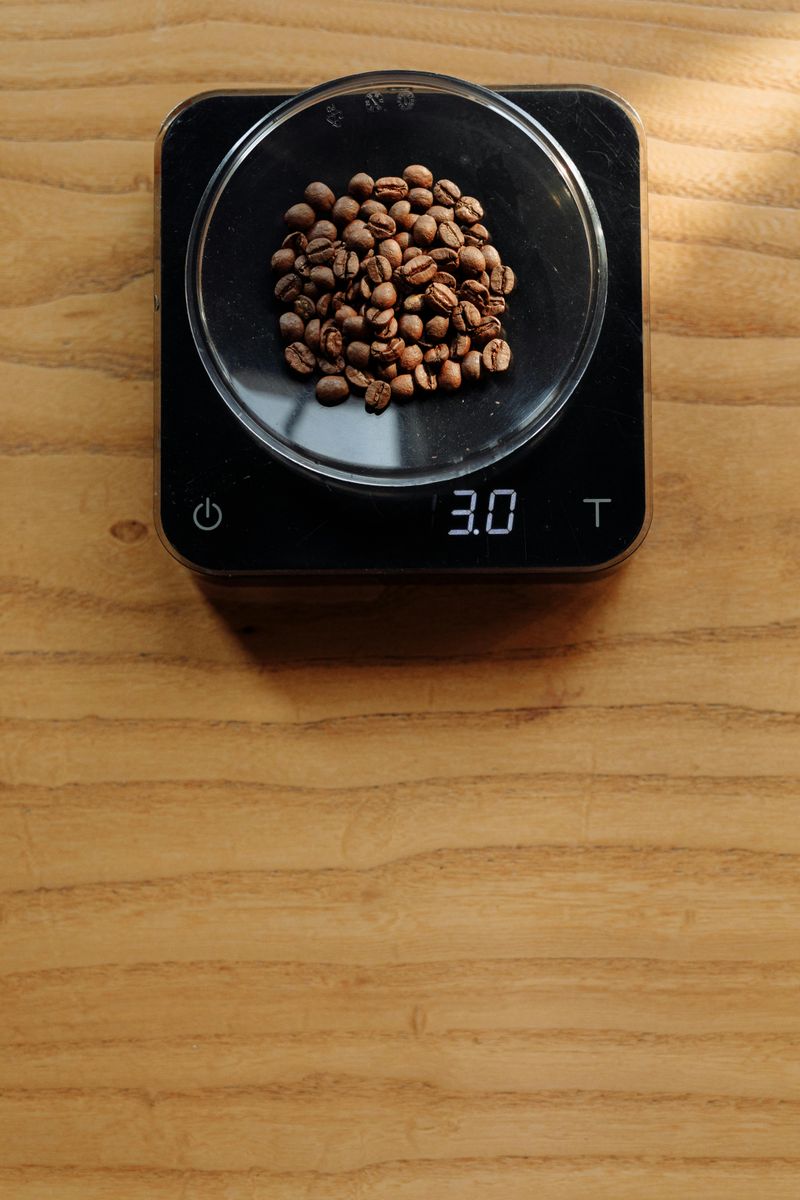
Kitchen scales aren’t just fancy gadgets—they’re secret weapons for consistent results. Flour compacts easily, meaning cup measurements can vary by up to 30% depending on how you scoop!
Professional bakers weigh ingredients because it eliminates guesswork. Try measuring 1 cup of flour 3 different ways, then weigh each—you’ll be shocked at the differences.
For baking powder and salt, precise measuring spoons are sufficient. But for flour, sugar, and butter, switching to weight measurements will dramatically improve texture and consistency in your baked goods.
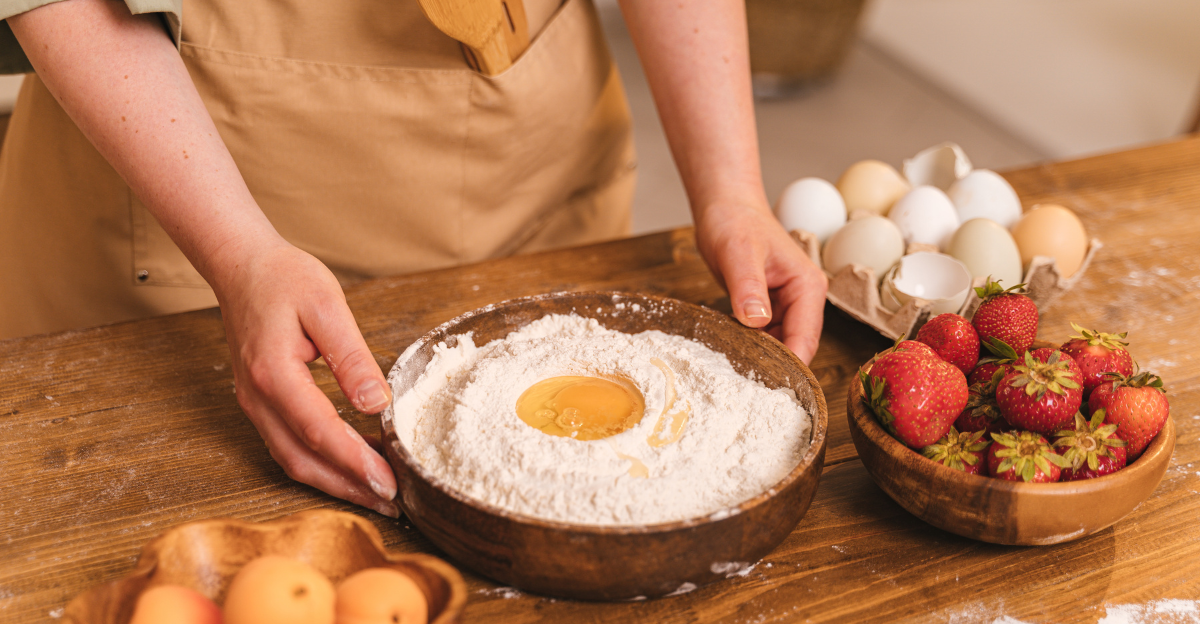
2. Temperature Matters
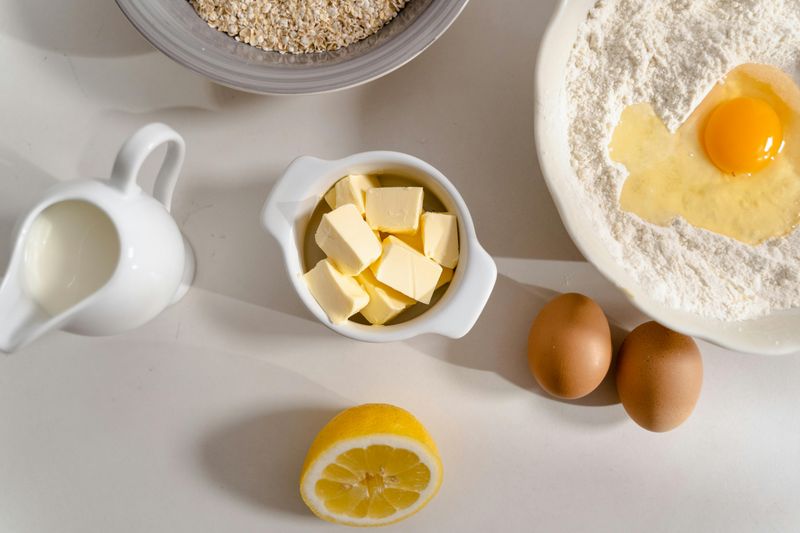
Cold butter won’t cream properly with sugar, creating dense, uneven cakes. Room temperature ingredients blend seamlessly, trapping air that gives your bakes beautiful lift and texture.
Planning ahead makes all the difference. Set eggs, butter, and milk on the counter 1-2 hours before baking. In a pinch? Cut butter into small cubes to speed warming, or microwave in 5-second bursts.
Egg separation works better with cold eggs, but let them warm afterward. This simple preparation step requires zero skill but dramatically improves results, making it perfect for beginners.
3. Mix Just Enough
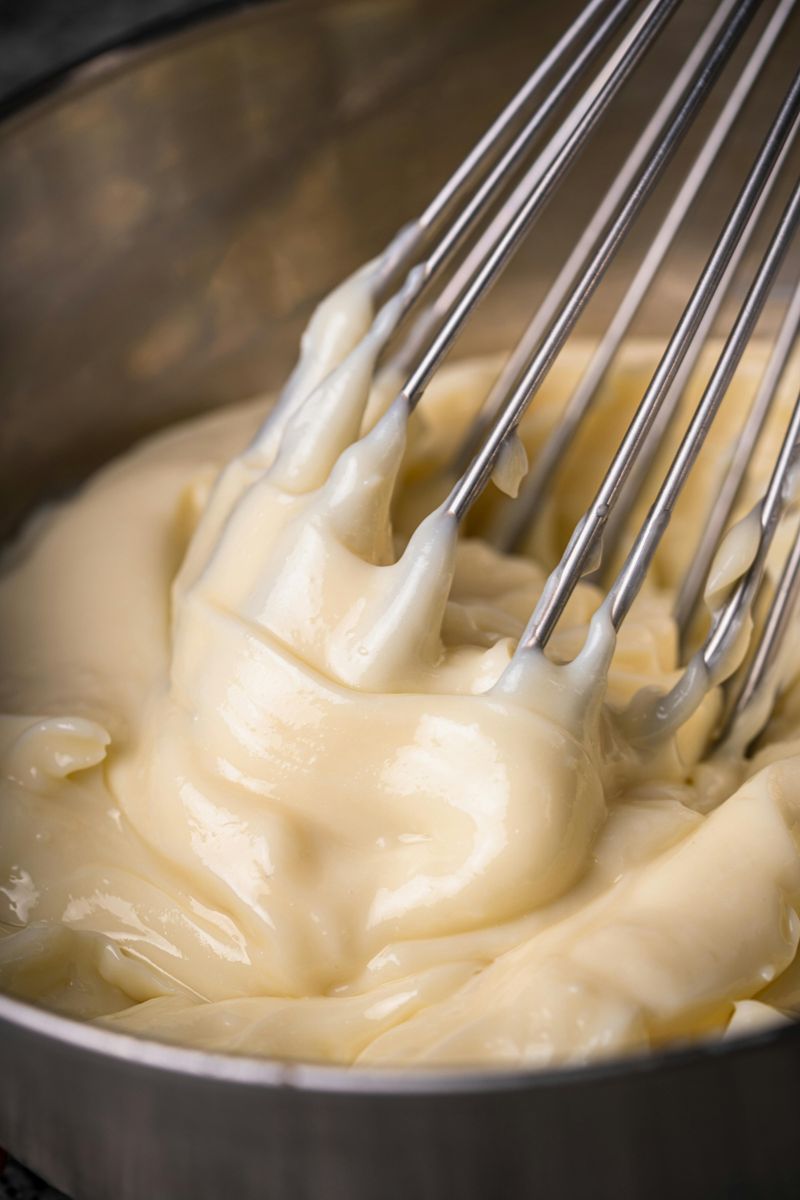
Overmixing is the silent killer of tender baked goods. When you mix flour with liquid, gluten development begins—great for chewy bread, terrible for delicate cakes.
Watch for visual cues rather than mixing for a specific time. For cakes and muffins, stop when ingredients are just incorporated with a few streaks of flour remaining. Fold gently with a spatula for final mixing.
For bread, embrace the opposite approach—knead thoroughly to develop structure. Learning to recognize properly mixed batters and doughs takes practice, but your taste buds will immediately notice the improvement in texture.
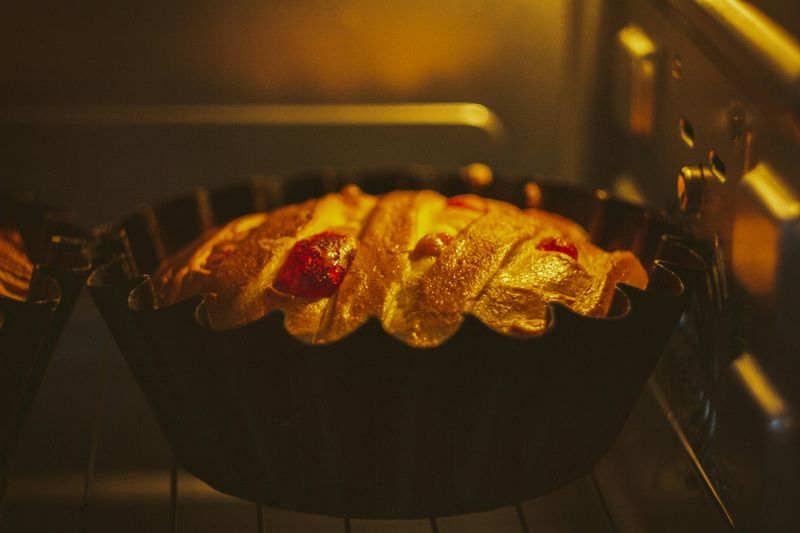
4. Preheat Completely
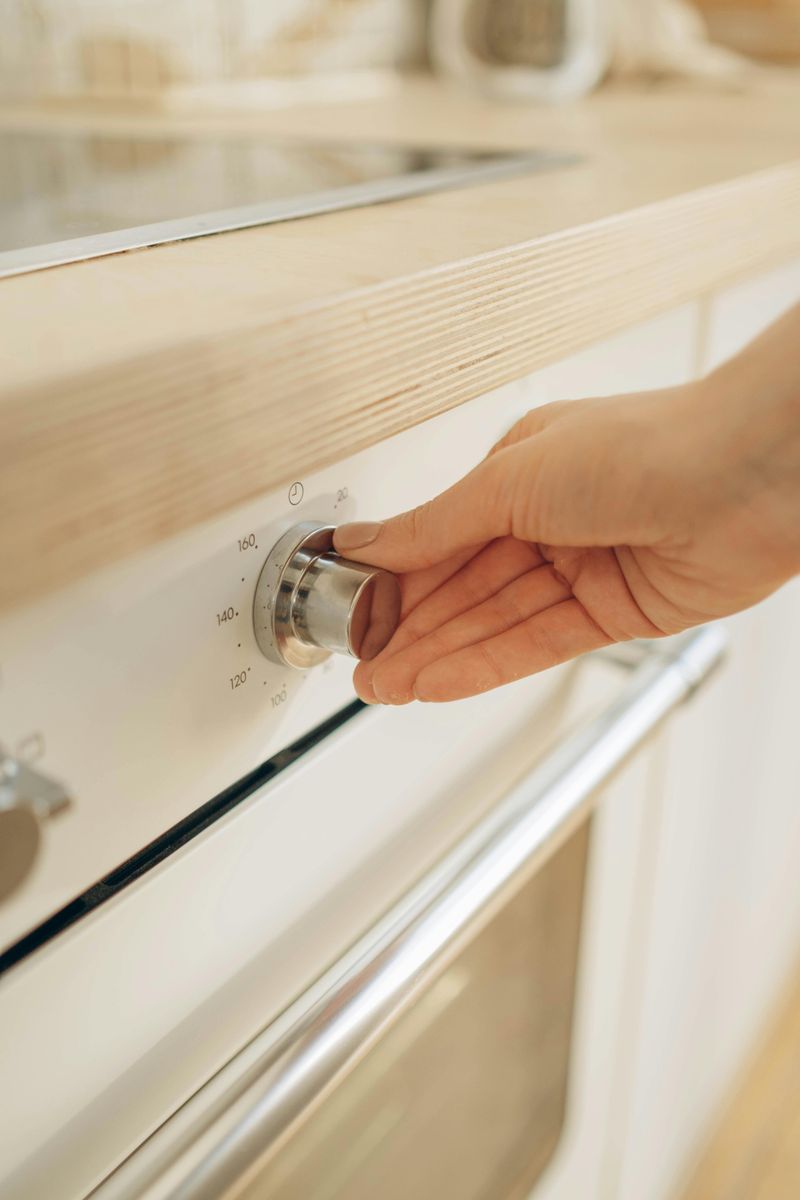
Your oven needs time to reach a stable temperature—usually 15-20 minutes beyond when the indicator light shows it’s ready. Impatience here leads to uneven baking and poor rise.
Cakes and breads rely on that initial blast of heat to activate leavening agents properly. Without it, they struggle to rise and can develop dense spots.
Make preheating your first step before gathering ingredients. By the time your batter or dough is ready, your oven will be perfectly heated. This simple timing adjustment costs nothing yet dramatically improves baking outcomes.
5. Verify Your Oven’s Honesty
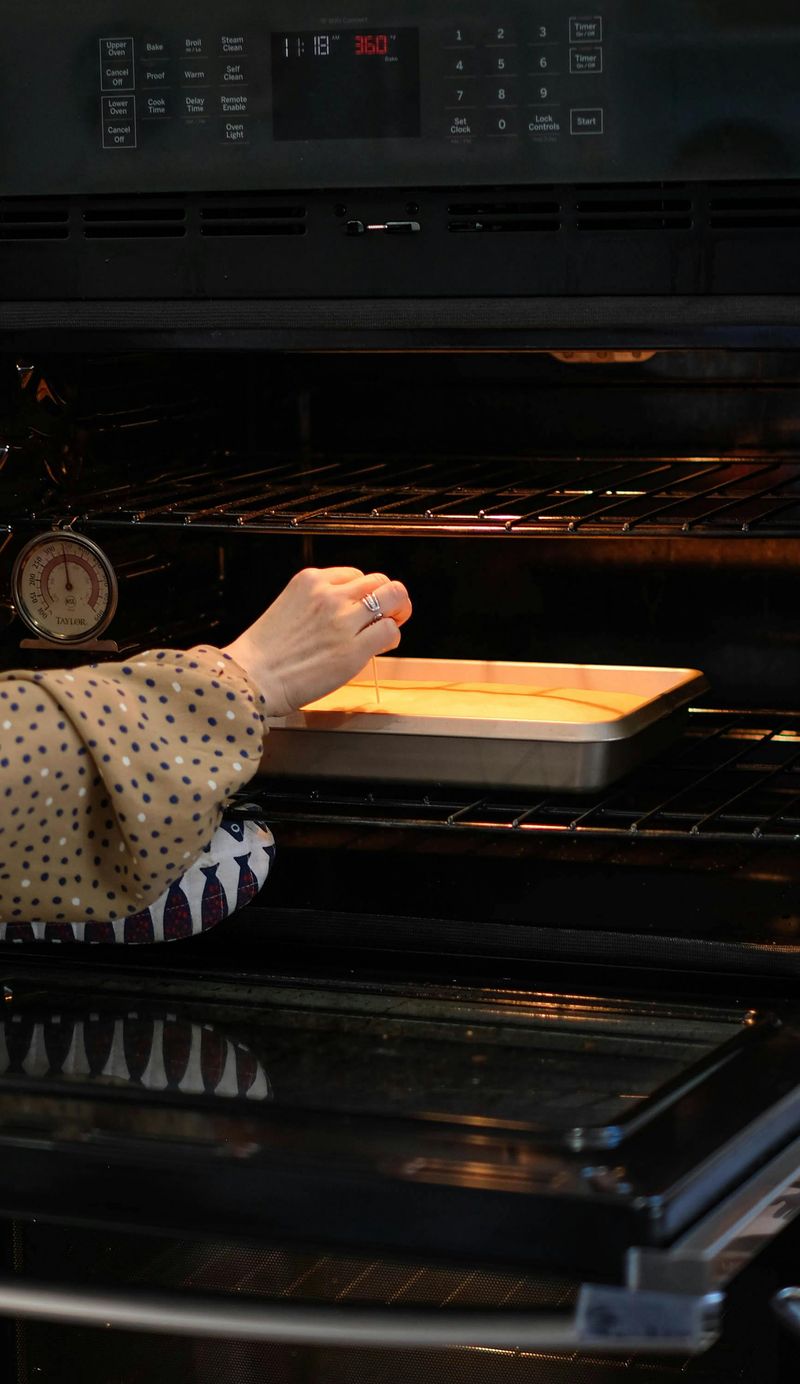
Most home ovens lie about their temperature by 25-50 degrees! This invisible culprit ruins perfectly good recipes. An inexpensive oven thermometer reveals the truth about your appliance’s actual temperature.
Hot spots are equally problematic. Notice how cookies brown unevenly? That’s evidence of temperature variation inside your oven.
Once you know your oven’s quirks, you can adjust accordingly. Set the temperature higher or lower than recipes suggest based on your thermometer reading. This knowledge transforms your baking instantly, solving mysterious failures that weren’t your fault at all.
6. Choose Appropriate Pans
Substituting a 9-inch pan when a recipe calls for an 8-inch isn’t just breaking rules—it fundamentally changes baking dynamics. Larger pans spread batter thinner, reducing baking time and creating drier results.
Pan material matters too. Dark metal pans absorb more heat, browning exteriors faster than glass or light-colored metal. Glass retains heat longer, continuing to cook items after removal.
Always measure pans across the top from inside edge to inside edge. When you must substitute, adjust baking time and temperature accordingly—higher temperature and shorter time for larger pans, lower and longer for smaller ones.
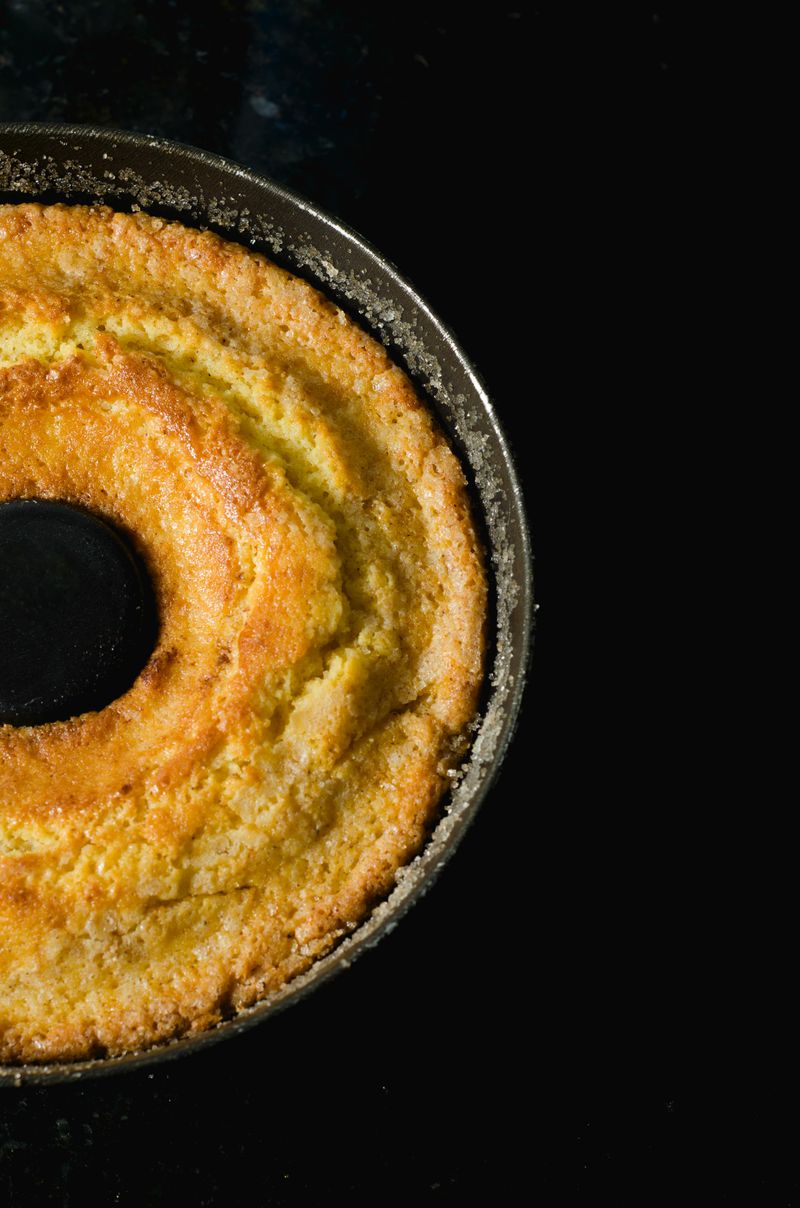
7. Create Non-Stick Success
Properly preparing pans prevents heartbreaking moments when beautiful bakes refuse to release. Different baked goods need different preparation methods.
For cakes, butter and flour the pan, or use parchment paper. The parchment overhang method—where paper extends beyond the pan edges—creates handles for easy removal.
Bread often needs just light oiling or cornmeal dusting. Muffin tins benefit from paper liners or a quick spray. Taking this extra two-minute step prevents the frustration of damaged bakes and difficult cleanup, making your baking experience more enjoyable from start to finish.
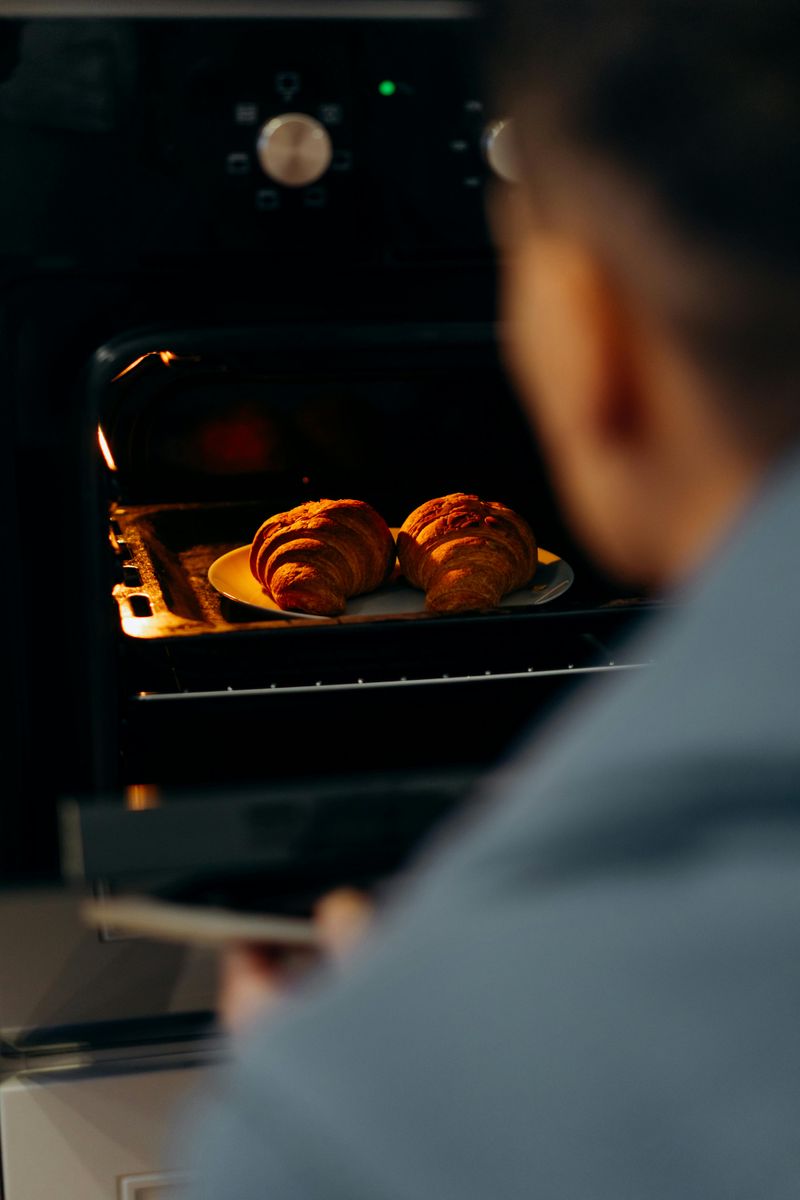
8. Resist the Peek
Opening the oven door during baking is tempting but costly. Each peek drops the temperature by 25-50 degrees, disrupting the critical rising process, especially in the first half of baking time.
Cakes are particularly vulnerable—cold air can cause them to sink in the middle. Instead, rely on your oven light to monitor progress without temperature fluctuations.
If you must check doneness, do it quickly near the estimated finish time. Turn on the oven light first to locate your item, then open, test, and close the door in one swift motion. Your patience will be rewarded with perfectly risen, evenly baked treats.
9. Rotate Halfway Through
Most ovens have hot spots that cause uneven browning and baking. A simple 180-degree rotation halfway through baking time counteracts this problem.
Wait until baked goods have set—usually after the halfway point for cakes and two-thirds through for breads. Quick rotation minimizes heat loss. For multiple items, switch their positions between racks too.
Professional bakeries use rotating ovens for this very reason. At home, this manual adjustment achieves similar results. The payoff? Perfectly golden crusts and evenly baked interiors without burnt edges or undercooked centers that plague amateur baking efforts.
10. Perfect the Cooling Process
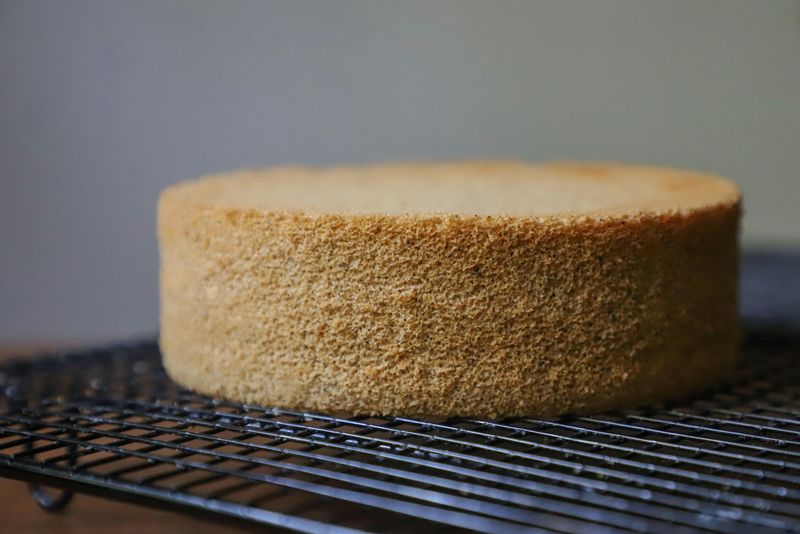
Rushing cooling creates condensation that turns crisp crusts soggy. Cooling racks aren’t just for show—they allow air circulation underneath, preventing moisture buildup.
For cakes, cool in the pan for 10 minutes before removing. This brief rest allows the structure to set while preventing sticking. Breads need similar treatment but benefit from cooling directly on racks for crusty results.
Never stack or wrap items until completely cool—usually 1-2 hours for cakes and large breads. Patience during cooling is as important as baking itself. The difference between properly and improperly cooled baked goods is immediately noticeable in texture and taste.
11. Store Strategically
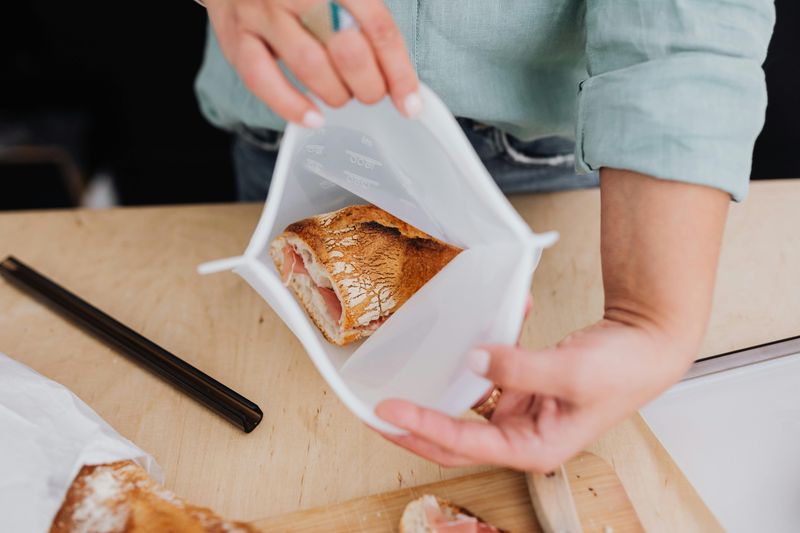
All your hard work can be undone by improper storage. Crusty breads and baguettes stay best wrapped in clean kitchen towels—plastic makes them soft and chewy.
Cakes and soft breads need airtight containers to retain moisture. Refrigeration actually accelerates staling for most baked goods, contrary to popular belief. Room temperature storage works better, except for items with perishable fillings.
Freezing is your secret weapon for extending freshness. Most baked goods freeze beautifully when properly wrapped. Double-wrap breads in plastic then foil, and thaw unwrapped at room temperature to prevent condensation from softening crusts.