Looking to spruce up your home without breaking the bank? DIY decor projects are the perfect way to add personality and style to any space. With just a few basic supplies and some creativity, you can create stunning pieces that look like they came straight from a high-end boutique. These 12 simple projects will help you transform your home into a designer showcase without the designer price tag.
1. Painted Accent Wall
Transform an ordinary room into something extraordinary with a bold accent wall. The secret to professional results lies in proper preparation and technique. Invest in quality painter’s tape for crisp edges and take time to patch any wall imperfections before beginning.
Geometric patterns create dramatic impact with minimal effort—try color-blocking or simple stripes if you’re a beginner. Deep jewel tones or contrasting colors make the biggest statement, while a single bold wall keeps the room from feeling overwhelming.
For extra designer flair, consider using specialty finishes like metallic paint or a subtle ombre effect that gradually transitions from dark to light.
2. Floating Shelves
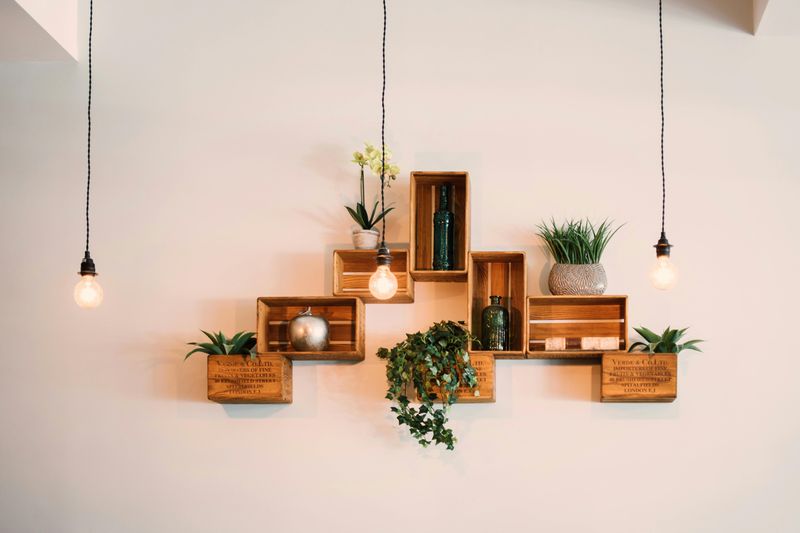
Nothing says ‘professional designer’ quite like perfectly styled floating shelves. Start with unfinished wood planks from your local hardware store and customize with stain or paint to match your décor. The mounting process might seem intimidating, but with the right brackets and a stud finder, you’ll achieve that magical floating effect.
Arrange your shelves in unexpected configurations—staggered heights or asymmetrical layouts add visual interest. When styling, follow the designer’s rule of three by grouping objects in odd numbers.
Balance books, plants, and decorative objects with varying heights and textures for that curated yet effortless look that defines professional styling.
3. Framed Fabric Art
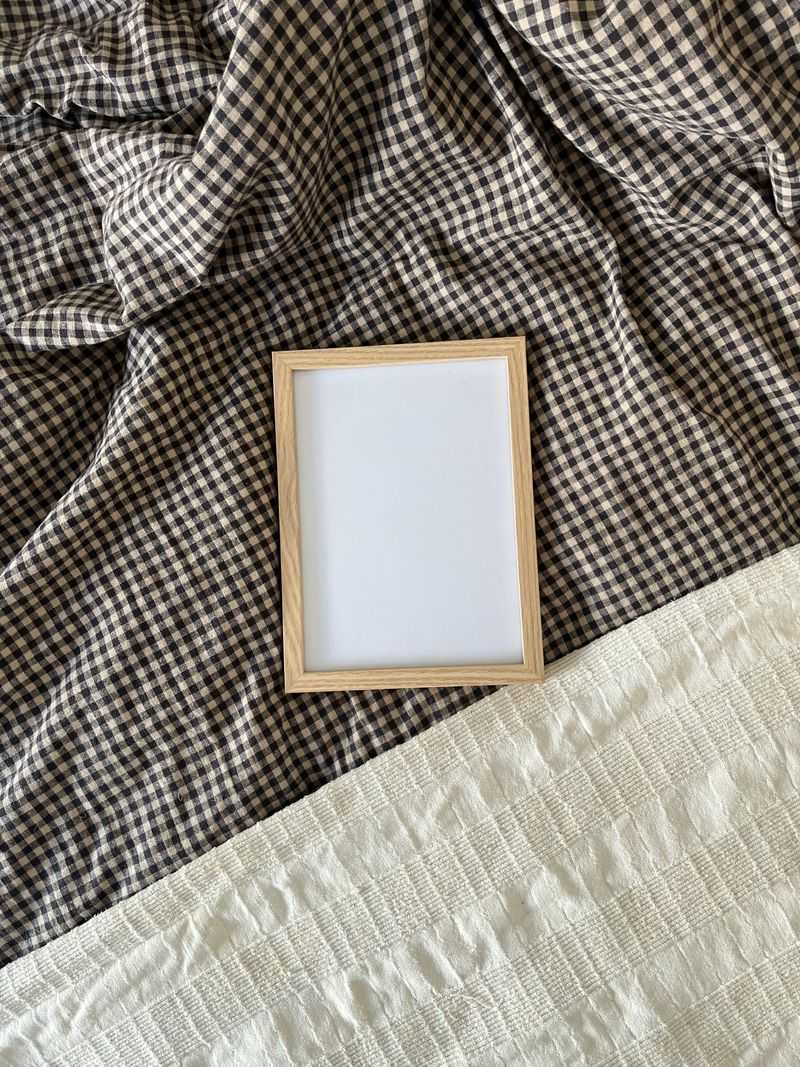
Beautiful wall art doesn’t require artistic talent! Framing a striking piece of fabric creates instant sophistication at a fraction of gallery prices. Vintage scarves, remnants of designer fabric, or even pretty tea towels can become conversation pieces when properly displayed.
Choose frames that complement your décor—sleek black frames for modern spaces or ornate gold for traditional rooms. For a professional finish, use foam core board to stretch your fabric taut before securing it in the frame.
Create a cohesive collection by selecting fabrics with complementary colors but varying patterns and textures. This project takes minutes but delivers dramatic results that will have guests asking which gallery you visited.
4. Mason Jar Magic
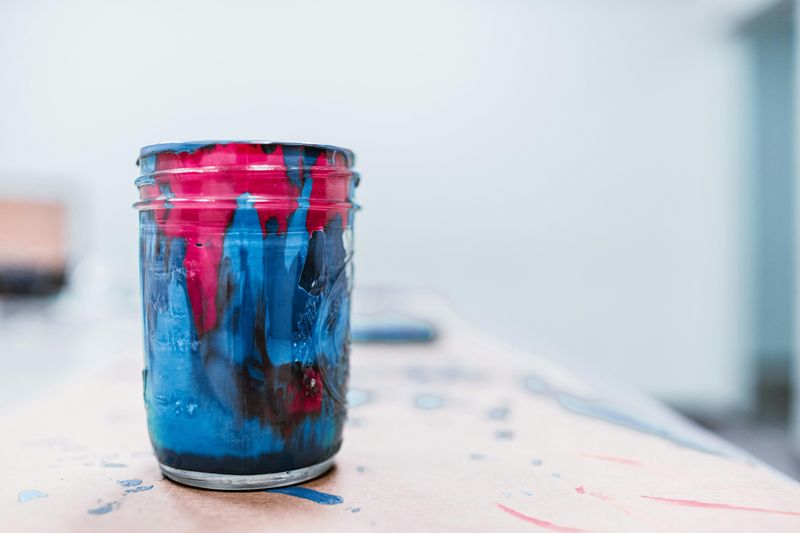
From country kitchens to modern farmhouse décor, mason jars have universal appeal when transformed thoughtfully. Skip the ordinary clear glass look by spray painting jars in metallic finishes or dipping them partially in chalk paint for a color-blocked effect.
For a rustic-luxe vibe, wrap the middle section with natural twine, securing vintage lace or burlap at the top with a simple bow. Group jars in varying heights and add fresh flowers, dried botanicals, or fairy lights for instant ambiance.
Pro tip: sand painted jars lightly in strategic spots before sealing for an authentically aged patina that mimics expensive antique reproductions found in high-end home stores.
5. Artisanal Candle Holders
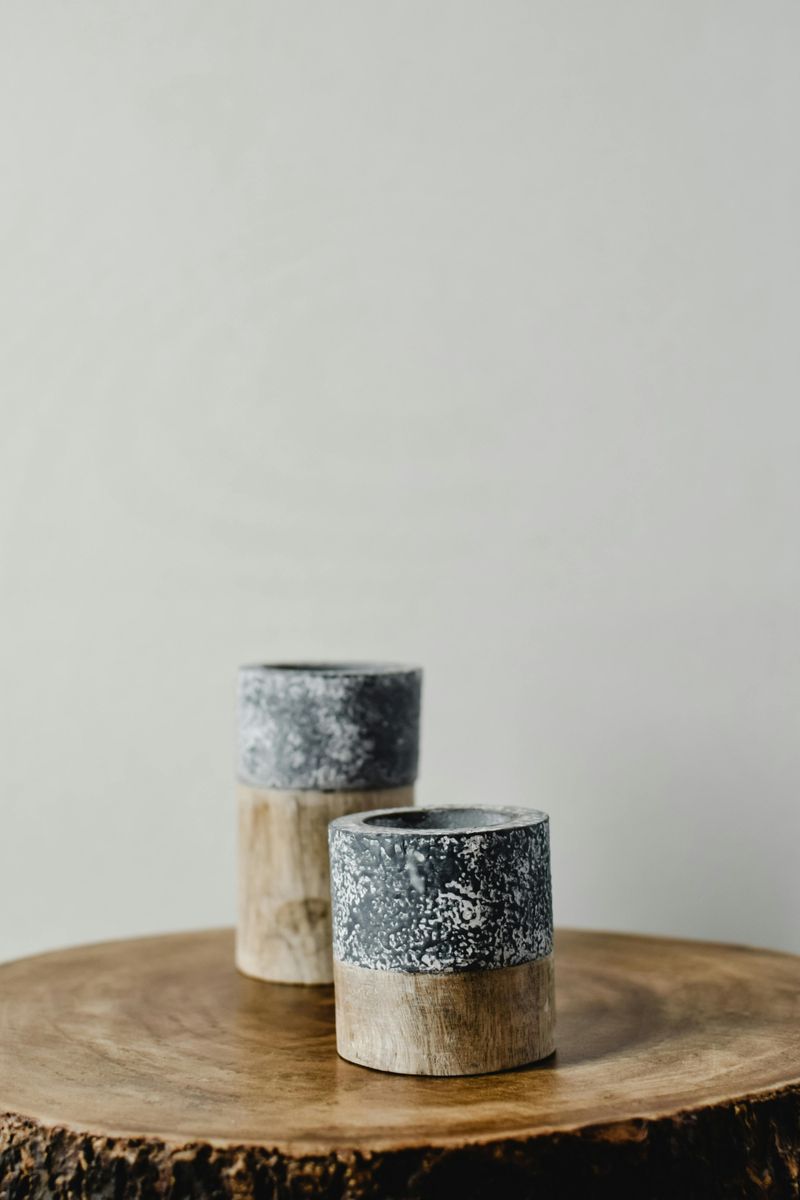
Candles create ambiance, but stylish holders elevate them to design statement pieces. Raw materials like concrete, wood blocks, or copper pipe transform into sculptural objects worthy of design magazines with just a few simple steps.
For concrete holders, mix quick-setting cement in disposable cups with dowels positioned to create perfect candle-sized holes. Wood block versions require only a drill with a hole saw attachment and some sandpaper before applying your choice of stain or paint.
The beauty of this project lies in imperfection—slightly uneven edges or natural wood grain add character that mass-produced items lack. Group in threes with varying heights for that carefully curated look designers charge hundreds to create.
6. Designer Pillow Covers
High-end throw pillows often come with shocking price tags, but creating your own custom covers delivers the same visual impact for pennies on the dollar. Start with plain cotton or linen fabric and transform it with simple techniques like block printing or stenciling.
Geometric patterns work beautifully for beginners—try overlapping triangles or graduated dots using fabric paint and everyday objects as stamps. For a no-sew option, repurpose vintage scarves or napkins with iron-on hem tape to create envelope-style covers.
Mix textures for maximum designer effect—combine smooth cotton with nubby wool or add tassels to corners for that custom detail that screams bespoke rather than budget.
7. Elevated Plant Containers
Garden centers charge premium prices for stylish planters, but savvy DIYers know the secret: any container can look high-end with the right makeover. Ordinary terracotta pots transform instantly with chalk paint in muted tones or metallic spray paint for modern glamour.
Natural elements add organic sophistication—wrap pots in rope secured with hot glue, working from bottom to top for a clean finish. For statement pieces, try color blocking with painter’s tape or creating faux concrete finishes using textured spray paint.
The designer touch comes from grouping containers in deliberate collections—varying heights but consistent finishes create that curated look found in home design magazines and upscale boutiques.
8. Luxe Mirrored Tray
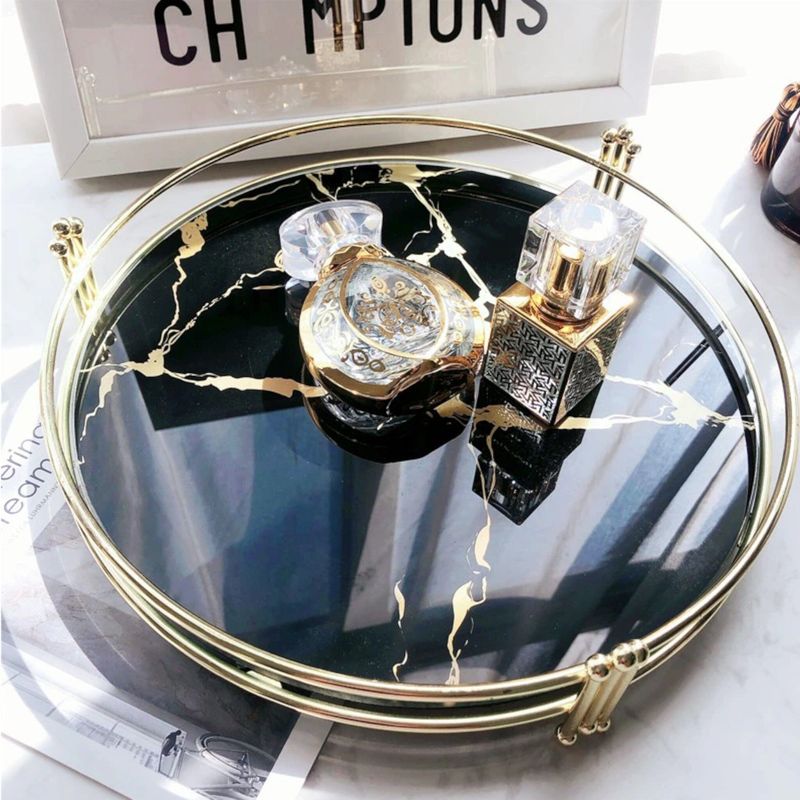
Every styled coffee table or vanity in design magazines features one essential element: the perfect decorative tray. Creating your own mirrored version offers both function and glamour at a fraction of retail cost.
Start with a simple wooden tray from a craft store and transform it with mirror tiles cut to size at any glass shop. Secure with mirror adhesive and finish edges with metallic paint or copper tape for that polished detail that distinguishes professional pieces.
For extra customization, add decorative handles or feet from the hardware store—brass or crystal options instantly elevate the finished piece. Use your creation to corral perfume bottles, bar accessories, or coffee table books for that effortlessly organized look stylists always achieve.
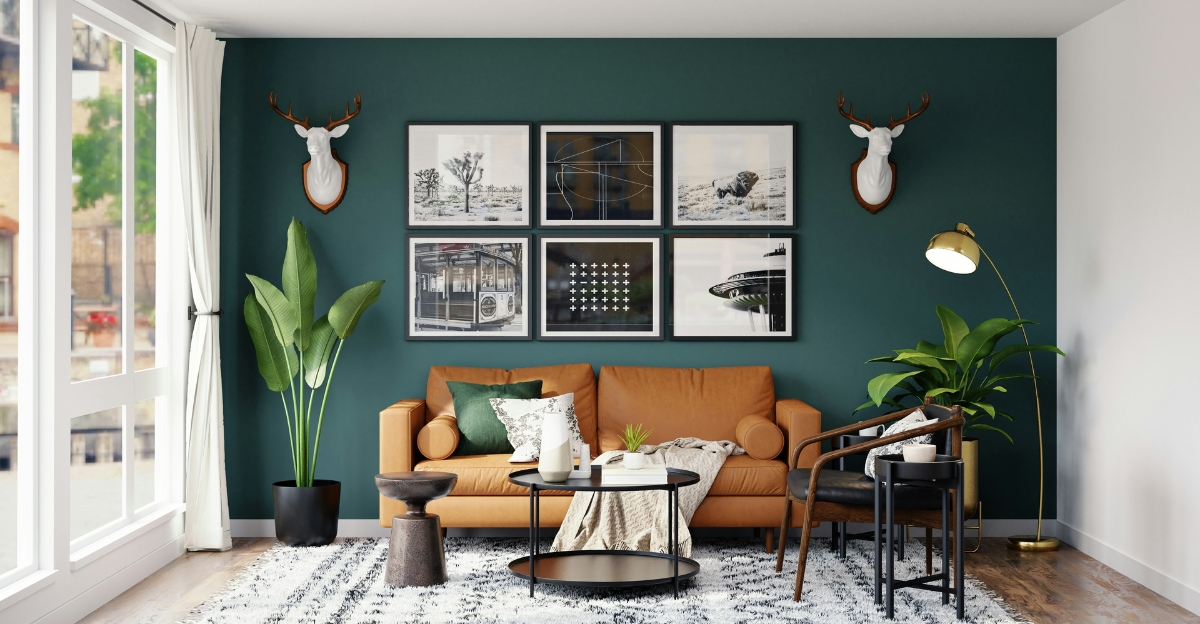
9. Statement Gallery Wall
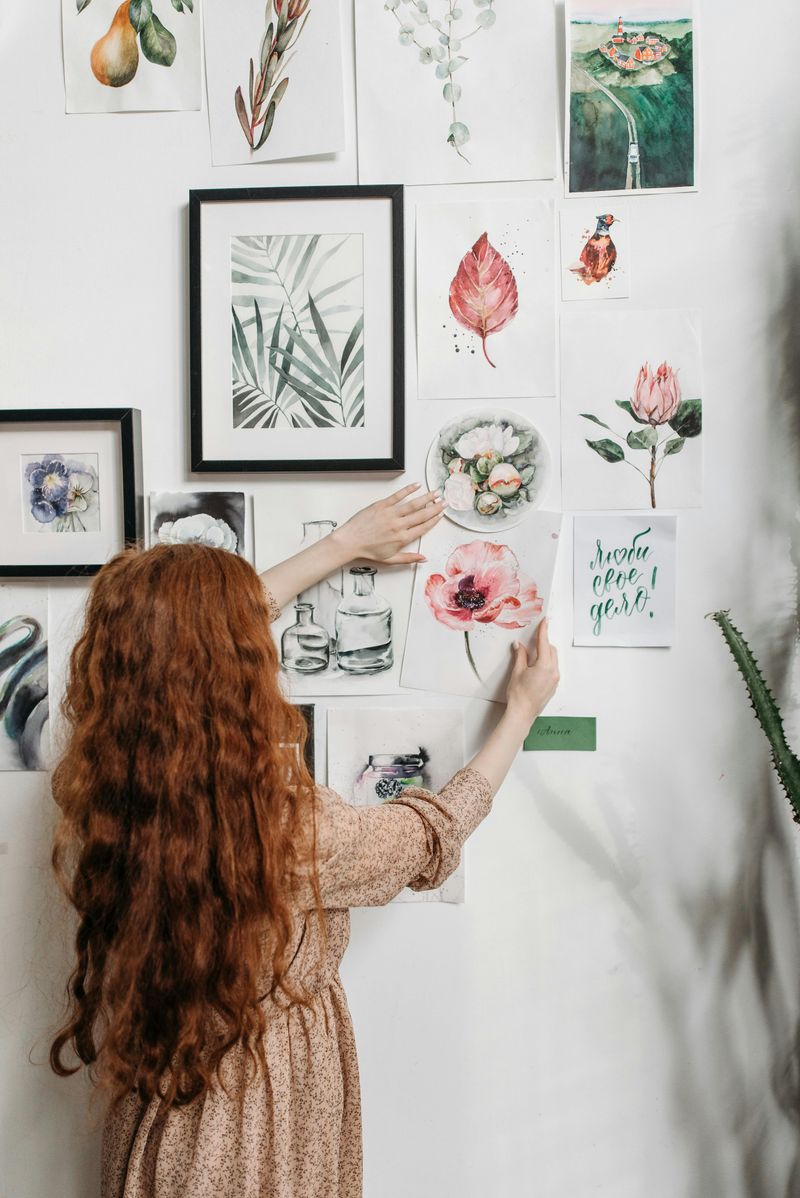
Professional interior designers charge hefty fees to create perfectly balanced gallery walls, but you can master this high-impact look with a few insider tricks. Mix frame styles while maintaining a cohesive color palette—all black, natural wood, or metallic tones work beautifully.
The secret to professional-looking arrangements? Create a paper template for each frame and experiment with layouts on your wall using painter’s tape before hammering a single nail. Include unexpected elements like small wall sculptures, vintage plates, or framed textile pieces among traditional photos and prints.
Vary subject matter while maintaining visual connections through color or theme for that carefully curated yet seemingly effortless collection that defines designer spaces.
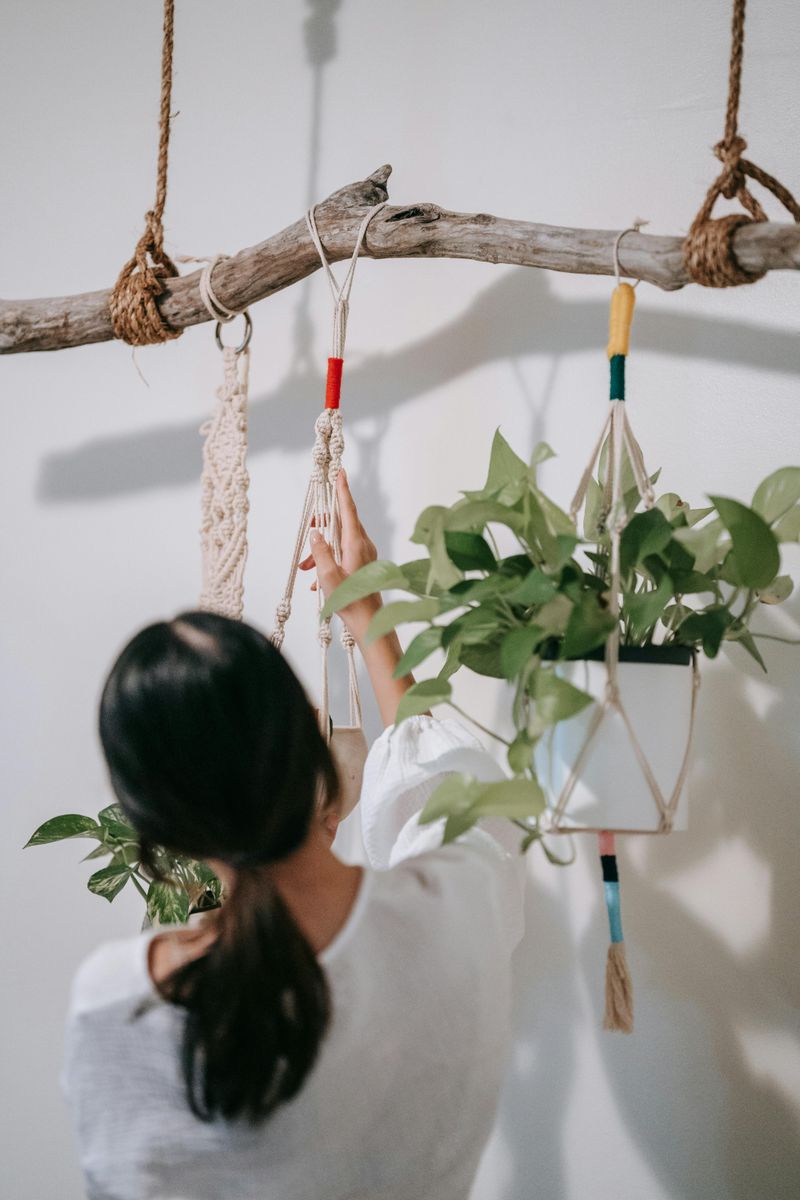
10. Textured Macramé Hanging
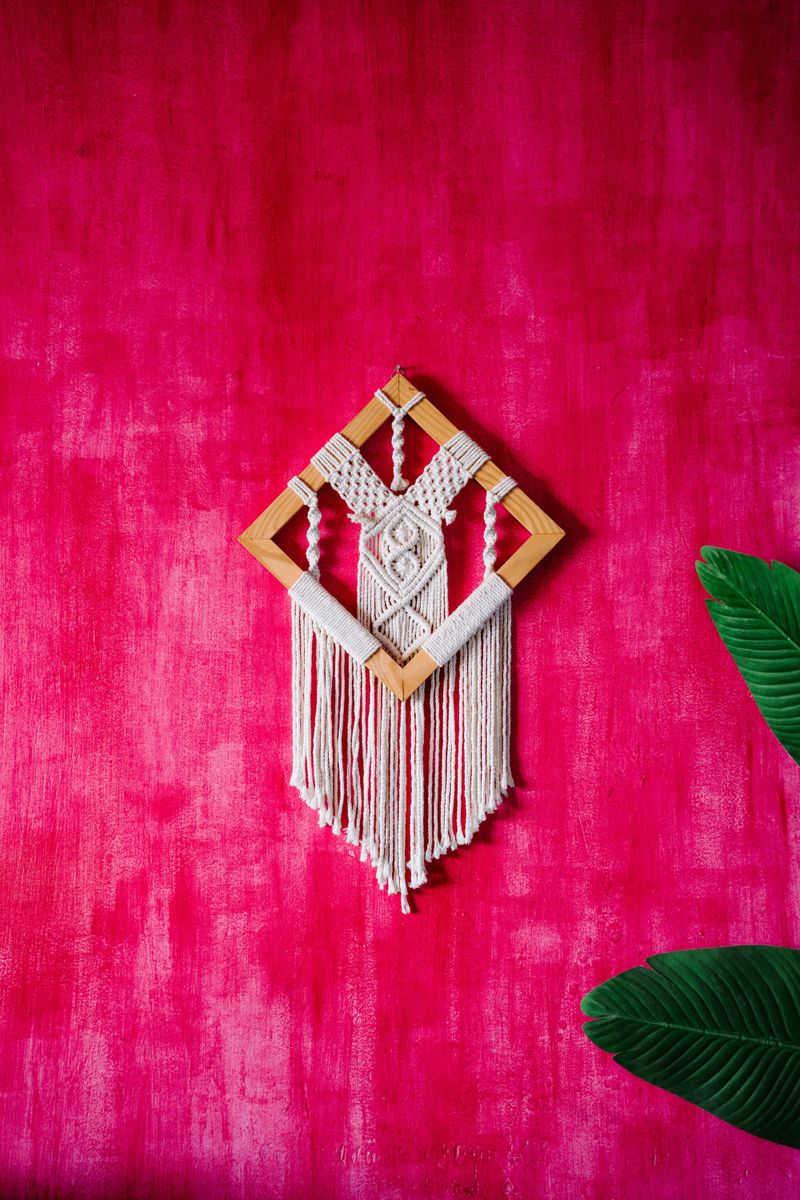
Boutiques charge hundreds for handcrafted macramé wall hangings, but creating your own requires just basic knots and inexpensive cotton rope. Begin with a simple wooden dowel and master two fundamental techniques: the square knot and the gathering knot.
The beauty of macramé lies in its organic imperfections—embrace slight irregularities as signs of authentic craftsmanship. Experiment with asymmetrical designs or incorporate dip-dyed sections for a contemporary twist on this classic art form.
For maximum designer impact, choose neutral colors and vary your rope thickness within the same piece. The resulting textural element adds warmth and dimension to walls in a way that mass-produced décor simply cannot match.
11. Rustic Ladder Display

Forget expensive specialty furniture—a decorative ladder creates vertical storage with architectural interest at a fraction of retail prices. Construct your own using reclaimed wood for instant character or new lumber distressed with simple techniques like chain-beating and dark wax.
The angled silhouette adds unexpected visual interest to empty corners while providing practical display space. Drape handcrafted throws on lower rungs and add small potted plants or vintage art pieces on upper levels.
For extra designer flair, consider painting just the inside edges of each rung in a contrasting color or metallic finish. This subtle detail catches the light and signals the intentional craftsmanship that distinguishes professional décor from basic DIY projects.
12. Custom Stenciled Floor Covering
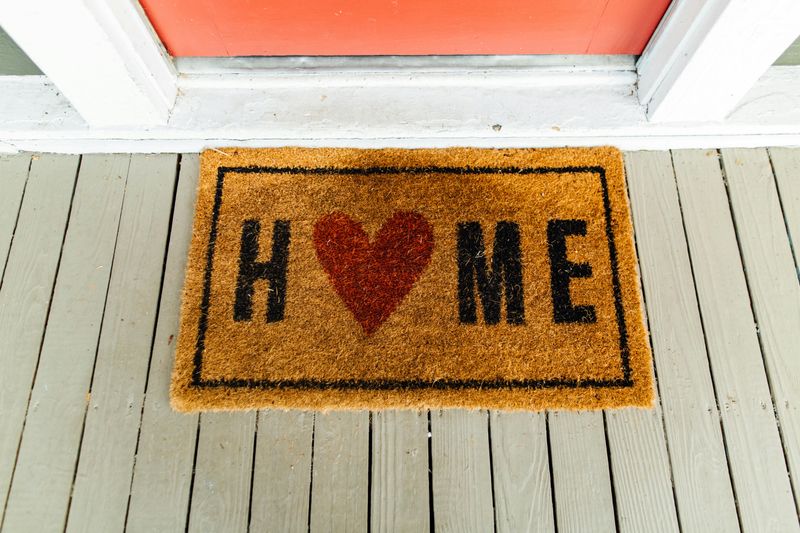
Plain rugs and doormats transform into custom statement pieces with the magic of stencils and paint. Start with an inexpensive solid-colored cotton rug or coir doormat as your blank canvas. Create or purchase stencils that complement your décor style—geometric patterns work beautifully for modern spaces, while botanical motifs suit traditional homes.
The professional secret is proper paint application—use a nearly-dry foam roller or stencil brush with textile medium-enhanced acrylic paint for crisp edges. Work from the center outward, securing your stencil with painter’s tape to prevent shifting.
For durability worthy of high-traffic areas, seal your finished masterpiece with clear water-based polyurethane. The result rivals designer floor coverings at a tenth of the price.