 MomSkoop
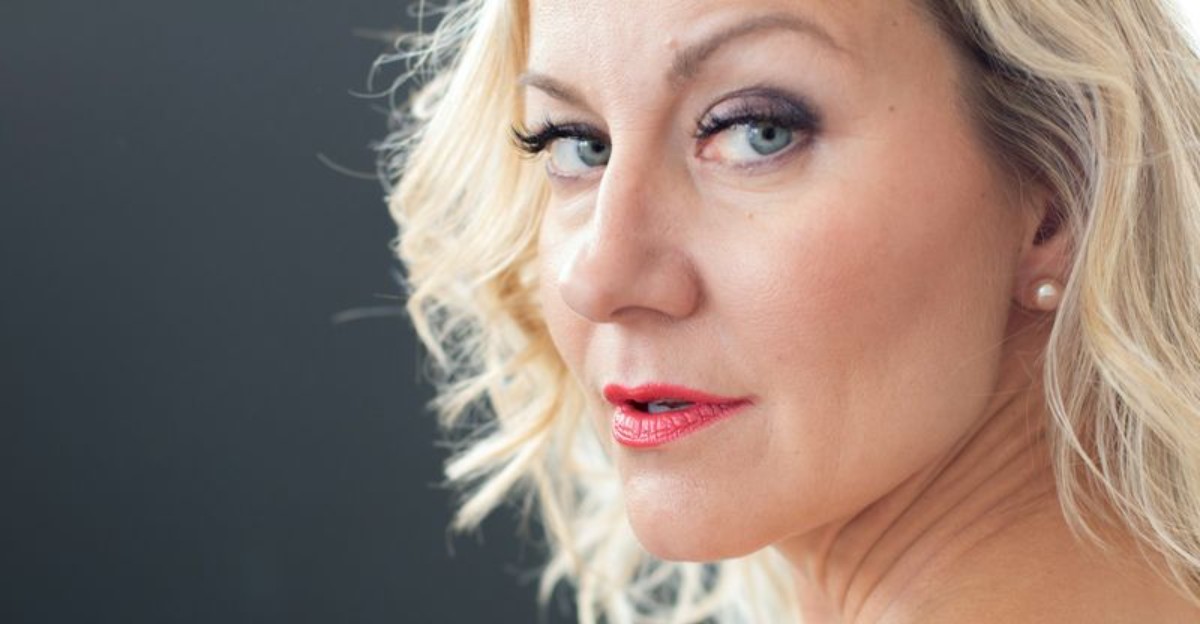
Lips change as the years go by, and the lipstick that worked at 25 may not flatter you now. A few small habits can make your lips look thinner without you even noticing.
The good news is that each one is easy to fix. Let’s look at the most common slip-ups and how to turn them around.
1. Going Too Dark With Your Shade
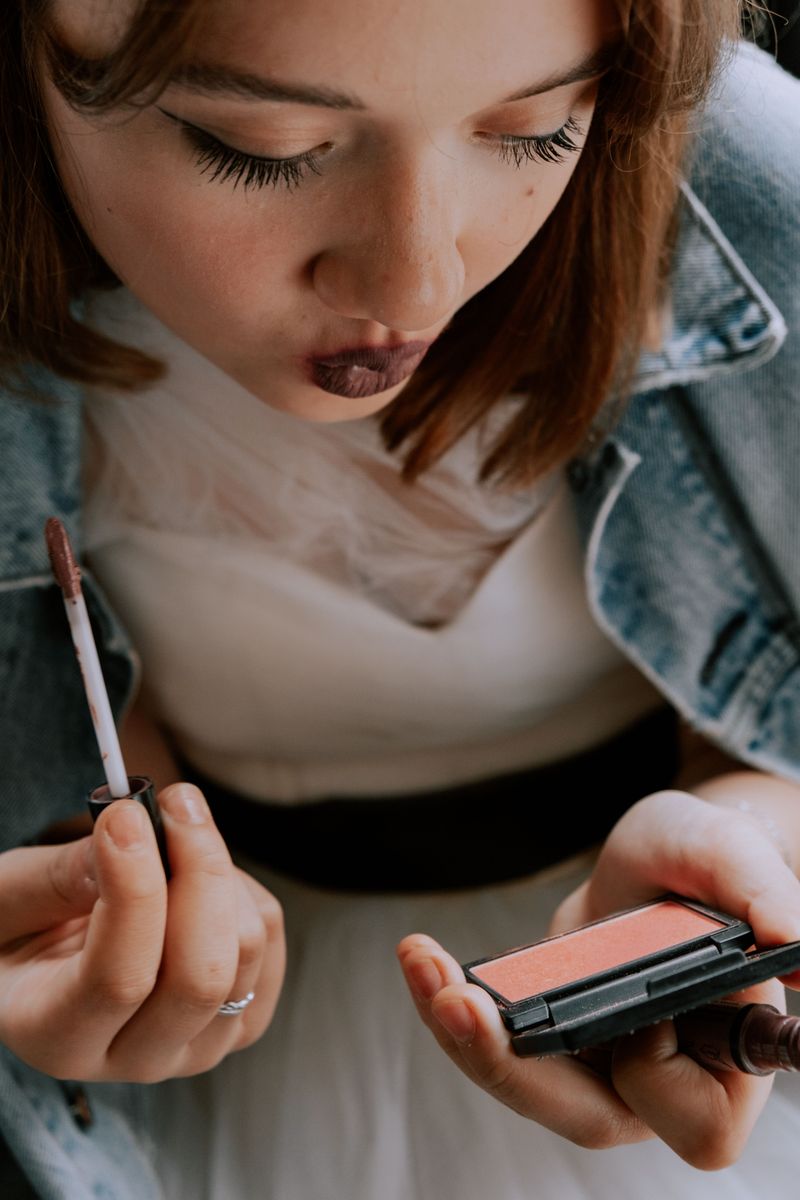
Very dark colors tend to pull back visually, so the lips seem smaller than they really are.
Color has a funny way of playing tricks on the eye.
Lighter and warmer tones come forward and catch attention, while inky shades sink into the background.
If you love rich colors, you do not have to give them up completely.
Try a softer berry, a rosy mauve, or a warm raspberry instead.
You can also dab a dark shade on lightly with your fingertip for a stained look.
Save the darkest colors for special evenings, and keep the everyday routine bright and fresh.
2. Relying Only on Dry Matte Formulas
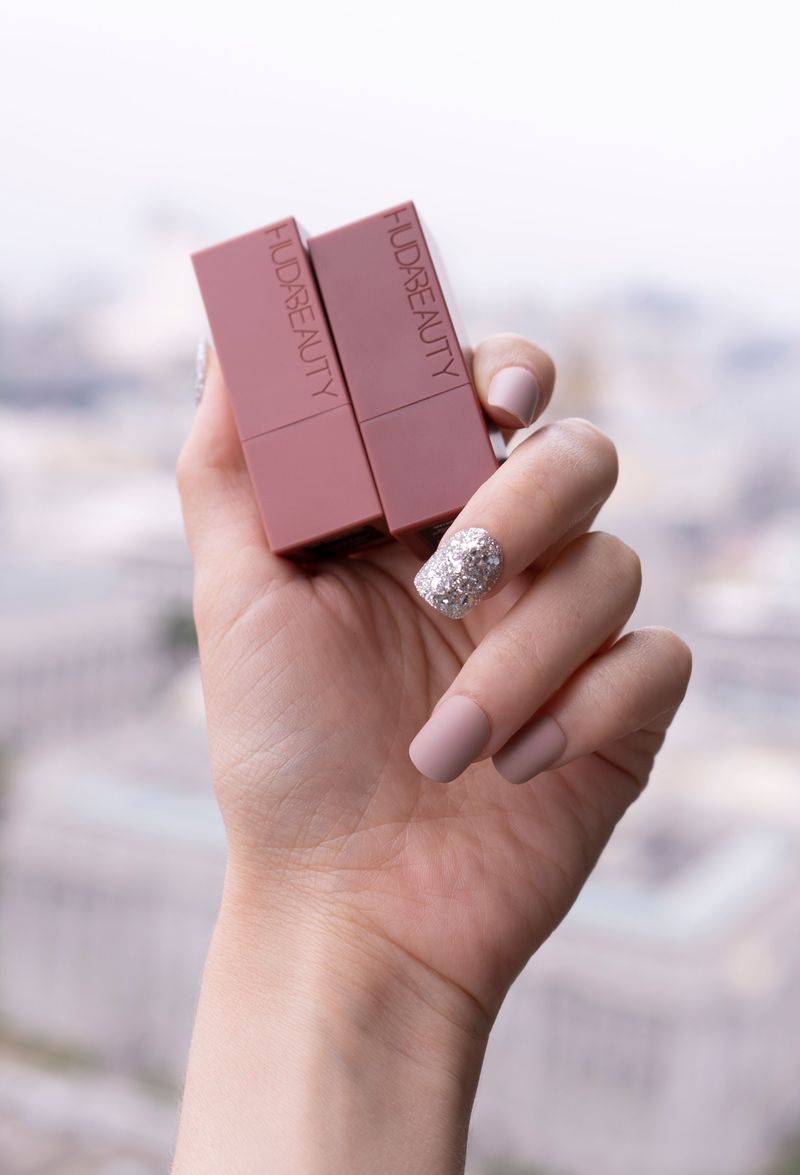
Did you know that light is the secret ingredient behind plump lips?
Shiny surfaces bounce light back, and that gleam tells the eye that something is rounded and full.
A flat, chalky matte does the opposite.
Very dry mattes also settle into fine lines and make them stand out more.
The result can be a lip that looks flat, tired, and a bit thin.
You do not need to ban mattes forever.
Look for creamy, soft-matte, or satin formulas that feel comfortable on the mouth.
A dab of balm underneath helps too.
When your lips catch a little light, they look softer, smoother, and much more youthful.
3. Overlining Way Beyond Your Natural Edge
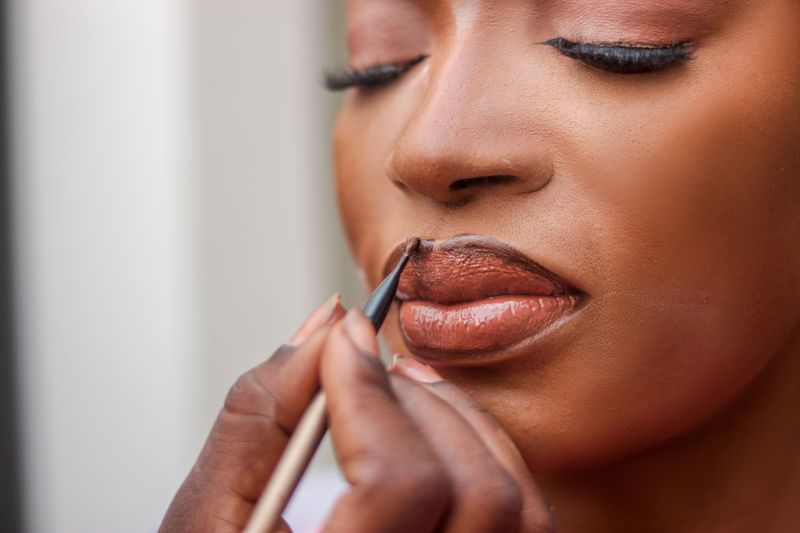
Drawing outside the lines works in kindergarten, but not so much on your mouth.
When the liner sits far past your natural edge, the shape looks blurry and the lips can seem less defined.
Everyone can spot it, and it rarely gives the fullness you hoped for.
A gentler trick works far better.
Add just a whisper of color right around the Cupid’s bow and the center of your lower lip.
Those two spots create the most lift without looking drawn on.
Keep the pencil sharp, work in tiny strokes, and blend the edge into your lipstick.
Step back from the mirror to check your work.
4. Skipping the Prep Step
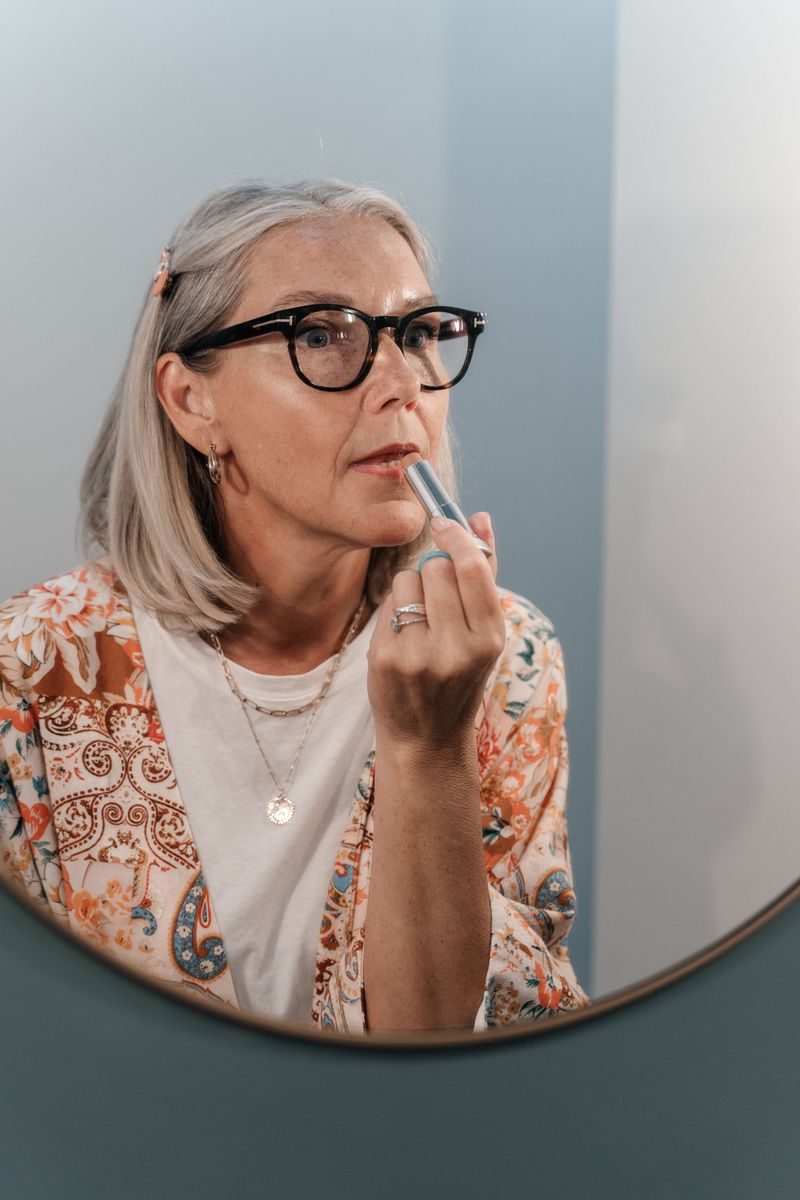
Think of your lips as a canvas.
If the canvas is cracked and peeling, even the prettiest paint will look bumpy.
Lipstick sitting on dry, flaky skin grabs onto every rough patch and highlights the texture.
Smooth lips reflect light better, and that makes them look plumper.
A little prep goes a long way, and it takes only a couple of minutes.
Gently buff your lips with a damp washcloth or a soft toothbrush a few times a week.
Then smooth on a nourishing balm and let it soak in while you finish the rest of your makeup.
Blot away extra balm before applying lipstick so the color stays put.
5. Pairing a Much Darker Lip Liner
Remember the dark outlines from old school yearbook photos?
A liner that is far darker than your lipstick creates the same effect.
It draws a strong fence around your lips, and the lighter center looks like it shrank inside.
The eye follows contrast.
When the border is the boldest part, the mouth reads as smaller and harder.
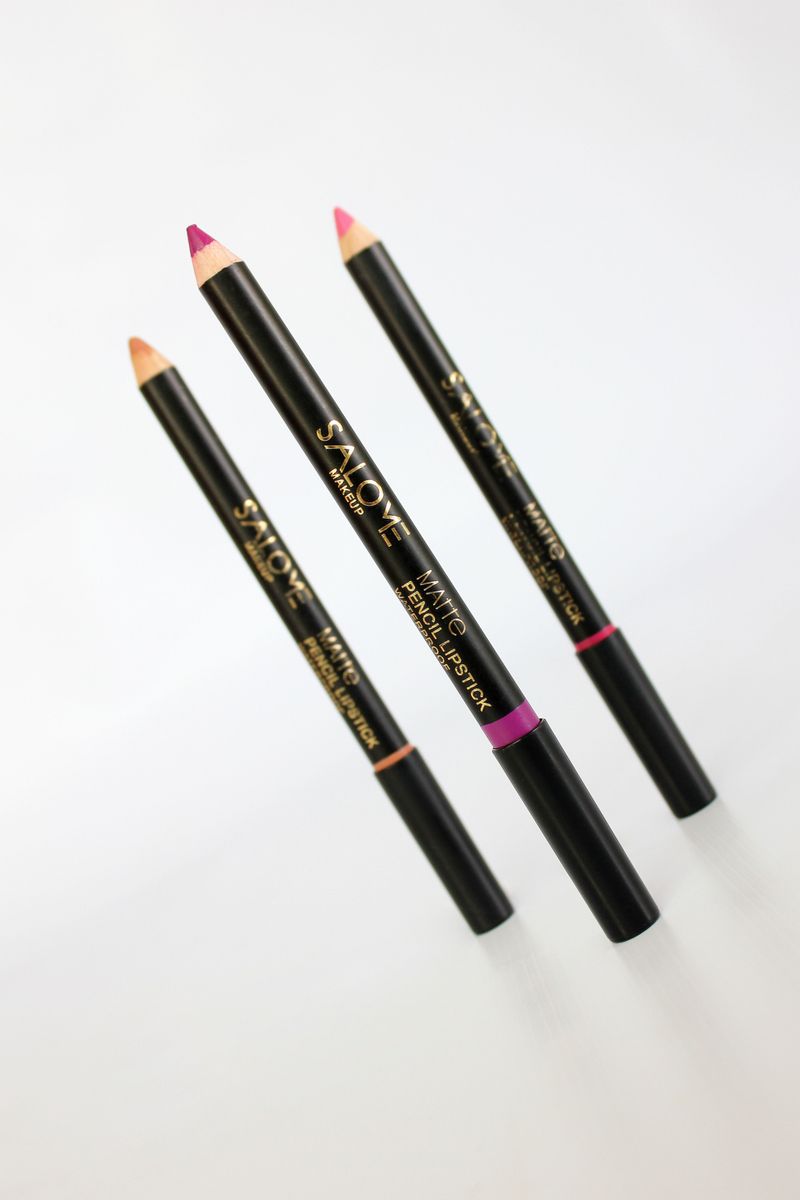
Pick a pencil that matches your lipstick or sits just a shade deeper than your natural lip color.
Smudge it slightly with a brush or your finger so there is no hard edge.
Better yet, fill in the entire lip with the pencil first, then layer lipstick on top.
The color will last longer and look seamless.
6. Using One Flat Color From Edge to Edge
Here is a pro secret: fullness is really just clever lighting.
When one solid shade covers your whole mouth, nothing gives the lips a rounded look.
They can seem flat like a sticker.
Adding a little dimension changes everything.
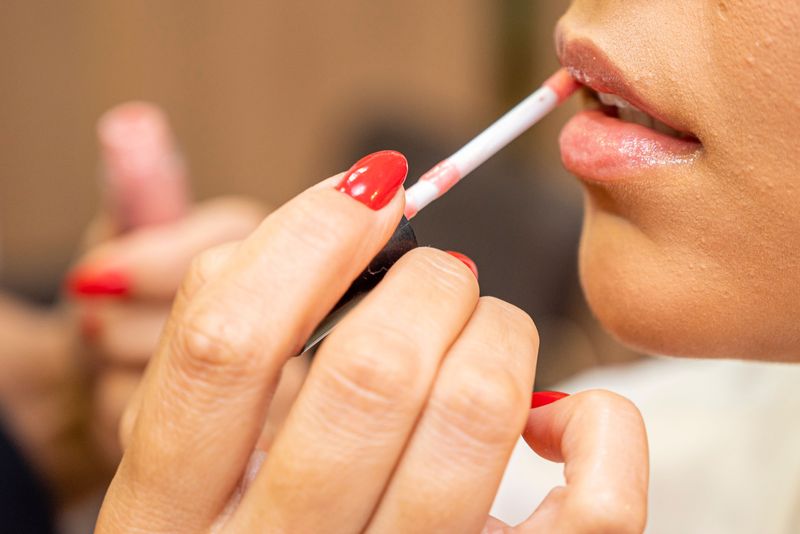
After applying your usual lipstick, press a slightly lighter shade or a clear gloss onto the center of both lips.
Use your fingertip to tap it in gently.
That bright spot acts like a tiny spotlight and makes the lips seem to pop forward.
Keep the gloss away from the outer edges so the color stays neat and does not bleed into fine lines around your mouth.
7. Ignoring the Softening Lip Border
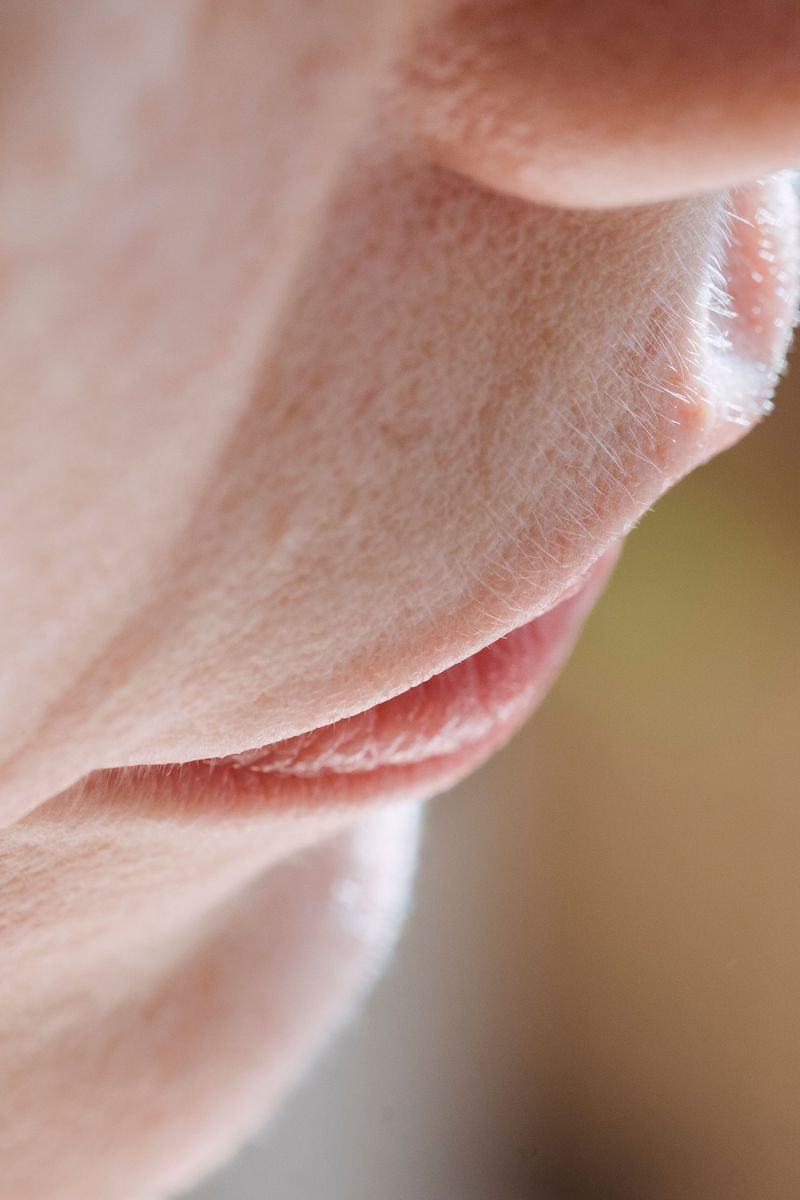
Over time, the crisp edge of the lips slowly fades.
It is a normal change, but lipstick without any definition can then look a bit shapeless, and the whole mouth may seem less structured.
The answer is not a heavy outline.
A liner close to your natural lip tone or to your lipstick shade restores the shape without any harshness.
Trace just along the border, using light and short strokes.
Then blend inward with lipstick so the line melts away.
For extra help, dab a bit of concealer right at the edge to sharpen the contour.
Your lips will look neat, balanced, and naturally more defined.