 MomSkoop
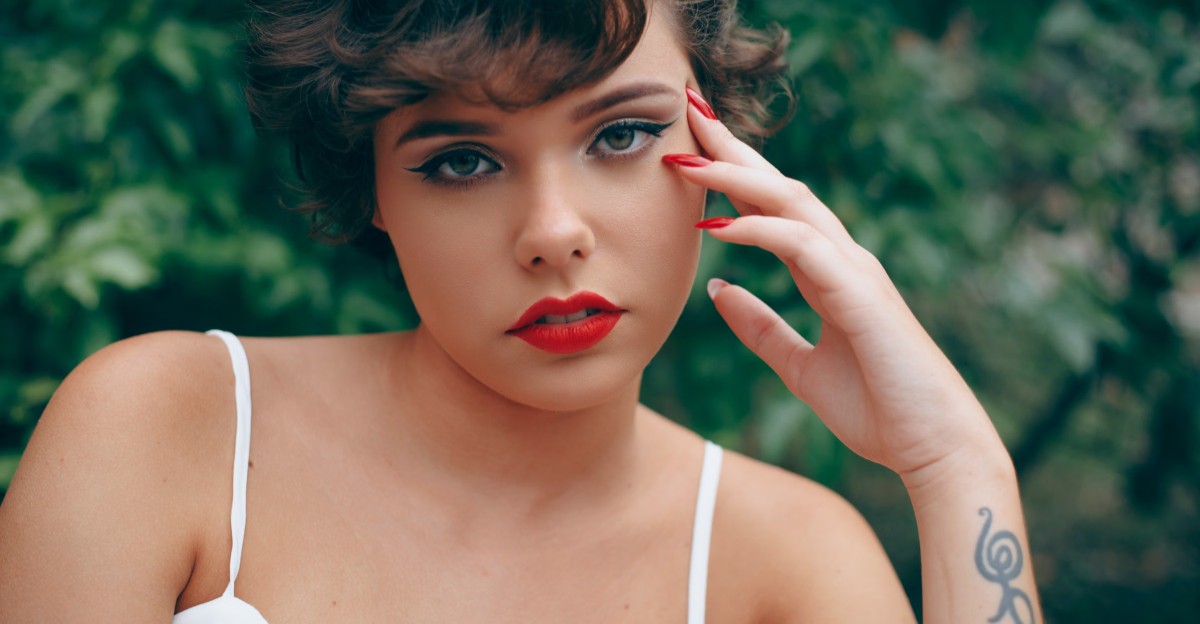
Audrey Hepburn’s makeup artist, Alberto de Rossi, reportedly separated her mascara-coated lashes one by one with a pin. That patient, slightly nerve-racking trick shows how much care went into a single close-up during Hollywood’s studio years. Old film sets demanded beauty that could hold up under hot lights and unforgiving cameras.
Hair was sculpted, lips were layered, and brows were shaped to read clearly from the back row of a movie palace. What fascinates me most is how many of those studio tricks now show up on red carpets and in bathroom mirrors. Modern tools make the looks faster, and nobody has to bring a pin anywhere near an eyeball. I love that a bob from the 1950s or a wave from the 1920s can feel fresh again. Which vintage move deserves a spot in your routine this year?
1. Finger Waves
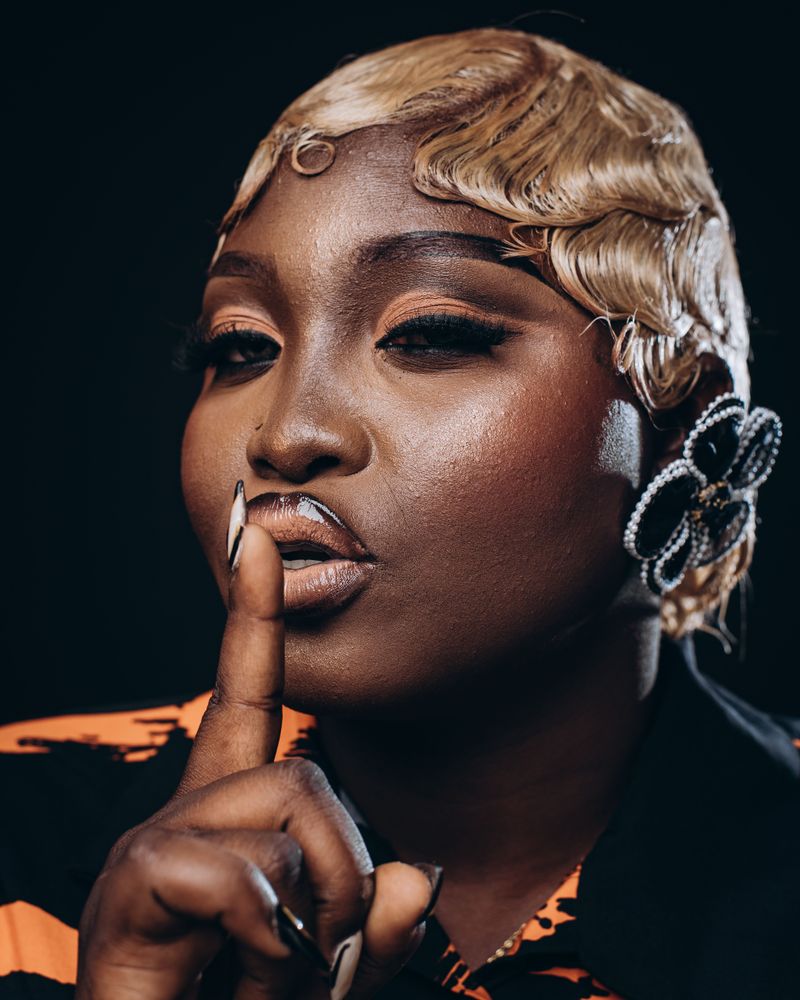
Back in the 1920s, a sleek bob was the bold haircut of the moment.
Finger waves arrived to soften that sharp shape with smooth S-curves pressed close to the head.
Stylists made the look by shaping wet hair with fingers and a comb.
Waving lotion or gel held each ridge in place until the hair dried completely.
Josephine Baker made the style famous on stage and screen.
Marlene Dietrich also wore sculpted waves during the early sound era, including in the 1930 film Morocco.
The style popped up again in the late 1990s with pop and hip-hop stars.
Zendaya has also worn a Betty Boop-inspired version, proving the look still turns heads on a red carpet.
You don’t have to commit to a full head of ridges anymore.
Many modern versions keep the waves along the hairline or one side, then let natural curls or loose hair take over in back.
Want to try it at home?
Start with damp hair and a strong-hold gel, then work in small sections with a fine-tooth comb and duckbill clips.
Patience matters more than speed here.
Let the gel dry fully before removing clips, or your sculpted waves may slide into soft, puzzled squiggles.
2. The Curly Vintage Bob
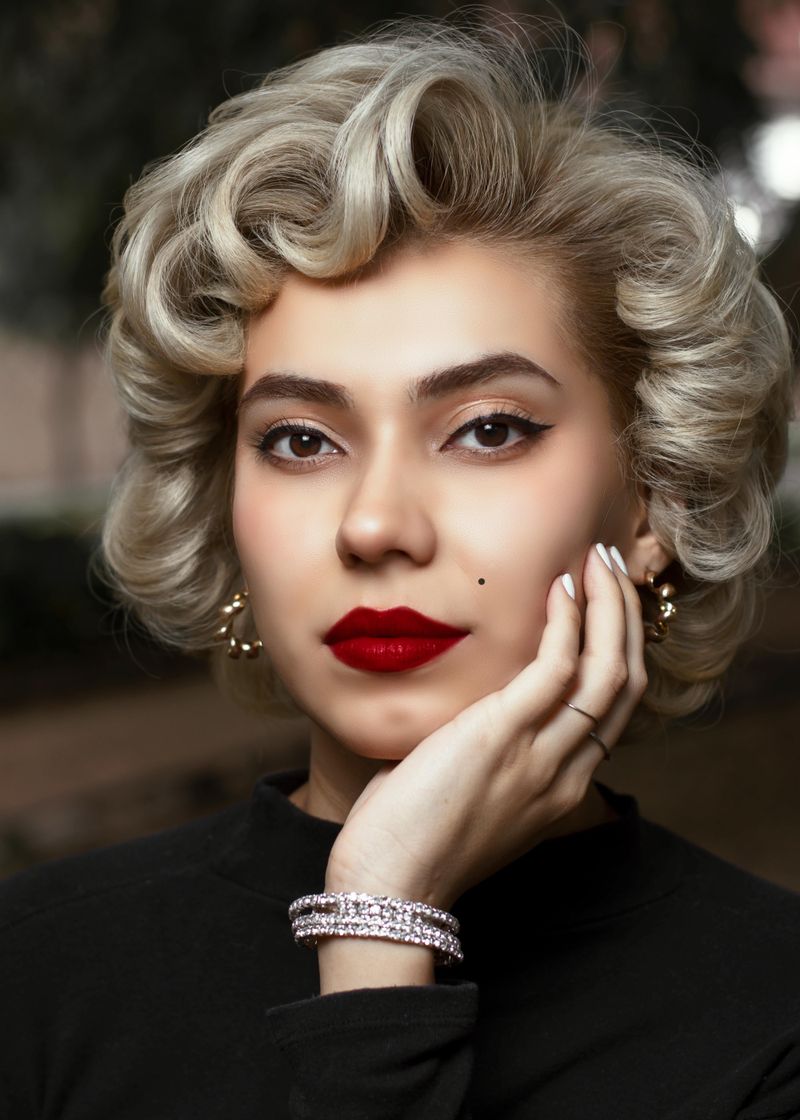
Marilyn Monroe’s short, curly blonde bob still ranks among the most copied hairstyles in film history.
Her cut had tight curls, a deep side part, and plenty of rounded volume.
Before her, stars like Lauren Bacall and Veronica Lake helped make sculpted waves the standard of the 1940s.
Those looks were built for the camera, catching studio light and shadow along each curve.
Today the curly bob is back on red carpets.
Pamela Anderson and the singer Raye have both worn bouncy, vintage-leaning bobs with defined curls in recent appearances.
The modern version usually lands between the chin and shoulders.
Curls get set first, then brushed out so they look soft and full instead of stiff.
Hot rollers or a curling iron can handle the setting.
Let the curls cool completely before brushing, since warm hair loses its shape quickly.
A wide paddle brush or your fingers will separate curls into that cloudy finish.
A light hairspray afterward helps the shape last through dinner and dancing.
Got naturally curly hair?
You might already have a head start, and a shaped bob cut with a side part can bring out a similar silhouette with less heat.
3. The Deep Side Part
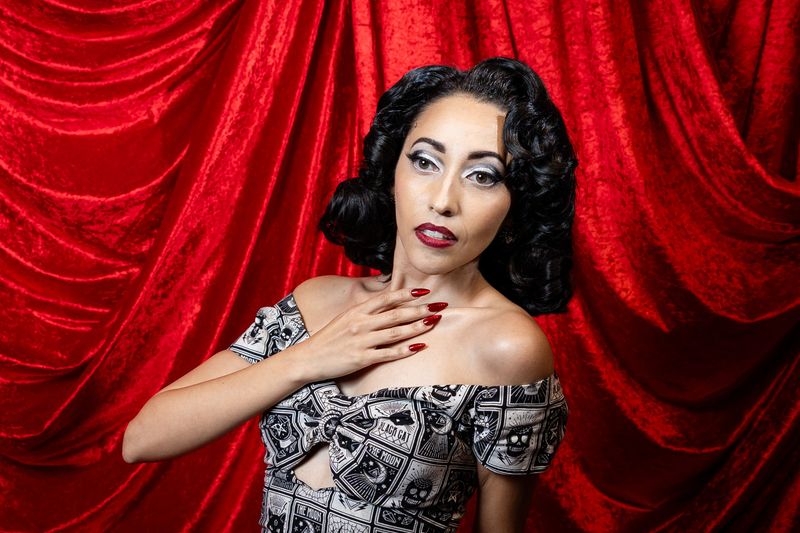
A comb and thirty seconds can change your whole look.
Moving your part from the center to far off one side was a favorite trick of Old Hollywood stylists.
Deep side parts appeared with many of the era’s waves and curls.
The off-center line created asymmetry, which made a hairstyle look planned and polished.
Monroe often paired her voluminous curls with a strong side part.
Veronica Lake took the idea even further, letting her long waves sweep down over one eye.
Side parts have been showing up again on runways and red carpets.
After years of middle parts ruling social media, the shift feels a little like a style plot twist.
The best part is how little it costs to try.
No salon trip, no new product, just a new line drawn with the tail of a comb.
Start the part roughly above the arch of one eyebrow.
Blow-dry your roots in the new direction so the hair doesn’t fight back and flop toward its old habit.
Sleek straight hair looks crisp with a deep part.
Loose waves give it a softer, more romantic mood, so pick based on the outfit and occasion.
4. The Bardot Blowout
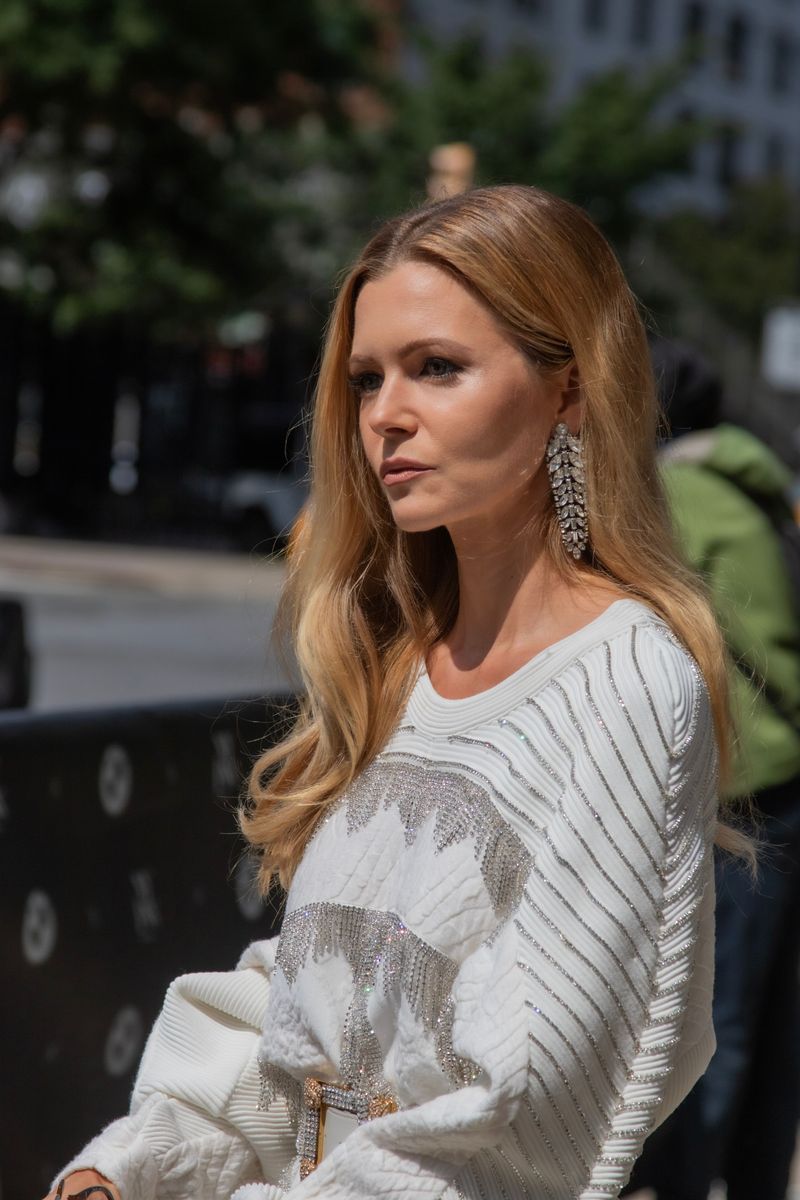
Brigitte Bardot made messy look expensive.
The French film star of the 1950s and 1960s became known for big crown volume, swooping bangs, and long layers that moved.
Her hair looked a little undone, yet it clearly took real effort.
That balance between polish and tousle is exactly why stylists keep returning to it.
Bouncy, layered blowouts have been a popular salon request in recent years.
Swedish influencer Matilda Djerf drew a huge online following with her face-framing waves and curtain bangs, a look often compared to Bardot’s.
The magic starts with the haircut.
Face-framing layers and a curtain fringe give the blowout something to curl around.
A round brush lifts the roots while you dry.
Large Velcro or hot rollers can lock in body, especially at the crown where Bardot kept her height.
Leave the rollers in until the hair cools.
Then flip your head, shake gently, and resist brushing too much, since the goal is movement rather than perfection.
Fine hair can benefit from a volumizing mousse at the roots.
Thick hair may need extra drying time, so maybe start before your coffee instead of after.
5. Classic Red Lipstick
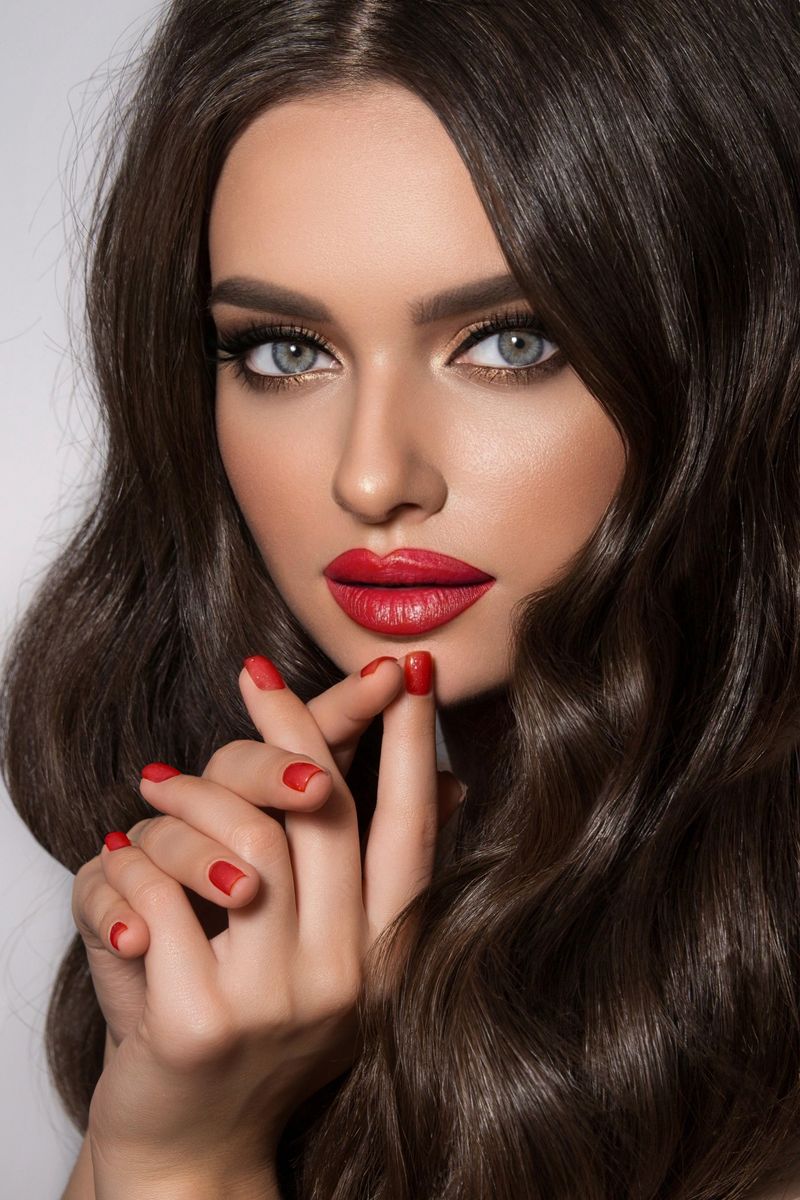
Few beauty products carry as much history in such a tiny tube.
Red lipstick defined the faces of Rita Hayworth, Elizabeth Taylor, and Marilyn Monroe.
For Monroe, a bright red mouth became part of her public image.
Fans can still spot her style from just a photo of those lips.
Red never fully left, but it remains a red carpet regular.
Gwen Stefani and Rihanna are two stars known for wearing bold red lips across many years.
Picking a shade is easier with one old makeup trick.
Blue-based reds tend to flatter cooler skin tones, while orange-based reds often suit warmer ones.
Still unsure?
Try both on your fingertip next to your face in daylight, and the right one usually makes your teeth look brighter.
For neat edges, outline with a matching liner first.
Fill in the lips lightly with the pencil, too, which gives the lipstick something to grip.
Blot with a tissue, then add a second coat for staying power.
Modern finishes range from matte to glossy to sheer stain, so you can choose drama level to match your Tuesday.
6. Winged Eyeliner
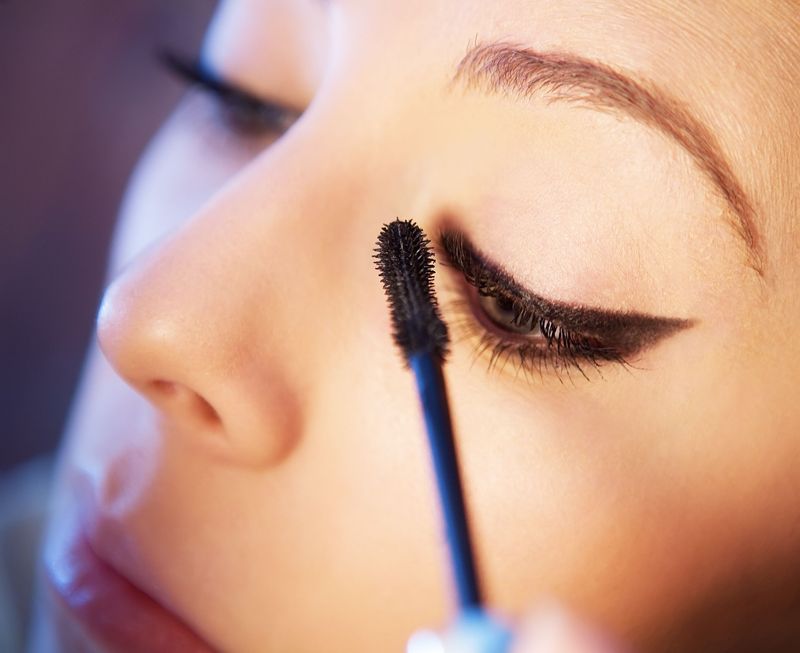
One small flick at the outer corner can make eyes look lifted and wide awake.
Winged eyeliner, often called the cat eye, became a signature of mid-century Hollywood.
Audrey Hepburn and Elizabeth Taylor both wore versions of the look.
Earlier, Anna May Wong used bold eye makeup that helped shape screen glamour long before the cat eye peaked.
The wing has stuck around for decades.
Taylor Swift, in particular, has worn a sharp black wing so often that it feels like part of her style signature.
Getting even wings takes practice, so don’t panic over a lopsided first try.
Many people start by drawing a short line angled toward the tail of the eyebrow.
Connect that line back to your upper lash line, then fill in the triangle.
A felt-tip liner gives more control than a pencil for beginners.
Tape or the edge of a business card can act as a guide.
A cotton swab dipped in micellar water cleans up shaky spots without removing your base makeup.
Black looks the most classic.
Brown or deep navy gives a softer take that still nods to the old studio style.
7. Defined Brows
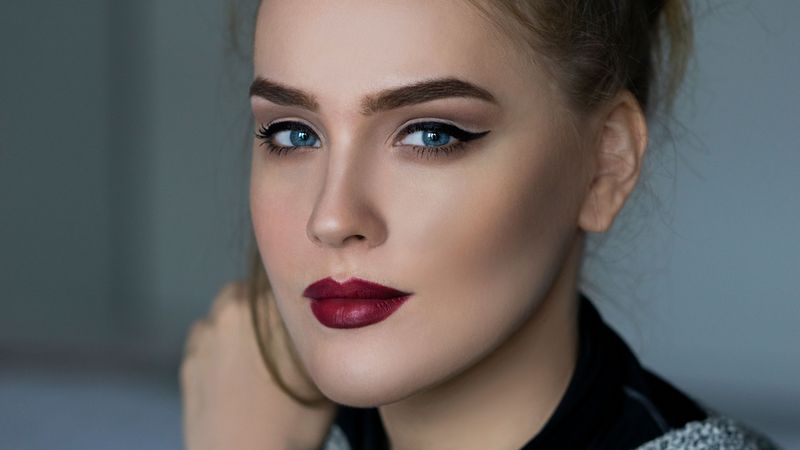
Eyebrows did a lot of acting in old movies.
On a big screen, a well-shaped brow helped viewers read a frown, a smirk, or a raised eyebrow of doubt.
The 1920s favored very thin brows.
By the 1940s, fuller and softly arched shapes took over, and the 1950s brought more defined arches.
Grace Kelly wore neat, natural brows.
Audrey Hepburn’s thick, fairly straight brows became one of her most recognized features.
Current brow styles lean toward groomed but natural shapes.
That lines up nicely with the 1940s and 1950s approach, which avoided both pencil-thin lines and harsh blocks.
A brow powder builds soft color in sparse areas.
Use short, hair-like strokes with a pencil if you need sharper detail.
A clear or tinted brow gel sets everything in place.
Brush hairs upward first, then smooth the tops outward for a tidy finish.
Your own brow shape is the best starting point.
Instead of copying a star’s arch exactly, follow your natural line and simply fill gaps, since the goal is framing your face rather than redrawing it.
8. Satin-Finish Skin
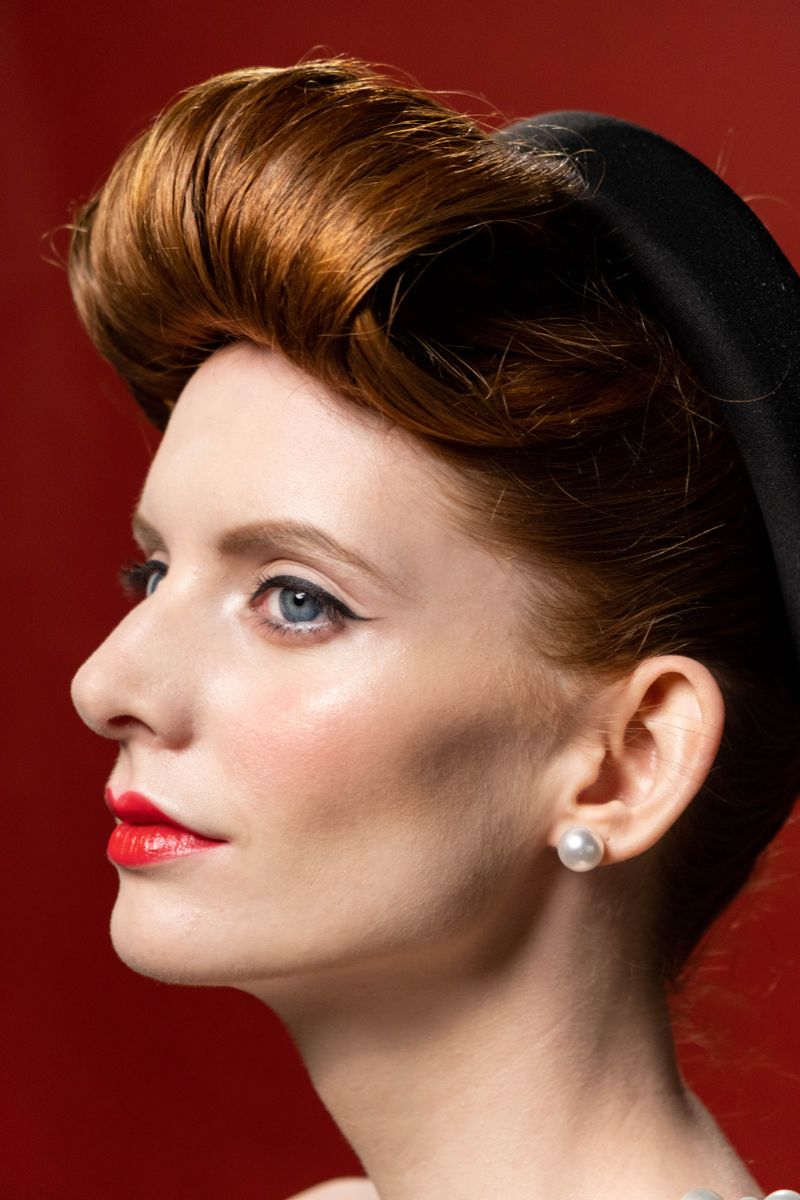
Grace Kelly’s complexion looked soft and luminous on film.
That polished glow set a standard many people still chase today.
Current makeup trends favor satiny skin over a flat, chalky matte.
The result reflects a little light without looking oily.
The glow usually starts before foundation.
A gentle cleanser, a hydrating serum, and a good moisturizer give makeup a smooth surface to sit on.
Elizabeth Taylor is often linked to face shaving as a smoothing habit, though that story mostly comes from beauty publications.
Today, the professional version is called dermaplaning, and it removes fine facial hair and dead skin with a special blade.
Dermaplaning isn’t right for every skin type.
People with acne, sensitive skin, or skin conditions may want to talk with a dermatologist before trying it.
For makeup, choose a foundation labeled satin or natural finish.
Apply thin layers and add concealer only where you need it.
Powder can still help, but use it lightly in the center of the face.
A tiny touch of cream highlighter on the cheekbones adds the soft-focus effect old cameras loved, minus the studio lights.
9. Layered Lip Contouring
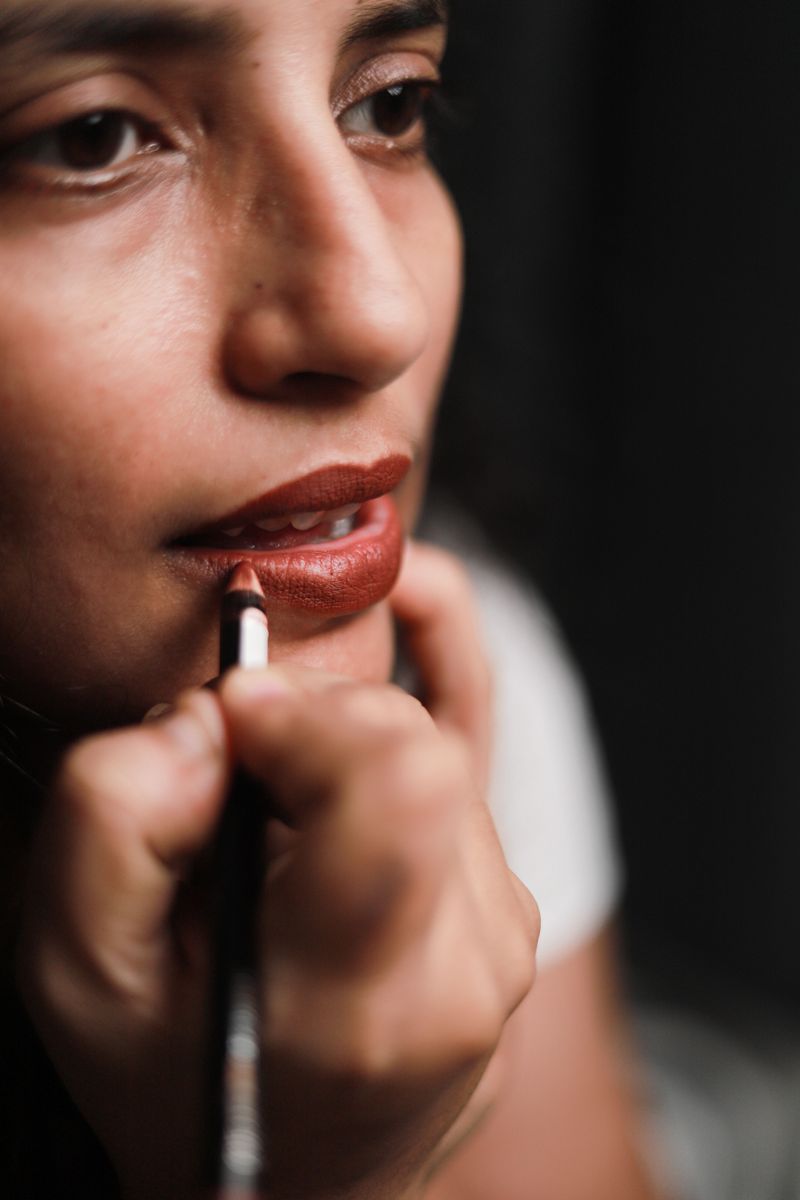
A famous pout sometimes takes more than one lipstick.
Monroe’s makeup artist, Allan “Whitey” Snyder, is widely reported to have layered several shades on her lips.
The basic idea was simple.
Darker reds went on the outer corners, lighter reds went in the center, and a bit of gloss added shine.
That shading makes lips appear rounder and more dimensional.
It works a lot like contouring cheekbones, just on a smaller canvas.
Makeup lovers have revived the method in tutorials, usually with fewer steps.
Many use three products instead of a long lineup.
Start with a lip liner slightly deeper than your lipstick.
Outline your natural edges, then blend the liner inward at the corners.
Next, apply your main red across both lips.
Dab a brighter red or a touch of shimmer in the center of the bottom lip and press your lips together lightly.
Finish with clear gloss in the middle if you want more shine.
The technique works with pinks, berries, and nudes, too, so a red lip isn’t required to borrow the trick.
10. Separated Lashes
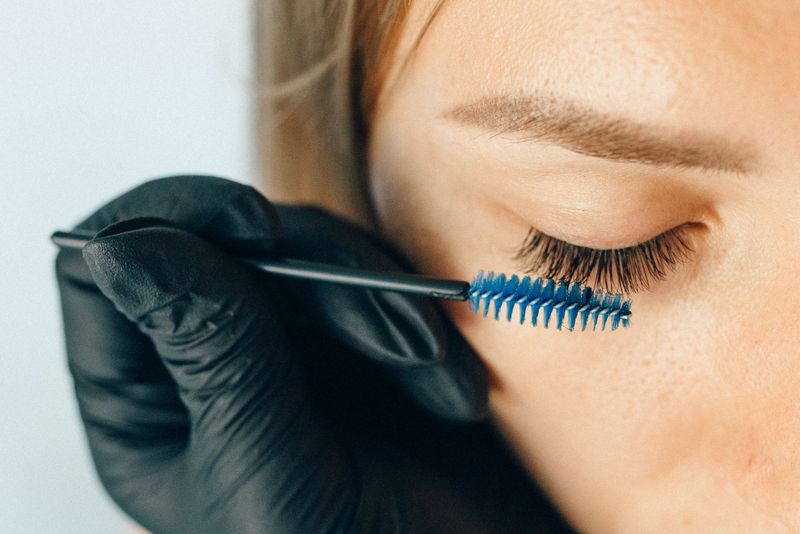
Audrey Hepburn’s wide-eyed look came with a surprising behind-the-scenes story.
Her makeup artist, Alberto de Rossi, reportedly separated her lashes after mascara using a pin.
Each lash stood apart, fanned out with no clumps.
The effect looked clean, bright, and very expressive on camera.
Please leave the pin in the sewing kit.
Sharp objects near the eye are a terrible idea, and modern tools handle the job much more safely.
A metal or plastic lash comb is the easy replacement.
Comb through right after applying mascara, while the formula is still wet.
A clean spoolie works well, too.
Disposable wands are cheap, and they help keep old mascara residue away from your eyes.
Curl your lashes before mascara for extra lift.
Then wiggle the wand at the base and pull it upward, so most of the product lands near the roots.
Two thin coats usually look better than one heavy coat.
Comb between layers, and the result should look defined rather than spidery, giving you a fresh, open-eyed look that even a 1950s studio camera would appreciate.