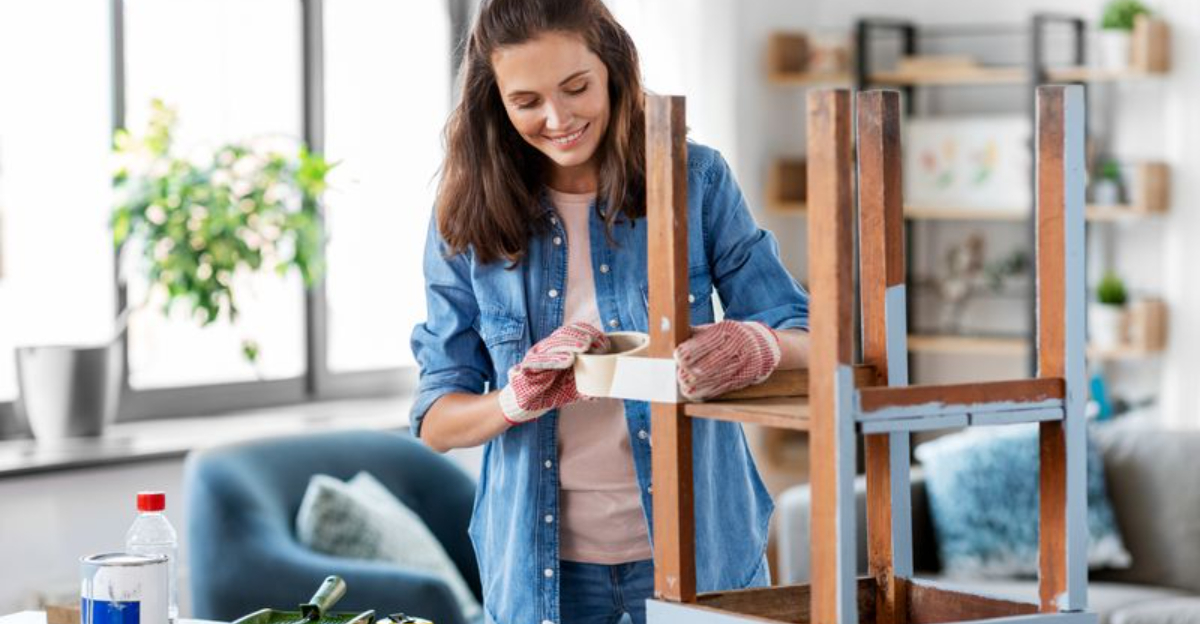
Our homes tell stories about who we are. Adding personal touches through DIY projects not only saves money but creates unique spaces that reflect your personality. Whether you’re a crafting pro or just starting out, these homemade décor ideas will transform your living space from ordinary to extraordinary with materials you might already have.
1. Floating Book Shelves
Old hardcover books transform into magical floating shelves with just a few metal brackets and some glue. The trick is attaching the bracket to the back cover of your book, creating the illusion that your treasures are suspended in mid-air.
Choose books with meaningful titles or colorful spines to add an extra layer of personality. Fantasy lovers might display a Harry Potter volume, while cooking enthusiasts could use vintage cookbooks.
These conversation starters work perfectly in small spaces where traditional shelving won’t fit. Arrange them in clusters or stagger them for visual interest that showcases your reading preferences.
2. Memory Jar Lamps
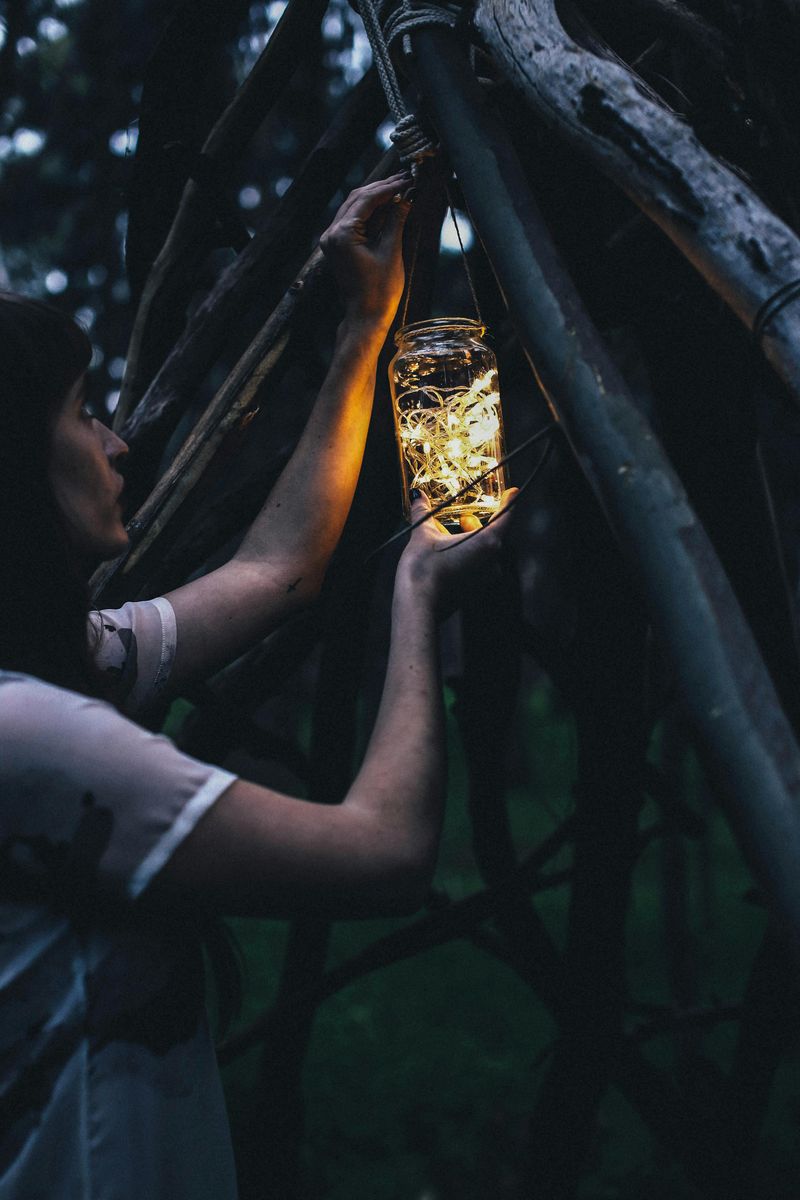
Remember that beach vacation where you collected those beautiful shells? Transform clear glass jars into personalized lamps by filling them with vacation mementos, fairy lights, and a simple lamp kit from the hardware store.
The warm glow highlighting your treasured items creates both functional lighting and a 3D scrapbook of special moments. Sand, ticket stubs, pebbles, or dried flowers all work beautifully.
For safety, use LED string lights which don’t generate heat. Place these memory lamps on nightstands, mantels, or entryway tables where they’ll spark joy and conversations about your adventures.
3. Custom Photo Transfer Coasters
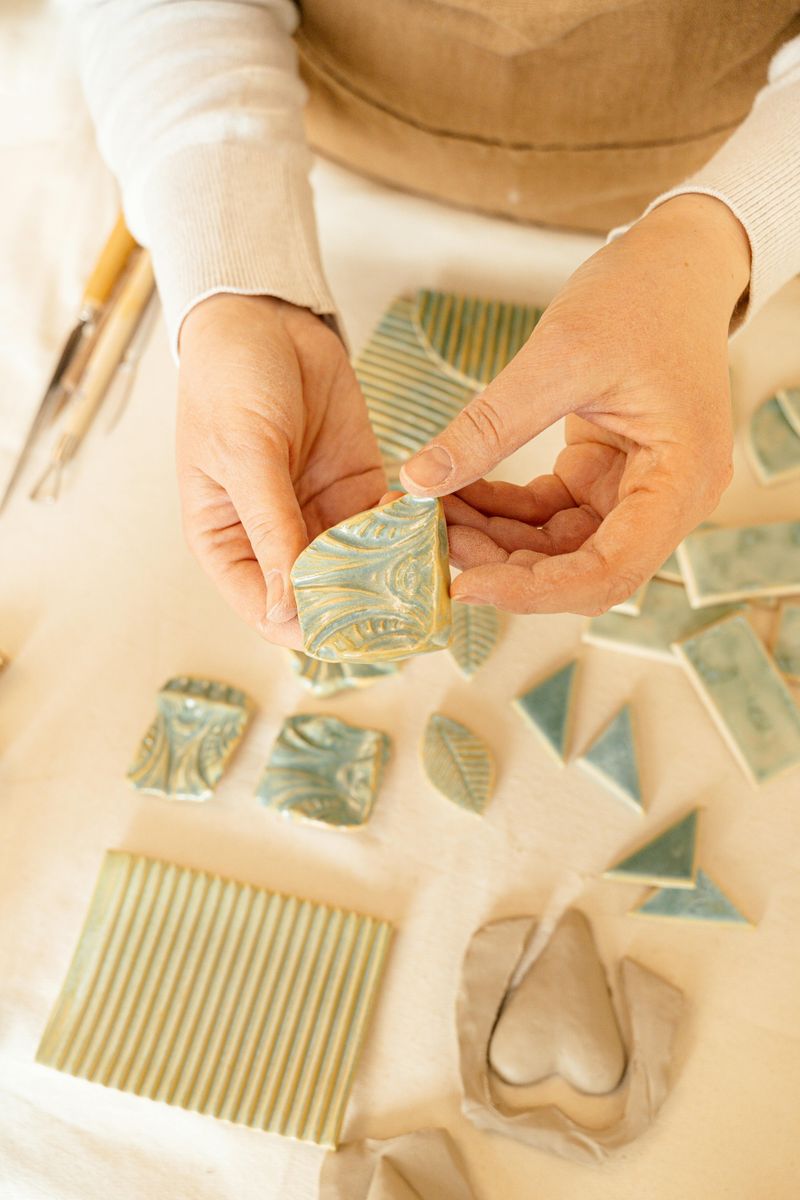
Family photos deserve better than being trapped in digital storage. With mod podge, plain ceramic tiles, and printed photos on regular paper, you can create waterproof coasters featuring favorite faces and places.
The photo transfer technique creates a slightly vintage look that adds charm to everyday moments. A set of four makes a perfect housewarming gift or keepsake for your own coffee table.
For best results, use black and white or sepia-toned images. Seal completely with several coats of clear acrylic spray and add felt backing to prevent scratches on furniture surfaces.
4. Painted Door Silhouettes
Boring interior doors become artistic statements with simple silhouette paintings. Using painter’s tape and acrylic paint, create mountain ranges, city skylines, or abstract geometric patterns that reflect your aesthetic.
Kids’ rooms benefit from playful shapes like dinosaurs or rocket ships. For grown-up spaces, sophisticated patterns in neutral colors add subtle interest without overwhelming the room.
The beauty of this project lies in its flexibility – when you tire of the design, simply paint over it. Even painting just the inside panels of paneled doors creates a custom look that makes mass-produced doors feel special and uniquely yours.
5. Frame Clusters with Meaningful Maps
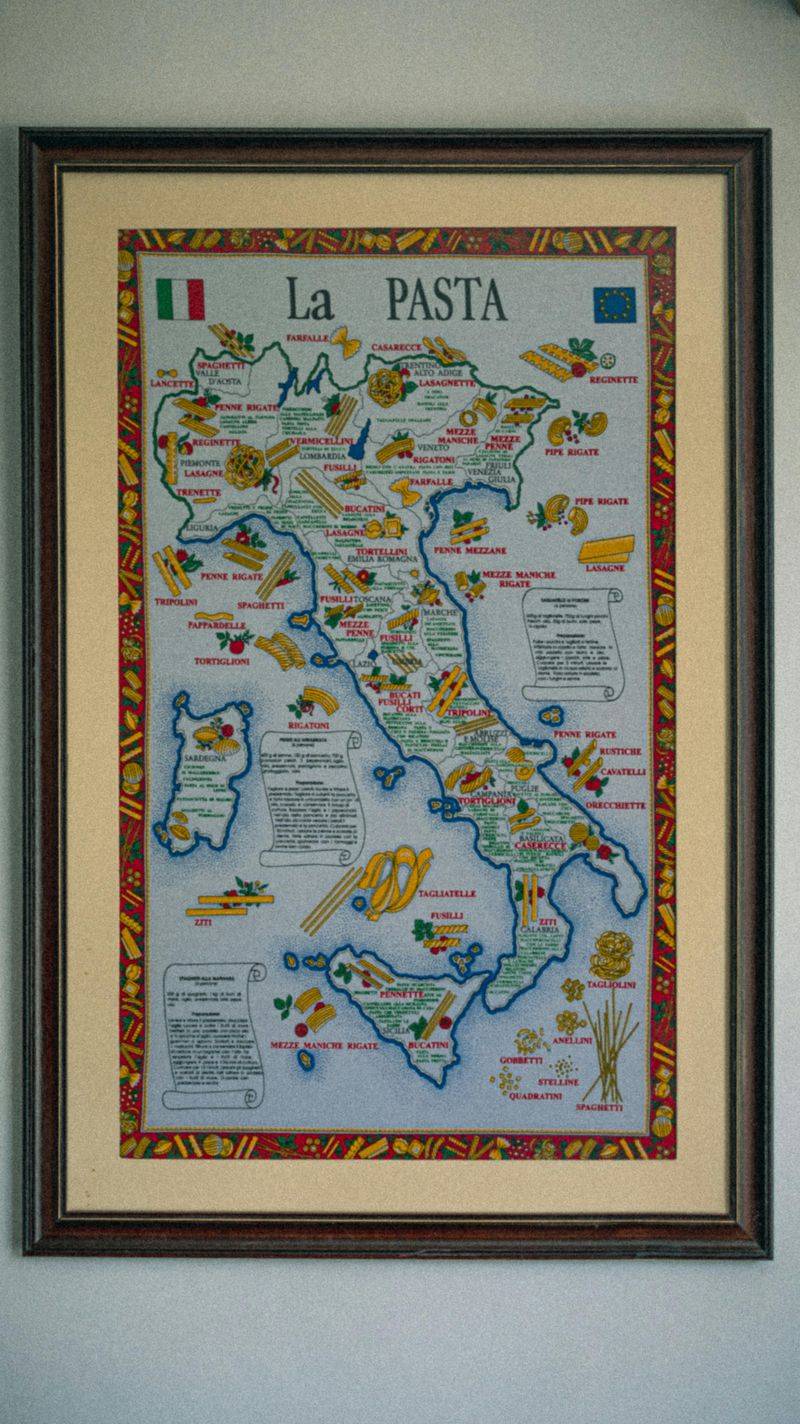
Maps tell stories of places that matter to us. Frame sections of maps showing hometowns, honeymoon destinations, or dream vacation spots for wall art that’s deeply personal.
Mix vintage and modern maps in different-sized frames for visual interest. Mark special locations with tiny heart stickers or colorful pins to highlight first-date spots, proposal locations, or childhood homes.
For extra personality, include ticket stubs, pressed flowers, or small photos from these locations in the frames. The resulting gallery creates a visual geography of your life journey that visitors will find fascinating and that you’ll treasure for years.
6. Rope Basket Makeovers
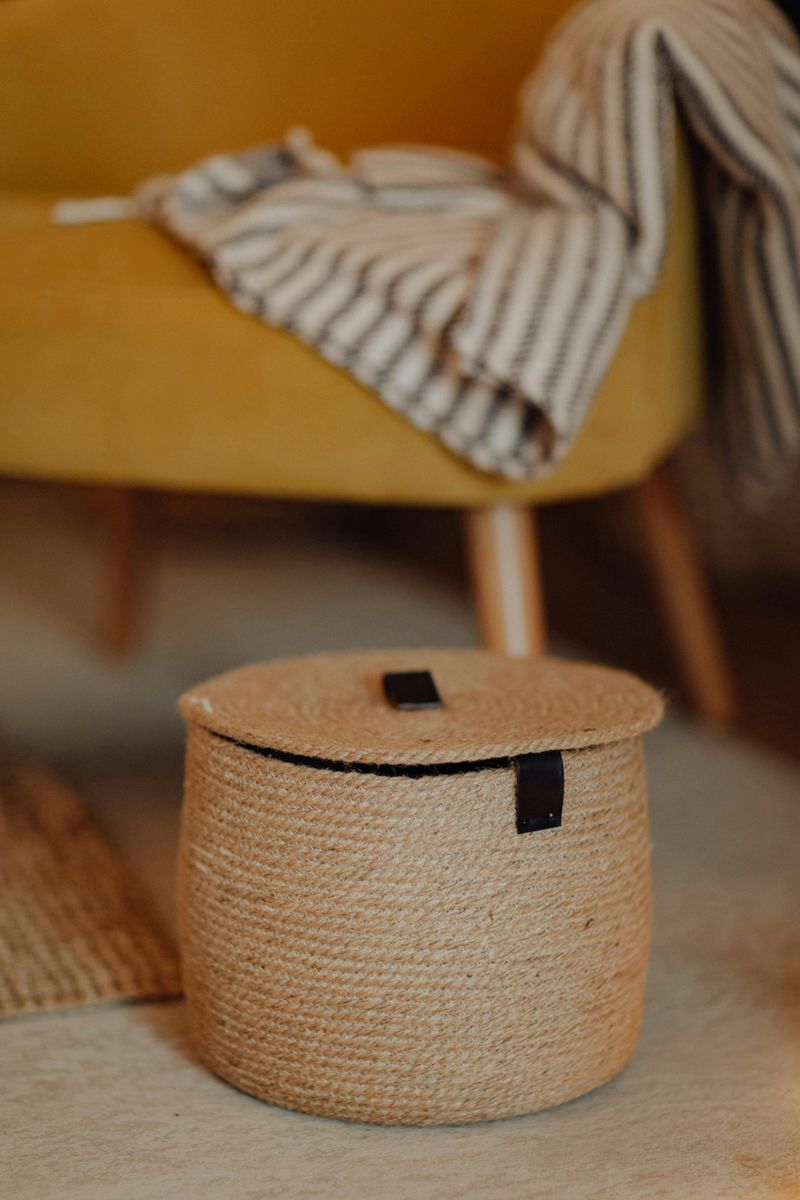
Humble cotton rope from the hardware store transforms into stunning storage when coiled and stitched together. Using a sewing machine with a zigzag stitch (or patient hand-sewing), create baskets of any size for organizing everything from toys to throw blankets.
The natural texture adds warmth to any room. Paint dipped ends or sections with bright colors for playful accents, or leave them natural for a beachy, bohemian vibe.
Make handles by leaving loops in the coiling process. These baskets cost a fraction of store-bought versions yet look like expensive boutique items – and nobody will have the exact same design as yours!
7. Washi Tape Switch Plates
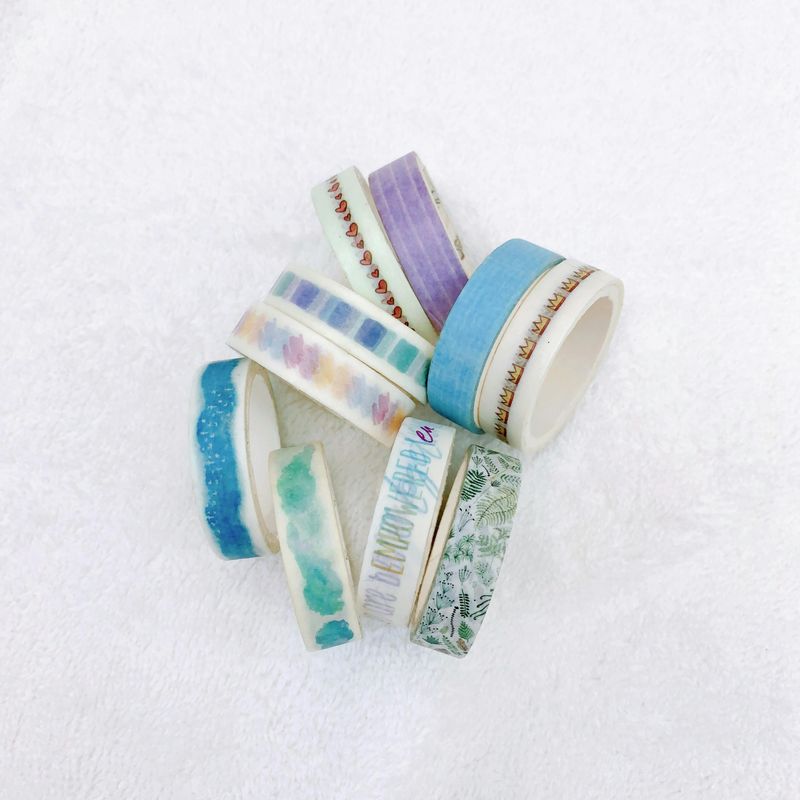
Light switch covers and outlet plates are often overlooked, but these small surfaces offer big opportunities for personalization. Using colorful washi tape in patterns that complement your room’s color scheme, transform these utilitarian items into mini art pieces.
Stripes, chevrons, or geometric patterns are easy to create even for beginners. The removable nature of washi tape makes this perfect for renters or those who like to change decor seasonally.
Apply a coat of clear polyurethane for durability after designing. This five-minute project adds unexpected pops of color and pattern to walls without the commitment of paint or the expense of custom plates.
8. Painted Rug Revival
That faded, stained area rug doesn’t need to be replaced – reinvent it! With fabric paint and stencils, plain or tired rugs become custom floor art that perfectly matches your decor.
Bold geometric patterns work well for beginners since straight lines forgive small mistakes. Natural fiber rugs like jute or cotton accept paint best, but even synthetic rugs can be transformed with the right fabric paint.
Start in one corner and work systematically across the rug. This weekend project costs about $30 in supplies but saves hundreds compared to buying a new designer rug – plus you’ll have the satisfaction of creating something truly one-of-a-kind.
9. Mason Jar Wall Planters
Bring living greenery to vertical spaces with wall-mounted mason jars. Using pipe clamps attached to reclaimed wood, create hanging planters for herbs in the kitchen or air plants in the bathroom.
The transparent jars allow you to see the soil, roots, and water levels, adding an interesting scientific element to your decor. Paint the lids or add copper tape around the jar rims for metallic accents that catch the light.
Choose plants that thrive in your light conditions – pothos, spider plants, and herbs are forgiving options for beginners. This living wall art connects your home to nature while utilizing wall space that would otherwise go unused.
10. Fabric-Wrapped Lampshades
Boring white lampshades disappear with a fabric makeover that coordinates perfectly with your decor. Using fabric scraps, vintage scarves, or even meaningful clothing items like baby blankets or wedding ties, create custom lighting that tells your story.
The secret to success is using fabric glue rather than hot glue, which can create lumps. Work in sections, pulling the fabric taut as you go around the shade.
Consider adding trim at the top and bottom edges for a professional finish. Old lampshades from thrift stores become statement pieces that cast beautiful patterned light while incorporating textiles that might otherwise sit unused in drawers.
11. Vintage Spoon Plant Markers
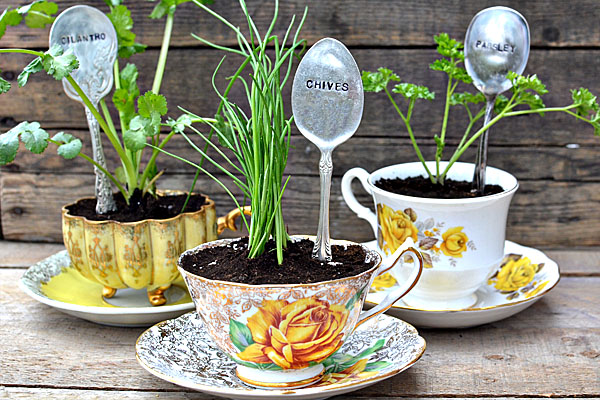
Mismatched vintage silverware from thrift stores becomes charming garden markers with just a hammer and metal stamps. Flatten the bowl of each spoon by hammering it against a hard surface, then stamp plant names into the metal.
For indoor houseplants, these markers add whimsical personality while helping you remember care instructions. In outdoor gardens, they weather beautifully, developing a patina that adds character.
Silver-plated spoons work best as they’re softer and easier to stamp. Consider adding small decorative elements like stars or hearts alongside the plant names for extra personality that makes even common houseplants feel special and intentionally chosen.
12. Custom Canvas Word Art
Meaningful quotes or family mantras become striking wall art with this simple technique. Using letter stickers on canvas, apply a base coat of paint, then remove the stickers once dry to reveal crisp lettering.
Family names, wedding dates, or favorite song lyrics all make for personalized art that speaks to your unique story. Layer multiple colors for an ombré effect, or keep it simple with bold contrasting colors.
For multi-word quotes, vary the font sizes to create visual hierarchy. This project costs less than $20 but creates statement pieces that look professionally designed while featuring words that hold special meaning to your family.