
Social media has turned a simple three-ingredient biscuit recipe into a baking sensation, and for good reason. These fluffy, buttery biscuits require minimal effort and just a handful of pantry staples, making them perfect for busy weeknights or lazy weekend mornings. After testing and refining this viral recipe, we’ve discovered the secrets to making these biscuits even better, along with helpful tips to ensure your batch turns out perfectly every time.
1. Understanding the Magic Three Ingredients
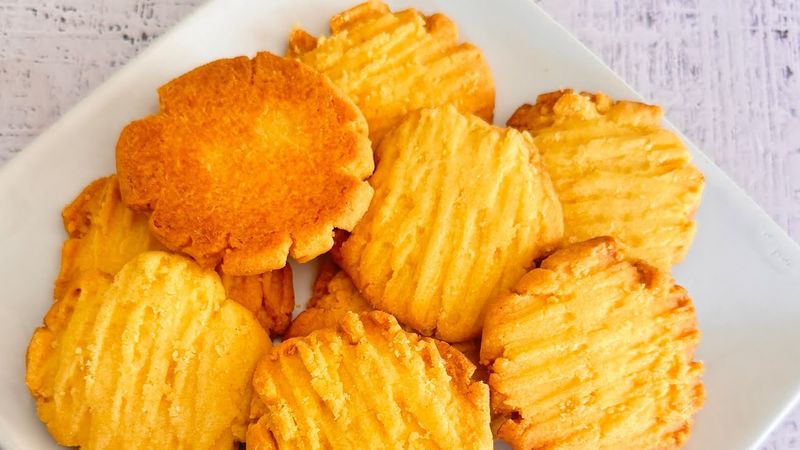
Self-rising flour, heavy cream, and salt are the only things standing between you and homemade biscuit heaven. The beauty of this combination lies in its simplicity and chemistry. Self-rising flour already contains baking powder and salt mixed in, which means you skip measuring multiple ingredients.
Heavy cream brings both fat and liquid to the party, creating tender layers without needing separate butter and milk. A pinch of extra salt enhances flavor and balances the richness. Together, these three humble ingredients create biscuits that rival complicated recipes with twice as many steps and components.
2. Getting the Dough Consistency Just Right
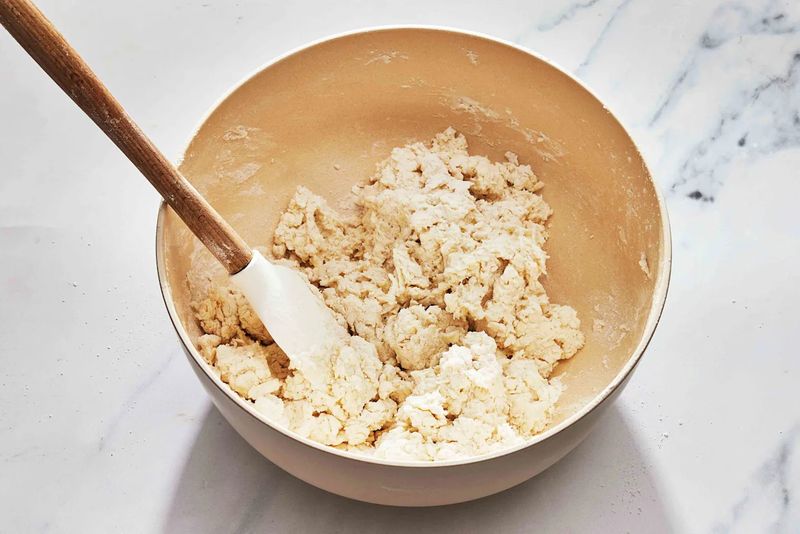
Many first-time bakers panic when their dough looks shaggy and rough instead of smooth. Resist the urge to overmix! Your dough should be slightly sticky and barely hold together when you first combine the ingredients.
Pour the cream gradually into the flour, stirring gently with a fork or wooden spoon. Stop mixing once you no longer see dry flour patches. Overworking the dough develops gluten, which leads to tough, dense biscuits instead of light, flaky ones. The dough will look messier than cookie dough but more cohesive than crumbs—that’s your sweet spot for perfect texture.
3. The Gentle Kneading Technique

Here’s where most people go wrong: they knead biscuit dough like it’s bread. Wrong approach! Biscuit dough needs only the gentlest touch to come together properly.
Turn your shaggy dough onto a lightly floured surface and fold it over itself just five or six times. You’re not trying to develop gluten; you’re simply creating layers that will puff up beautifully in the oven. Press down gently with your palms rather than aggressively working the dough. Think of it as coaxing the ingredients together rather than forcing them. This minimal handling keeps the biscuits tender and creates those coveted flaky layers everyone loves.
4. Shaping and Cutting for Maximum Rise
Pat your dough to about half an inch thick—any thinner and you’ll get hockey pucks instead of fluffy biscuits. Use a sharp biscuit cutter or glass dipped in flour, and here’s the key: press straight down without twisting.
Twisting seals the edges and prevents proper rising. Push the scraps together gently and cut more biscuits, though these second-cut ones won’t rise quite as high. Place your biscuits close together on the baking sheet, almost touching. They’ll support each other as they rise, creating taller biscuits with soft sides. Leave them far apart for crusty edges all around instead.
5. Baking Temperature and Timing Secrets
Crank that oven to 450 degrees Fahrenheit before you even start mixing. High heat is absolutely essential for creating steam quickly, which makes the biscuits puff up dramatically. A lukewarm oven produces sad, flat biscuits that never reach their potential.
Bake for ten to twelve minutes, watching carefully toward the end. Your biscuits are ready when the tops turn golden brown and smell incredible. Resist opening the oven door during the first eight minutes, as temperature drops can affect rising. Every oven runs differently, so trust your eyes and nose more than the timer on your first attempt.
6. Common Mistakes and How to Fix Them

Did your biscuits turn out flat as pancakes? You probably used expired self-rising flour, which loses its leavening power over time. Always check the date! Dense, tough biscuits usually mean you overmixed the dough or kneaded it too much.
Biscuits that spread sideways instead of rising up indicate your oven wasn’t hot enough or you twisted the cutter when cutting. Dry, crumbly biscuits need more cream next time—add an extra tablespoon or two. Pale biscuits that never brown simply need a few more minutes in the oven. Learning from these mistakes helps you nail the recipe on your next attempt.
7. Creative Flavor Variations to Try
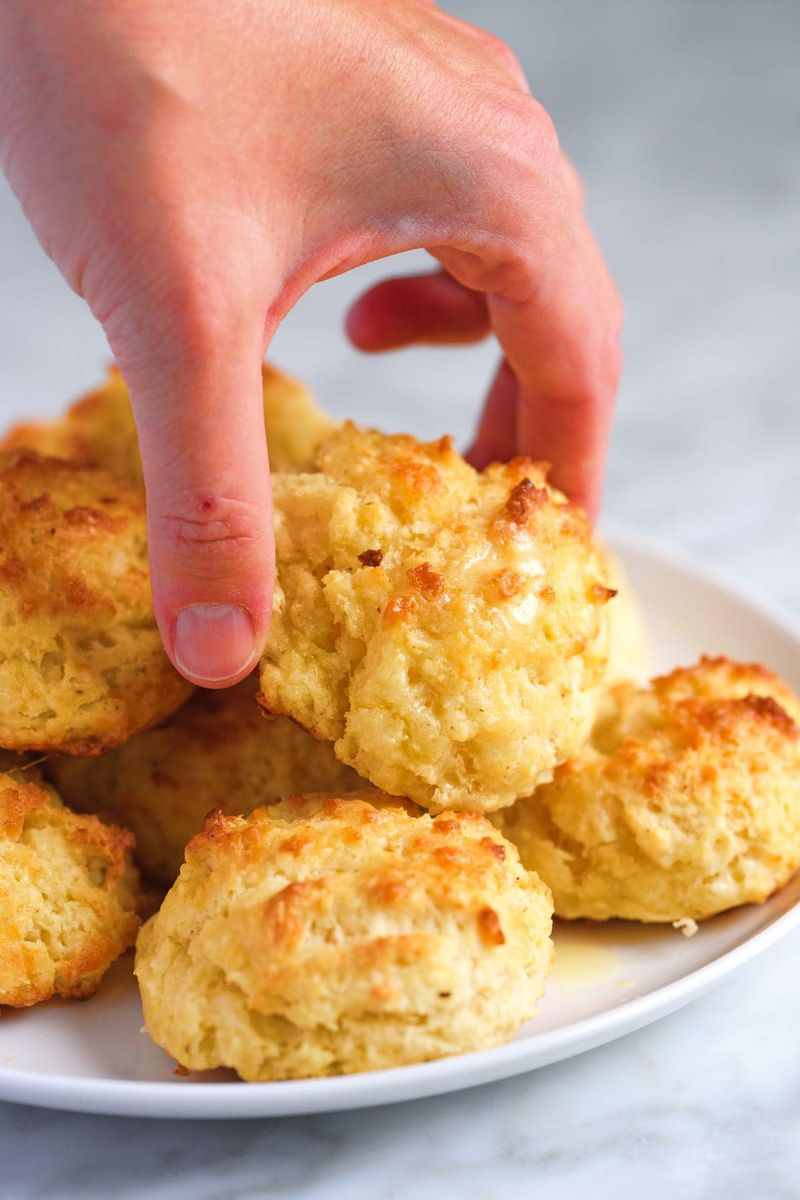
Once you’ve mastered the basic recipe, the flavor possibilities become endless and exciting. Fold in a cup of shredded cheddar cheese for savory, cheesy biscuits that pair perfectly with soup or chili.
Mix in fresh chopped herbs like rosemary, thyme, or chives for an elegant touch. For breakfast biscuits, add a tablespoon of sugar and some cinnamon to the dough. Crumbled bacon bits create irresistible savory treats. Garlic powder and parmesan make Italian-style biscuits that complement pasta dishes beautifully. Just remember to keep additions to about half a cup total so you don’t throw off the dough’s balance and texture.
8. Serving Suggestions and Storage Tips
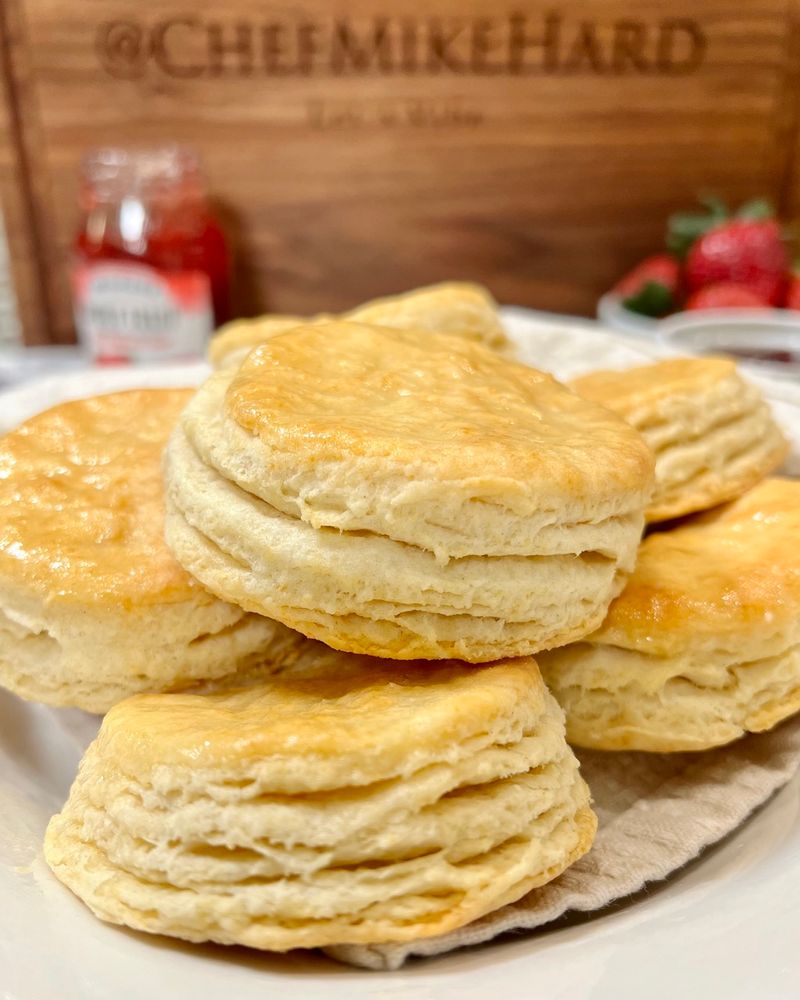
Serve these biscuits warm from the oven with butter melting into every flaky layer—pure comfort food magic. They’re fantastic alongside breakfast eggs, smothered in sausage gravy, or split for breakfast sandwiches.
For dinner, serve them with fried chicken, pot roast, or hearty stews. Store leftover biscuits in an airtight container at room temperature for up to two days. Reheat them in a 350-degree oven for five minutes to restore their fresh-baked texture. You can also freeze unbaked biscuits on a tray, then transfer them to a freezer bag. Bake frozen biscuits directly from the freezer, adding just two extra minutes to the baking time.