Halloween decorating doesn’t have to drain your wallet to make your home look amazing. With a few clever tricks and basic supplies from the dollar store, you can create spooky decorations that rival expensive store-bought items. Get ready to transform your space into a haunted wonderland without spending a fortune on fancy décor.
1. Floating Candles Made From Paper Towel Rolls

Turn ordinary cardboard tubes into magical floating candles that look straight out of a wizard’s castle. Paint paper towel rolls white, drip hot glue down the sides to create wax drips, then place battery-operated tea lights on top. Hang them from your ceiling using clear fishing line at different heights.
The flickering LED lights create an enchanting glow that transforms any room into a mystical space. Nobody will guess these elegant candles cost less than five dollars to make. This trick works especially well in hallways or dining rooms where guests can walk beneath them.
2. Elegant Black Lace Candlesticks

Empty wine bottles become sophisticated candle holders with just a yard of black lace from the craft store. Wrap the lace around cleaned glass bottles and secure it with hot glue or double-sided tape. Pop a taper candle in the opening, and you’ve got instant gothic elegance.
The combination of glass and lace creates dramatic shadows when the candles are lit. Group several together as a centerpiece or place them throughout your home for a cohesive look. You can even spray paint the bottles black first for extra drama without spending much more money.
3. Creepy Cloth Ghost Figures

Cheesecloth and liquid starch combine to create hauntingly realistic ghost figures that look professionally made. Drape cheesecloth over a balloon or wire form, then brush it with a mixture of liquid starch and water. Once it dries completely, the fabric holds its shape perfectly.
Remove the form inside, and your ghost will stand on its own with an eerie, floating appearance. Add googly eyes or leave them faceless for maximum creepiness. Hang these specters from trees outside or position them in dark corners inside to startle your guests in the best way possible.
4. Glowing Eyes in the Bushes

Create the illusion of lurking creatures with nothing more than toilet paper rolls and glow sticks. Cut eye shapes into the cardboard tubes, then slip a glow stick inside each one. Hide them throughout your bushes and garden beds as darkness falls.
The glowing eyes peering out from the shadows will make visitors think twice about approaching your door. Use different colors of glow sticks for variety—green for aliens, red for demons, or yellow for wild animals. This incredibly cheap hack delivers maximum impact and works beautifully for outdoor Halloween displays that need extra spookiness after sunset.
5. Apothecary Jars With Specimen Labels

Old jars from your pantry transform into mysterious apothecary bottles with printable vintage labels and dollar store finds. Fill them with colored water, plastic insects, fake eyeballs, or small toys submerged in liquid. Print aged-looking labels with creepy names like “Dragon Scales” or “Witch’s Tears” from free online templates.
Arrange these jars on shelves or mantels for an instant mad scientist laboratory vibe. The vintage aesthetic makes them look like expensive antique collectibles rather than recycled pasta sauce containers. Add food coloring to water for extra visual interest without any additional cost beyond what you already have at home.
6. Bloody Handprint Window Clings

A bottle of red acrylic paint and your own hands create disturbingly realistic bloody handprints on windows. Mix the paint with a tiny bit of dish soap so it washes off easily later. Press your painted palm against the glass and drag it slightly for a truly creepy effect.
Layer multiple handprints at different angles to tell a spooky story of someone trying to escape. The translucent quality of the paint lets light shine through while still being visible from both inside and outside. This hack costs practically nothing but delivers serious scares that make neighbors stop and stare at your decorating skills.
7. Elegant Black Feather Wreath

Dollar store feather boas wrapped around a foam wreath form create a sophisticated Halloween greeting at your entrance. Simply wind black feathers around the wreath base, securing with hot glue as you go. Add a dramatic ribbon bow and perhaps a plastic crow or skull for extra flair.
The texture of the feathers adds unexpected elegance that looks far more expensive than its actual cost. This works beautifully for those who prefer classy Halloween décor over gory or childish themes. Hang it on your front door or above your fireplace mantel to set a mysteriously chic tone for your entire Halloween display this year.
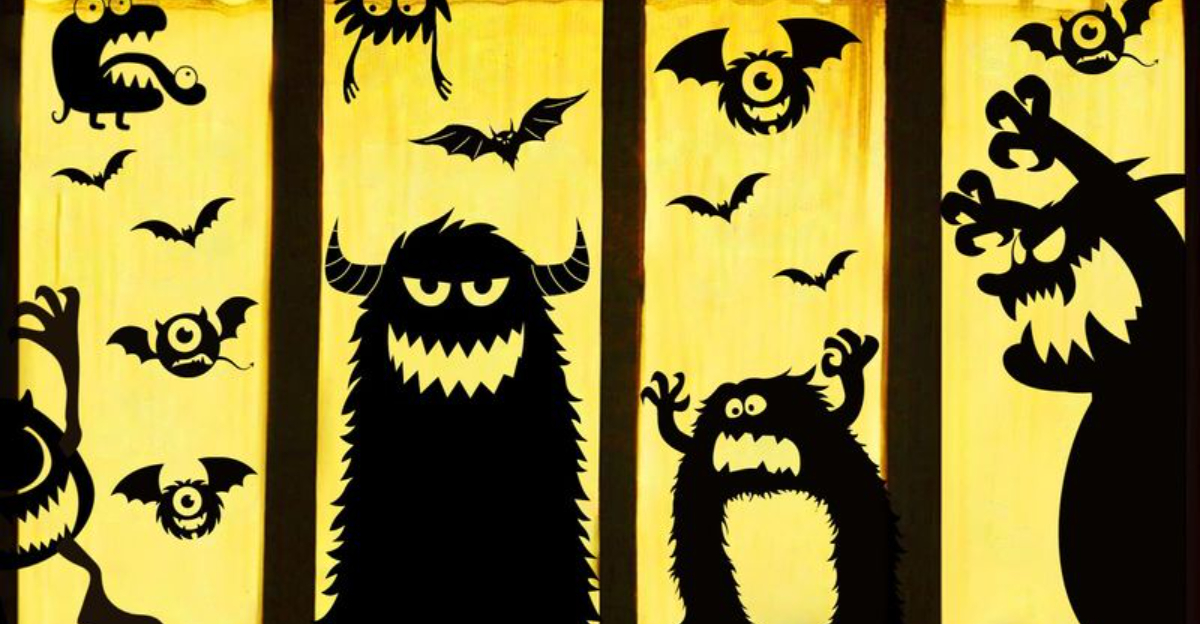
8. Spooky Silhouette Window Displays

Black cardboard or poster board cut into spooky shapes becomes striking window art when backlit at night. Trace or print silhouettes of witches, cats, bats, or haunted houses, then cut them out carefully. Tape them to your windows and position a lamp behind them after dark.
From the street, your windows will display dramatic shadow theater that stops traffic and impresses everyone who passes by. The stark contrast between light and shadow creates professional-looking displays without requiring artistic skills. Change up the scenes in different windows to tell a story or create a cohesive haunted theme throughout your home’s exterior appearance.
9. Mummy Luminaries From Mason Jars

Medical gauze or white fabric strips wrapped around mason jars create adorable mummy luminaries that glow when lit from within. Wind the material around the jar in random directions, leaving gaps for light to shine through. Glue on googly eyes near the top, then drop a battery-operated tea light inside.
Line these along your walkway or staircase for a welcoming yet spooky path that guides trick-or-treaters safely. Kids absolutely love these friendly mummies that aren’t too scary but still perfectly festive. The soft glow through the gauze creates ambiance while the googly eyes add just enough personality to make people smile at your creative decorating skills.
10. Painted Pumpkin Designs With Metallic Accents

Skip the messy carving and paint your pumpkins instead for an upscale look that lasts much longer. Use white or black spray paint as a base, then add metallic gold or copper designs with a small brush. Geometric patterns, drips, or constellation designs all look incredibly sophisticated.
Painted pumpkins won’t rot or attract bugs like carved ones do, meaning your decorations stay beautiful throughout the entire season. The metallic accents catch the light beautifully and coordinate with both traditional and modern home décor styles. This technique works on real or foam pumpkins, giving you flexibility based on your budget and storage plans for future years ahead.