Halloween wouldn’t be complete without the warm glow of carved pumpkins lighting up porches and windowsills. Whether you’re a first-timer or a seasoned pro, finding fresh inspiration can transform your pumpkin from ordinary to extraordinary. This collection of creative designs ranges from simple classics to stunning modern looks that will make your neighbors stop and stare.
1. Traditional Jack-O’-Lantern

Nothing beats the nostalgia of a classic jack-o’-lantern grinning from your front steps. Triangle eyes and a jagged, toothy smile have been welcoming trick-or-treaters for generations, and there’s good reason this design never goes out of style.
Start by drawing your face with a marker before cutting to ensure symmetry. Use a sturdy serrated knife or pumpkin saw for clean edges. The beauty of this design lies in its simplicity, making it perfect for carving with kids or when you’re short on time.
Pop a candle or LED light inside, and watch your pumpkin come alive with that timeless Halloween spirit. It’s cheerful, recognizable, and captures everything we love about the season.
2. Winking Face
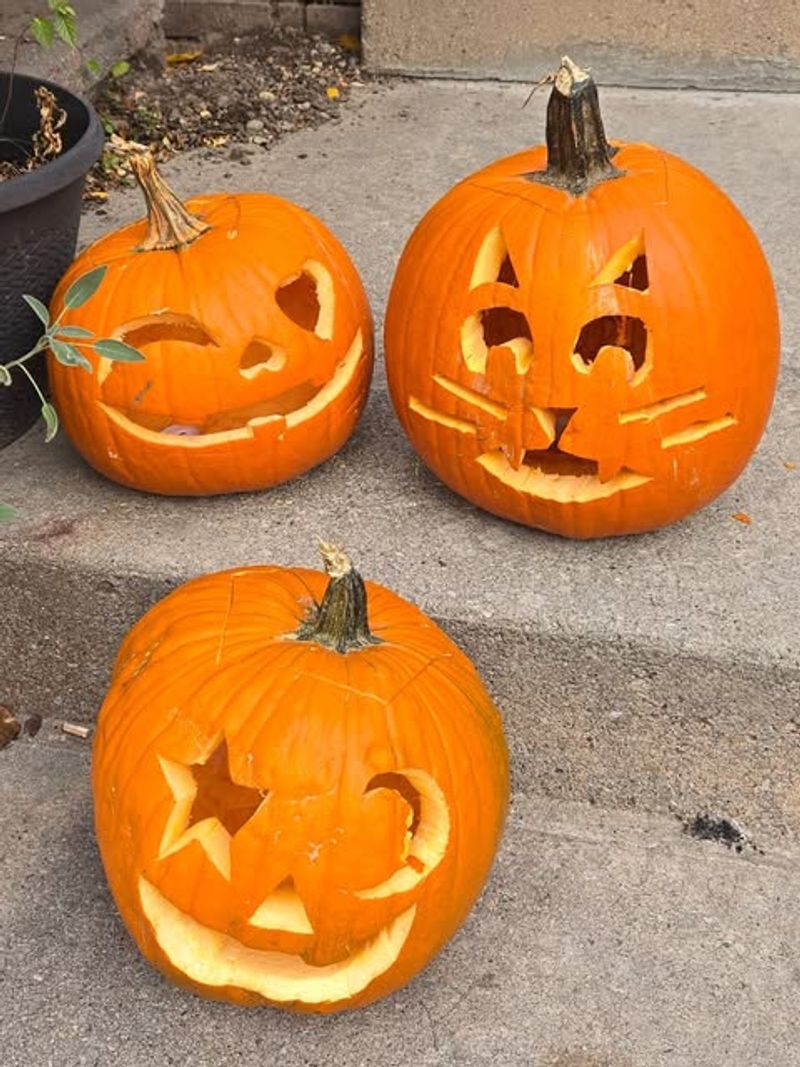
Image Credit: © andrewsscenic
Add personality and charm with a winking pumpkin that brings a playful twist to your Halloween display. Instead of the standard two-eyed stare, carve one eye open and the other as a curved line to create that cheeky wink.
This design works especially well if you want something cute rather than frightening. Kids absolutely adore the friendly expression, and it stands out among rows of traditional scary faces. Pair it with a gentle smile or even a tongue sticking out for extra character.
The technique is just as easy as a classic jack-o’-lantern but feels fresh and modern. Your pumpkin will look like it’s sharing a secret joke with everyone who passes by.
3. Starry Night
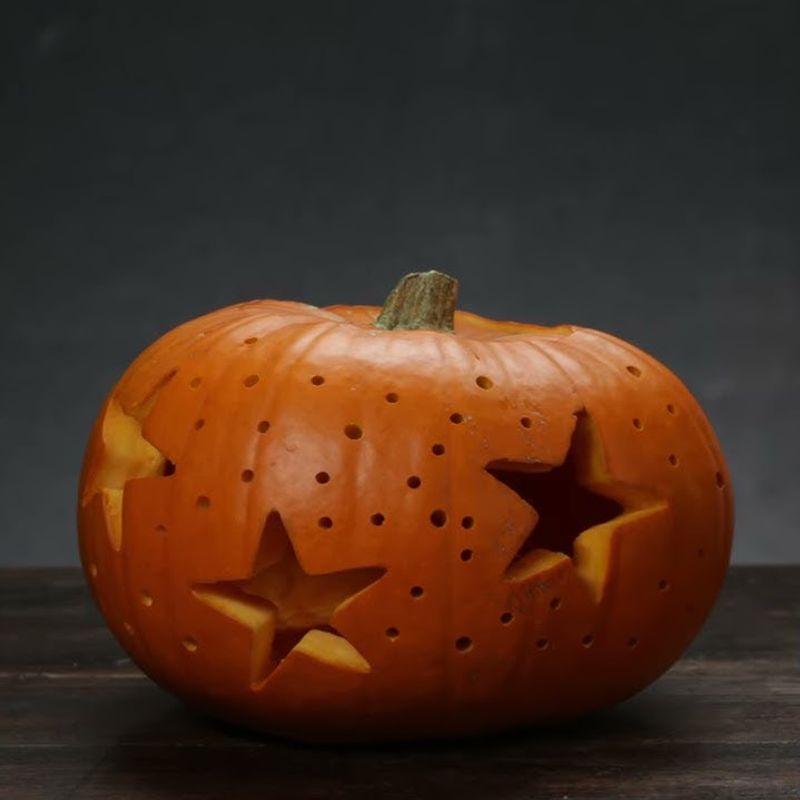
Image Credit: © YouTube
Transform your pumpkin into a glowing celestial masterpiece by punching out stars and moons across its surface. Grab some metal cookie cutters in various star and moon shapes, then gently tap them into the pumpkin with a mallet or hammer.
You don’t need to carve all the way through—just deep enough to let light shine through creates a magical effect. Arrange your shapes randomly or create constellations for an educational twist. This technique is safer for younger kids since you’re not dealing with large carved sections.
When lit from within, your pumpkin becomes a miniature night sky that casts beautiful shadows on surrounding surfaces. It’s enchanting, elegant, and surprisingly simple to achieve with tools you already have in your kitchen.
4. Pumpkin Within a Pumpkin

Image Credit: © juniorsartanddiy
Create an optical illusion that’ll have everyone doing a double-take by carving a smaller pumpkin face inside your larger carved opening. Start by carving a traditional large jack-o’-lantern face, then carve a miniature version within the mouth or main cavity.
This layered effect adds depth and dimension that most pumpkins lack. You can make the inner face match the outer one or give them contrasting expressions for comedic effect. Some carvers even add a third tiny face for an inception-style design.
The trick is planning your proportions carefully before you start cutting. Sketch both faces on paper first to ensure they’ll fit properly. When lit up, this clever design creates fascinating shadows and highlights that make your pumpkin truly unforgettable.
5. Spider Web
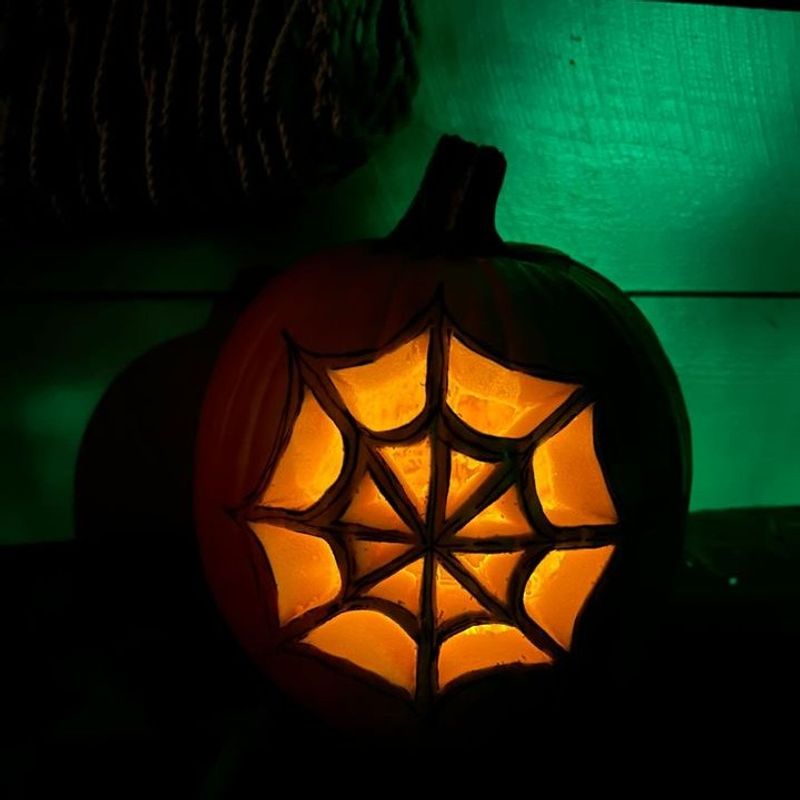
Image Credit: © kitehillbrewing
Few designs capture Halloween’s creepy-crawly spirit like an intricate spider web spreading across your pumpkin’s surface. Start from the center and work outward, carving thin lines that radiate like spokes, then connect them with curved lines to form the web.
Precision is important here—use a thin carving tool or craft knife for delicate lines. You can add a carved spider in the corner for extra authenticity. String lights work better than candles for this design, as they illuminate each strand of the web beautifully without creating harsh shadows.
The finished effect is both elegant and eerie. Your web will cast mesmerizing patterns on nearby walls when lit, creating an ambiance that’s perfectly Halloween without being overly scary or gory.
6. Skeleton Face
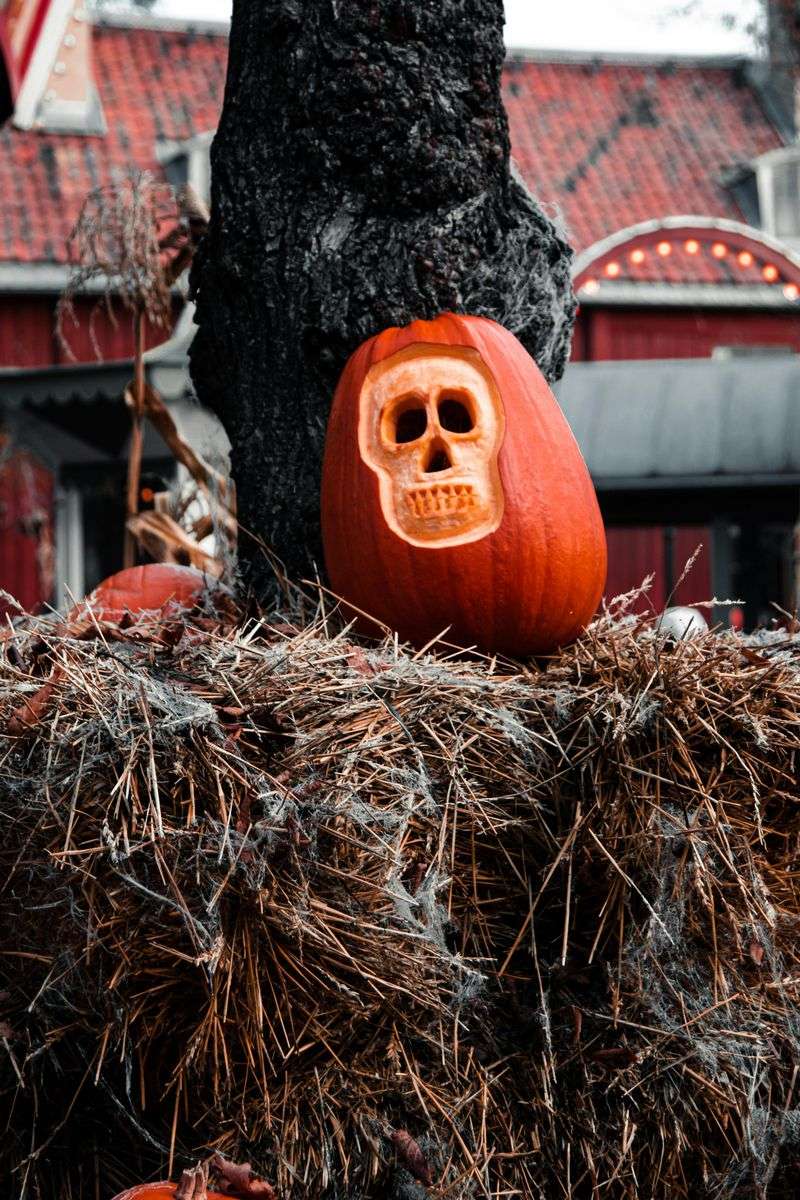
Image Credit: © Aleks Magnusson / Pexels
Challenge your carving skills with a realistic skeleton face that uses shading and depth to create bone-chilling dimension. Unlike flat carvings, this technique involves scraping away layers at different depths to create highlights and shadows that mimic a genuine skull.
You’ll need specialized tools like loop tools and V-gouges to achieve the subtle variations in depth. Focus on the eye sockets, nasal cavity, and teeth—these features define a skull’s unmistakable structure. Templates are available online for guidance, but freehand artists can sketch directly onto the pumpkin.
The payoff is spectacular: a hauntingly realistic skull that looks three-dimensional even in daylight. At night, the varied depths create shadows that make your skeleton appear to move and shift in the flickering candlelight.
7. Floral Carving
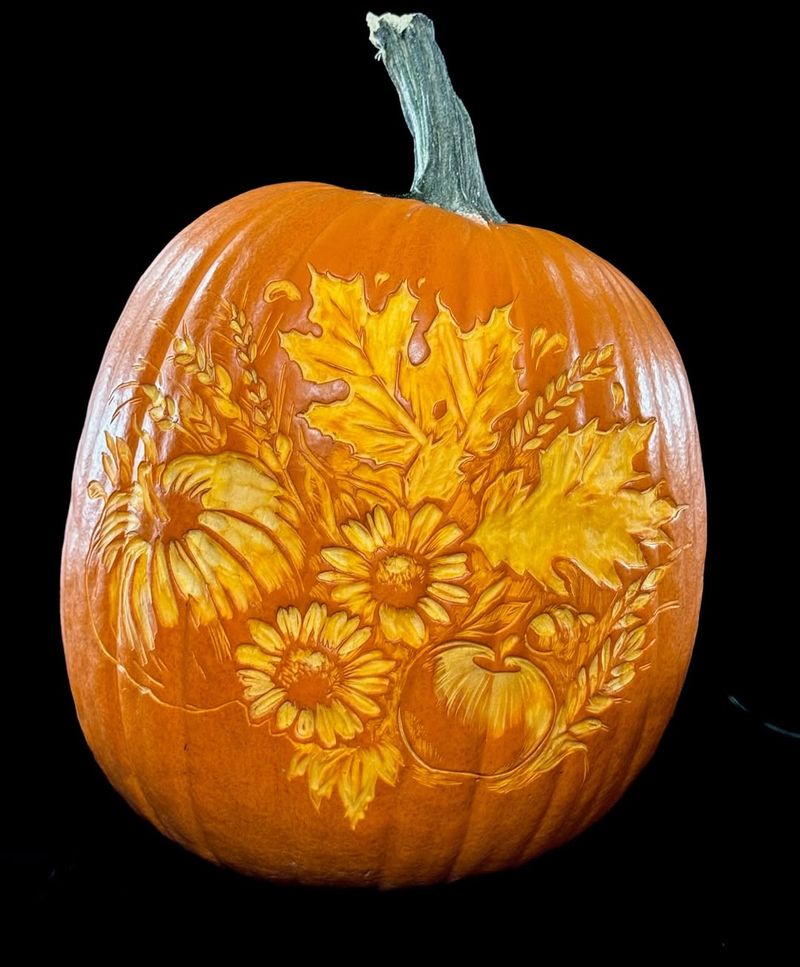
Image Credit: © maniacpumpkins
Who says pumpkins must be spooky? Carve elegant flowers and leaves for a sophisticated autumn decoration that works from October straight through Thanksgiving. Roses, dahlias, and maple leaves make stunning subjects that celebrate the season’s natural beauty.
This approach appeals to those who love fall aesthetics but prefer to skip the Halloween fright factor. Use the same etching and depth-carving techniques as spooky designs, but apply them to botanical patterns instead. The result feels more like art than decoration.
Display your floral pumpkin at dinner parties, weddings, or as elegant porch decor. It proves that pumpkin carving isn’t just for kids or horror fans—it’s a versatile craft that can match any aesthetic preference or decorating style beautifully.