Ever walk into a historic home and wonder how to capture that timeless elegance without knocking down walls or spending a fortune?
You’re not alone.
Many homeowners crave the character of old-world architecture but don’t have the budget for major renovations.
The good news is that skilled designers have mastered clever tricks to mimic classic architectural details using affordable materials and simple techniques that anyone can try.
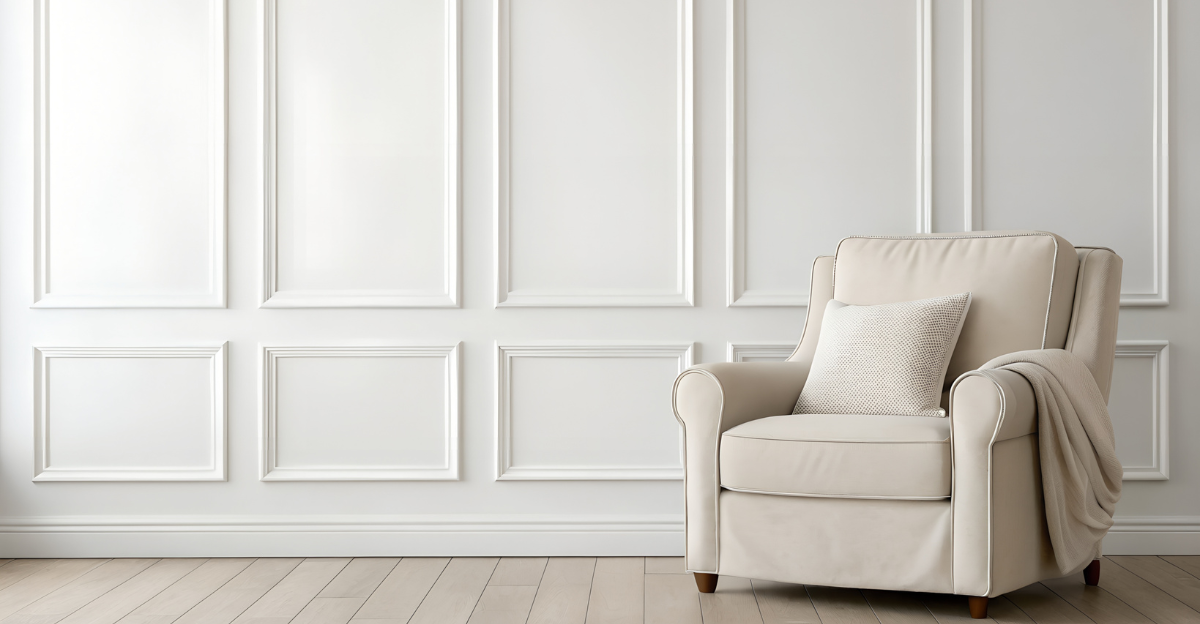
1. Crown Molding and Trim Work

Walk into any elegant room and your eyes naturally drift upward to the crown molding that frames the ceiling.
Adding this decorative trim instantly elevates a plain space into something sophisticated.
You don’t need carpentry skills either—pre-cut pieces from home improvement stores make installation surprisingly straightforward.
Chair rails offer another layer of visual interest at waist height.
Picture-frame molding creates boxed patterns on walls that mimic traditional paneling.
Both tricks cost less than you’d imagine.
Paint your trim in crisp white or a contrasting shade to make architectural details pop.
The transformation happens quickly, usually within a weekend project timeframe for most rooms.
2. Faux Wall Paneling with MDF

Medium-density fiberboard offers a budget-friendly path to luxurious-looking wall panels.
Cut into strips and arranged in geometric patterns, MDF mimics the expensive millwork found in historic mansions.
Hardware stores sell it in manageable sheets that fit in most vehicles.
Planning your panel layout beforehand prevents mistakes and wasted materials.
Use a level and measuring tape to mark where each piece goes.
Construction adhesive and a nail gun secure everything firmly.
After installation, caulk the seams and paint everything the same color for a seamless finish.
The painted surface hides the fact that you used affordable materials instead of solid hardwood panels.
3. Beadboard and Shiplap Texture

Beadboard brings cottage charm to any space with its distinctive vertical grooves.
Originally designed to protect walls from chair backs, today it serves as a decorative element that adds dimension.
Installing beadboard panels takes less time than applying individual strips.
Shiplap creates horizontal lines that make rooms feel wider and more casual.
Popularized by farmhouse style, these overlapping boards work beautifully in kitchens, bathrooms, and bedrooms.
Both materials come in affordable versions made from composite materials.
Paint them white for a coastal vibe or leave natural wood tones for rustic appeal.
Either texture instantly upgrades builder-grade walls into something special.
4. Lightweight Faux Ceiling Beams

Real timber beams weigh hundreds of pounds and require structural support, but hollow faux beams deliver the same visual drama without the engineering headaches.
Made from polyurethane or lightweight wood shells, they attach directly to ceiling surfaces using construction adhesive and screws.
Stain them to match your flooring or paint them for contrast against white ceilings.
Spacing beams evenly across the ceiling creates rhythm and draws attention upward, making rooms feel grander.
Installation typically takes just a few hours for an average-sized room.
Nobody will guess they’re not solid wood unless they climb a ladder for a close inspection.
5. Decorative Ceiling Treatments

Ceilings often get ignored, but treating them as the fifth wall adds unexpected elegance.
Coffered ceilings with their grid of recessed panels once required skilled craftsmen, but modern kits simplify the process dramatically.
Lightweight materials snap together like puzzle pieces.
Ceiling medallions around light fixtures provide another easy upgrade.
These circular decorative pieces come in dozens of styles, from ornate Victorian to sleek contemporary designs.
Installation involves just adhesive and paint.
Applied trim can create shadow boxes or geometric patterns that trick the eye into seeing depth.
Even painting your ceiling a different color than walls creates architectural interest without any construction.
6. Built-In Style Shelving

Custom built-ins cost thousands, but clever designers achieve the same polished look using store-bought bookcases.
The secret lies in how you install and finish them.
Anchor units side-by-side, then add trim pieces along the top, bottom, and sides.
Crown molding across the top makes shelves look like permanent architecture rather than furniture. Baseboards at the bottom continue the illusion.
Paint everything—including the wall behind—in matching colors for cohesion.
This approach works beautifully flanking fireplaces, framing windows, or filling entire walls.
Guests will assume you hired a carpenter when you actually just shopped smart and added finishing touches.
7. Creative Paint Techniques

Sometimes the best architectural illusions come from a paintbrush rather than power tools.
Color blocking with painter’s tape creates the appearance of wainscoting or panels without installing anything.
Choose two coordinating shades and divide your wall horizontally or into geometric sections.
Shadow lines painted along edges mimic the depth of real trim work.
Faux wainscoting painted onto walls costs practically nothing but looks surprisingly convincing from normal viewing distances.
These techniques work especially well in rentals where permanent modifications aren’t allowed.
When you move, simply repaint over your artistic additions.
The temporary nature doesn’t diminish the impressive results you’ll enjoy.
8. Softened Archway Openings

Squared doorways feel generic, but arched openings exude old-world charm.
Rather than hiring contractors to restructure walls, designers apply curved trim pieces over existing rectangular frames.
Pre-made arch kits make this transformation achievable in a single afternoon.
The flexible trim bends to create graceful curves without special tools.
Attach it with adhesive and finish nails, then caulk seams before painting.
The result softens harsh angles and adds European elegance.
This trick works for doorways between rooms or openings into hallways.
Even partially rounded corners—called eyebrow arches—create significant visual impact without fully committing to dramatic curves throughout your home.
9. Layered Window Casing

Builder-grade window trim looks thin and unimpressive, but layering additional molding pieces creates depth and sophistication.
Start with your existing casing as the base layer, then add wider trim around it.
Crown molding across the top forms a decorative header.
Rosette blocks in the corners add traditional detailing without complex mitering.
The layered approach mimics craftsman-style windows found in historic homes.
Each additional piece increases the perceived value of your space.
Measure carefully and use a miter saw for clean angles.
Paint all layers the same color for a cohesive look, or highlight different elements with subtle color variations for extra dimension.
10. Prefabricated Fireplace Surrounds

A fireplace serves as a room’s natural focal point, so upgrading its surround delivers maximum visual impact.
Prefab mantel kits come in countless styles, from sleek modern to ornately carved traditional designs.
Most attach directly to walls without modifying the firebox itself.
Panel kits let you build a custom-looking surround using modular pieces.
Columns, shelves, and decorative corbels combine however you prefer.
The assembled result appears far more expensive than the individual components cost.
Tile or stone veneer around the firebox completes the transformation.
These lightweight materials adhere with special adhesive, requiring no masonry skills.
Your upgraded fireplace becomes the room’s showpiece.
11. Enhanced Panel Door Molding

Flat slab doors scream builder-grade, but adding molding transforms them into classic panel doors.
Measure and cut trim pieces into rectangles that mimic traditional door panels.
Arrange them symmetrically on the door surface before attaching with adhesive and finishing nails.
Two or three panels per door create the most authentic look.
Sand everything smooth, then prime and paint for a factory-finished appearance.
The three-dimensional effect tricks visitors into thinking you installed expensive solid doors.
This upgrade works on closet doors, bedroom doors, and even kitchen cabinets.
Matching all doors throughout your home creates architectural consistency that elevates your entire space.