Halloween decorating doesn’t have to drain your wallet or send you into debt. With a little creativity and some basic supplies you probably already have at home, you can transform your space into a spooky wonderland for less than the cost of a large pizza. These budget-friendly ideas prove that scary-good style is totally achievable when you’re willing to get crafty and think outside the box.
1. DIY Ghosts with Tissue and Cotton Balls
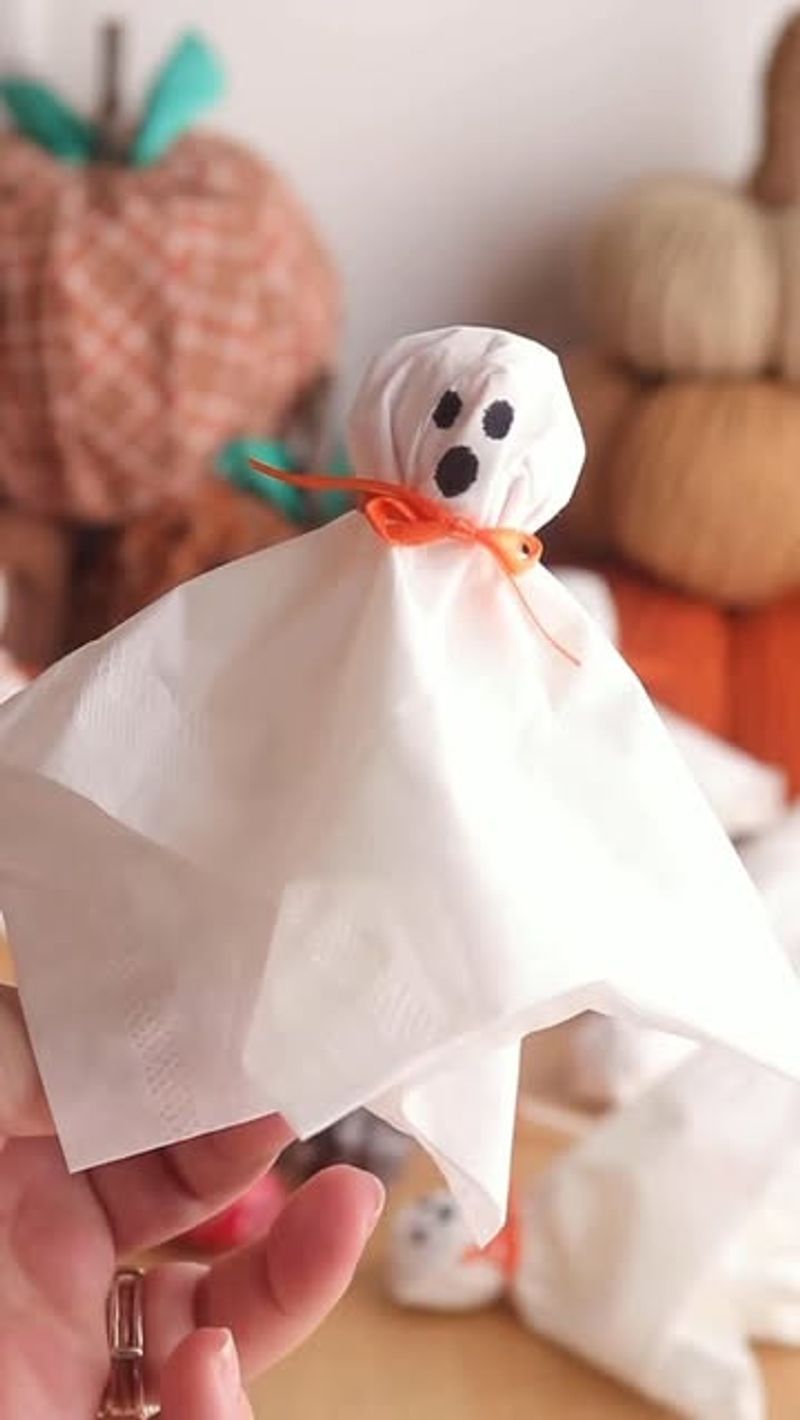
With just a handful of cotton balls and some white tissues or napkins, you can create an army of adorable mini ghosts that’ll haunt your home in the cutest way possible. Simply wrap the tissue around a cotton ball or crumpled paper, then secure it with string or a twist tie at the neck.
Grab a black marker and draw on spooky or silly faces—go for classic circles and an O-shaped mouth, or get creative with winking eyes and crooked grins. These little spirits look amazing dangling from your ceiling on fishing line or scattered across your mantle and shelves.
Most homes already have these supplies tucked away in a drawer somewhere, making this one of the cheapest Halloween crafts around.
2. Candlelight and Jars for an Eerie Glow
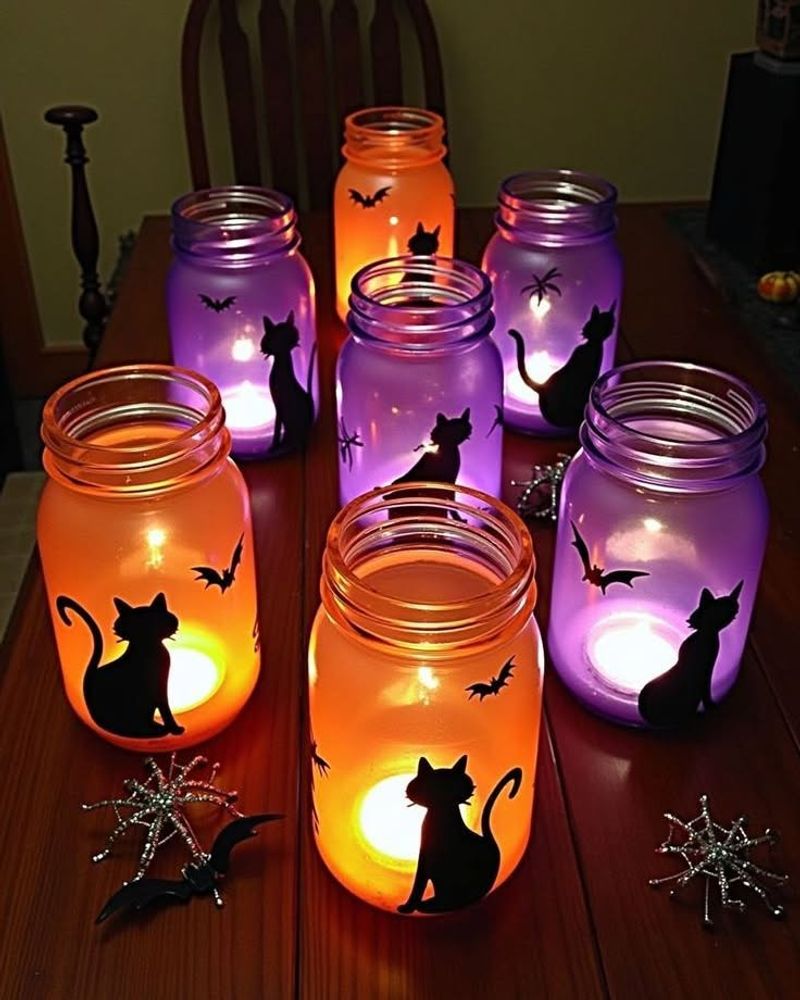
Old jars gathering dust in your pantry can become the perfect vessels for Halloween ambiance. Paint them in classic Halloween shades like orange or black using acrylic paint, or wrap them with gauze strips to create a mummy-inspired look that’s equal parts creepy and clever.
Pop battery-operated or real tealight candles inside to cast flickering shadows that dance across your walls. The soft, mysterious glow instantly transforms any room into something straight out of a haunted mansion.
This project works beautifully on windowsills, dining tables, or lining your front porch steps to welcome trick-or-treaters. Safety tip: battery-operated candles are ideal if you have curious pets or small children around.
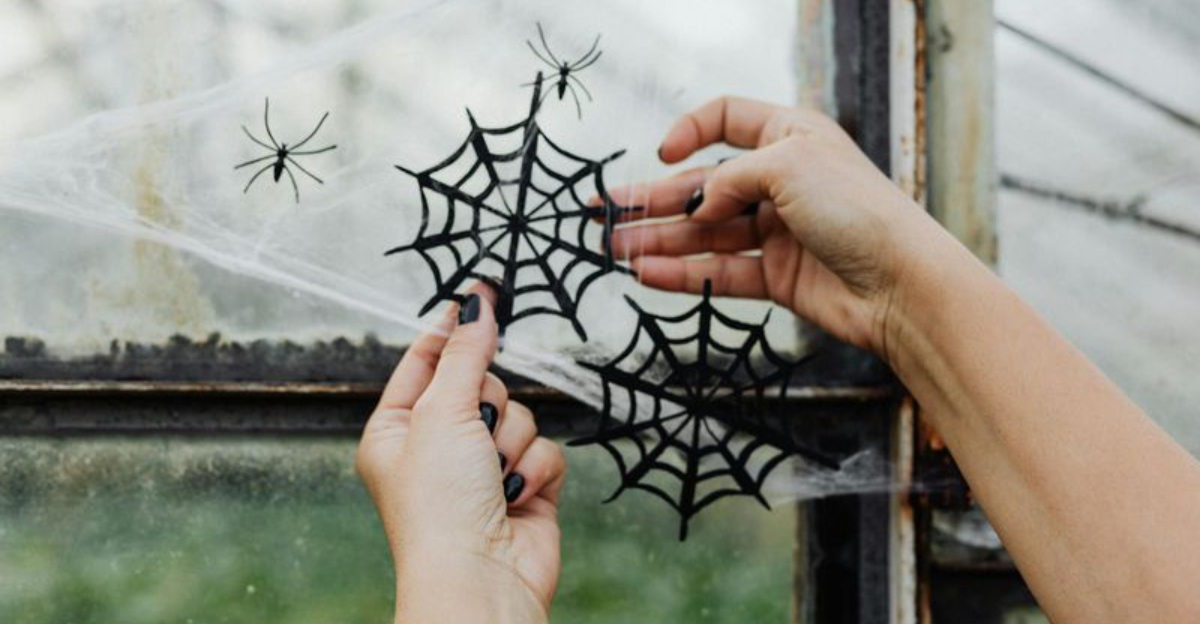
3. Spider Web Cotton and Plastic Spiders
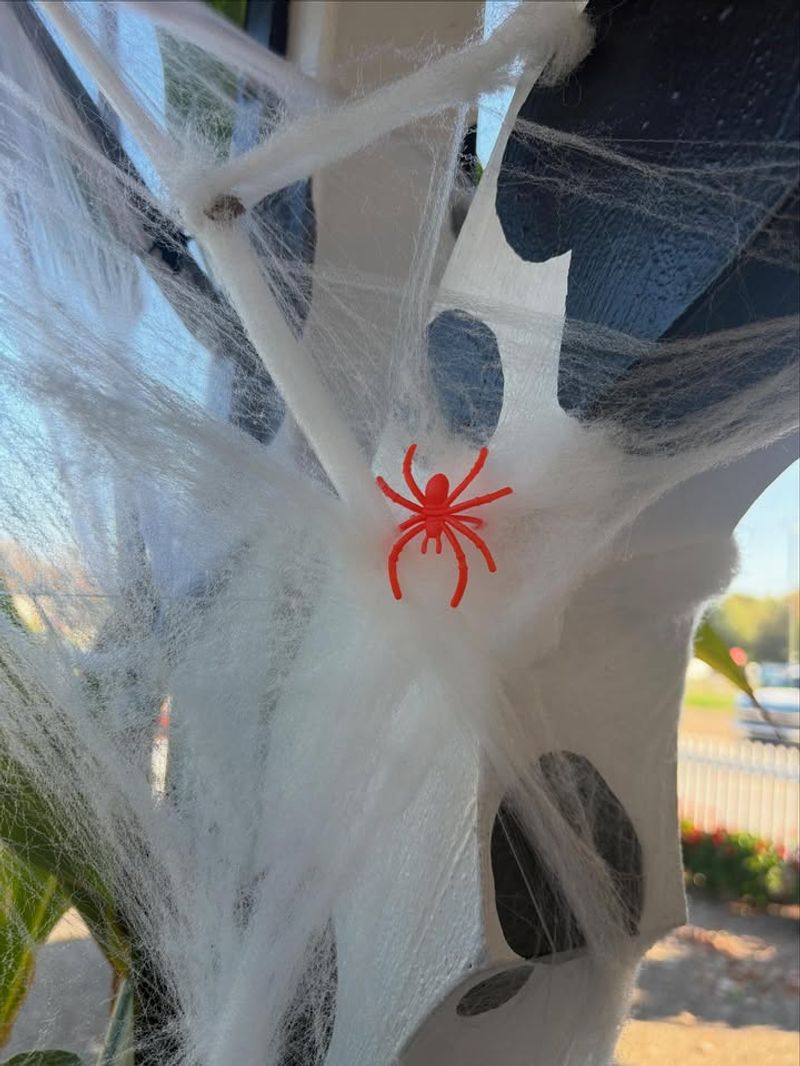
Nothing screams abandoned haunted house quite like cobwebs draping every corner and surface. Pick up a bag of fake spider web cotton from your local dollar store—it stretches surprisingly far and sticks to almost anything.
Pull it apart gently and stretch it across picture frames, mirrors, doorways, and furniture corners for that neglected, creepy vibe. Toss in a few plastic spiders from the same store, positioning them like they’re crawling through their webby domain.
The beauty of this decoration is how quickly it transforms a space—within minutes, your clean living room can look like it’s been abandoned for decades. When Halloween ends, it peels away easily without leaving residue on most surfaces.
4. Trash Bag Bats and Silhouettes
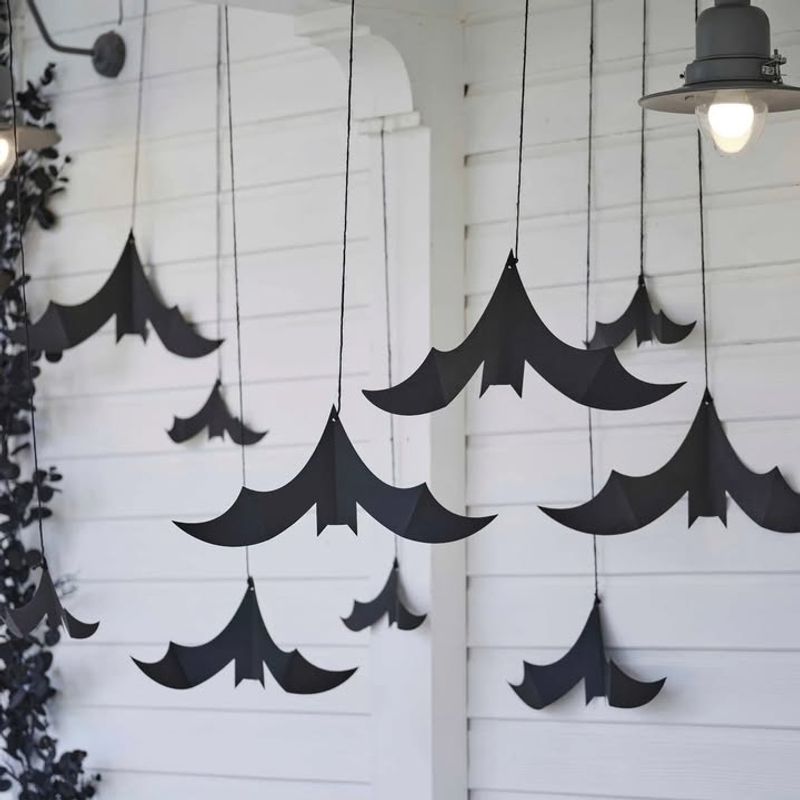
Black trash bags aren’t just for taking out the garbage—they’re secret weapons for Halloween decorating on a shoestring budget. Cut out bat shapes in various sizes using scissors, following simple templates you can find online or freehand if you’re feeling artistic.
Construction paper works great too if you have some lying around from school projects. Tape your creations to walls, windows, or even hang them from the ceiling using clear fishing line so they appear to be flying through your home.
The silhouette effect looks especially dramatic against windows when viewed from outside at night. You can also create other spooky shapes like witches, cats, or creepy hands reaching upward.
5. Haunted Mirror or Frame

Every haunted house needs a chilling message that makes visitors do a double-take. Dig out an old mirror or picture frame from storage and use red lipstick or washable paint to scrawl eerie messages or sketches.
The smudged look of writing adds authentic creepiness that spray paint just can’t match. Enhance the haunted effect by drawing fake cracks with black marker or adding cobweb details with white eyeliner in the corners.
Drape some of that spider web cotton around the frame’s edges for extra atmosphere. This decoration costs virtually nothing since you’re repurposing items already in your home, yet it creates one of the most memorable and unsettling focal points.
6. Halloween Garland with Paper Cutouts
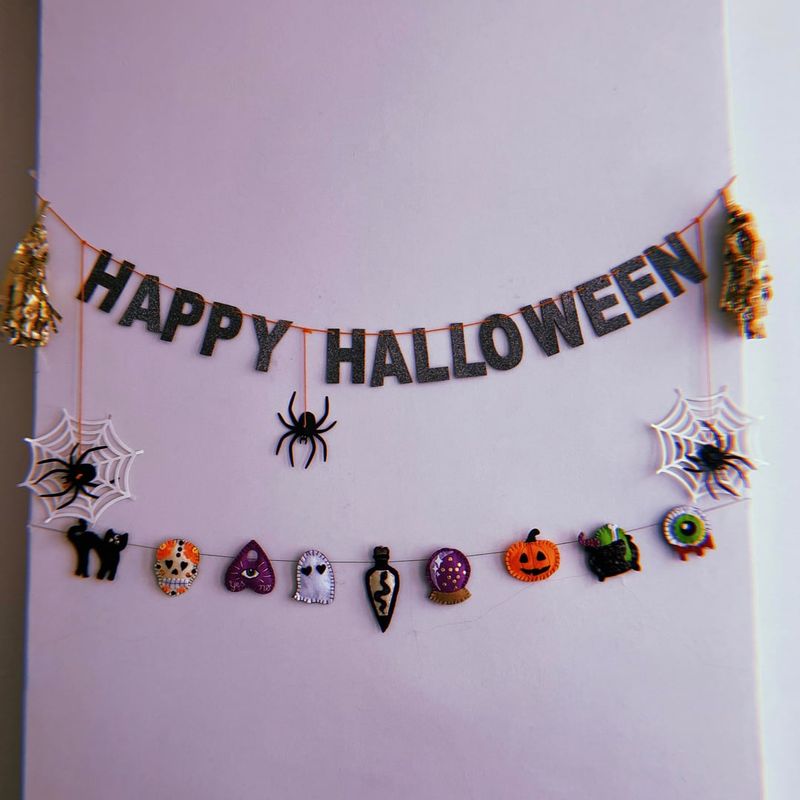
Remember making paper chains in elementary school? This project brings back that same crafty energy with a spooky twist. Cut out Halloween shapes—pumpkins, skulls, ghosts, witches, or black cats—from construction paper or cardstock in orange, black, purple, and white.
Punch holes at the top of each shape and string them together with yarn, twine, or ribbon, spacing them evenly for a polished look. Drape your finished garland across mantles, doorways, stair railings, or along walls to add festive pops of color throughout your home.
Kids absolutely love helping with this project, and it keeps them entertained for an afternoon while creating decorations together. The homemade charm adds warmth to your Halloween setup.
7. Potion Bottles and Creepy Labels
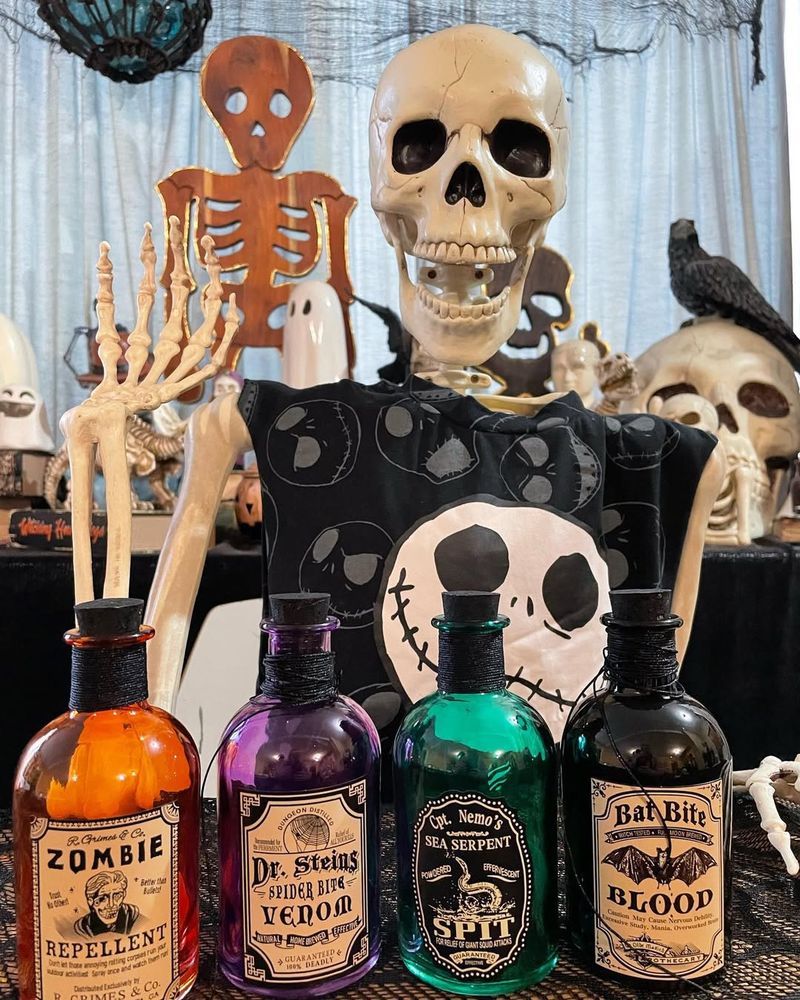
Channel your inner witch or mad scientist by transforming empty bottles and jars into mysterious potion containers. Fill them with colored water—use food coloring to create vibrant greens, blood reds, or eerie purples that look genuinely magical.
Print free spooky labels from the internet or hand-write your own on aged-looking paper, giving them names like “Witch’s Brew,” “Spider Venom,” “Zombie Tears,” or “Dragon’s Blood.” Arrange your potion collection on shelves, countertops, or a dedicated “apothecary” table for maximum witchy vibes.
For extra authenticity, add floating herbs, plastic eyeballs, or glitter to the liquid. This decoration idea recycles containers you’d normally throw away while creating an impressively detailed Halloween display that guests will definitely photograph.