 MomSkoop
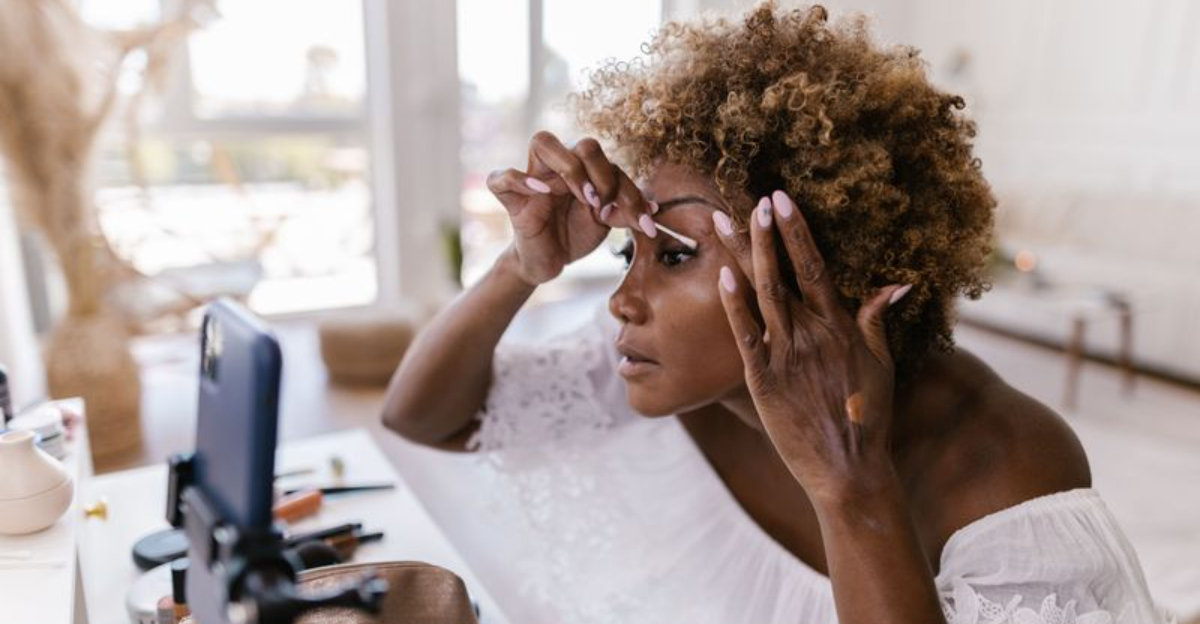
Beauty routines might look simple from the outside, but many popular trends take serious time and talent to master. What appears effortless in a photo or video often involves hours of practice, the right tools, and a deep understanding of technique.
From perfectly shaped brows to flawless nail art, these beauty skills are no joke. Get ready to gain a whole new level of respect for the people who make it look easy.
1. Winged Eyeliner
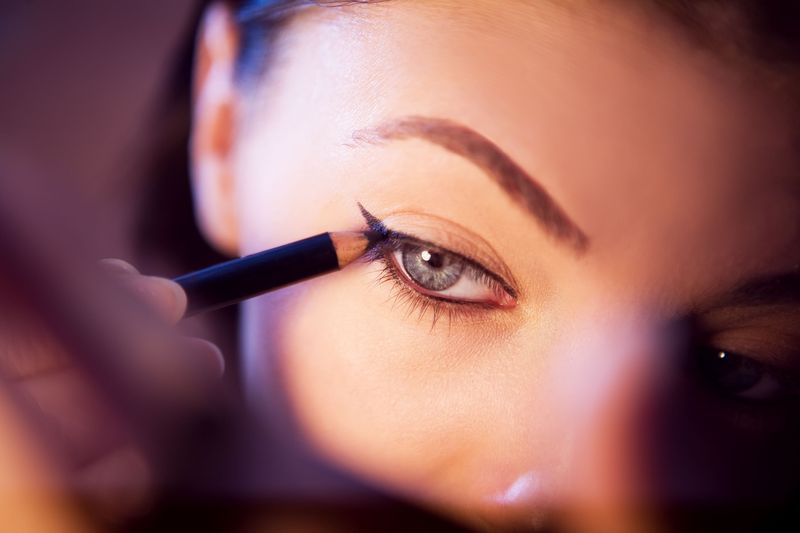
Ask anyone who has tried winged eyeliner for the first time, and you will likely hear a horror story.
Getting two perfectly symmetrical wings on opposite sides of your face is genuinely tricky.
Your hands have to be steady, your angle has to be consistent, and even one small wobble can ruin the whole look.
Professionals use tricks like tape guides, pre-drawn outlines, and multiple product types to get it right.
The shape also has to complement your specific eye shape, which adds another layer of difficulty.
Beginners often go through a lot of makeup remover before they figure out a method that works for them.
2. Cut-Crease Eyeshadow
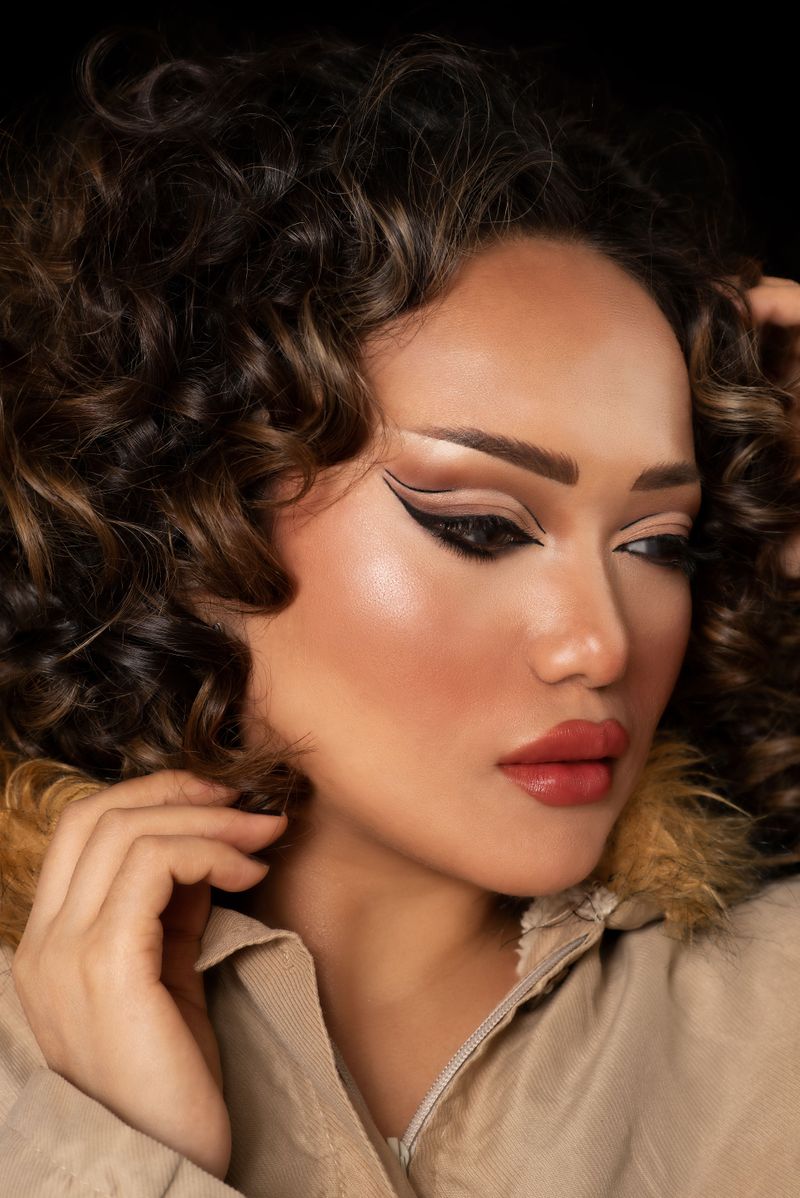
A cut-crease eyeshadow look is one of the most technically demanding eye makeup styles out there.
The goal is to create a sharp, clean line between the lid color and the crease color, and that takes serious blending control.
Too much blending and the line disappears; too little and it looks patchy.
Makeup artists use flat brushes, concealer, and setting powder to carve out that crisp edge.
The product placement has to be exact, and the colors need to be layered in a very specific order.
Getting this look camera-ready can take anywhere from 30 minutes to over an hour, even for experienced artists.
3. Contour and Highlight
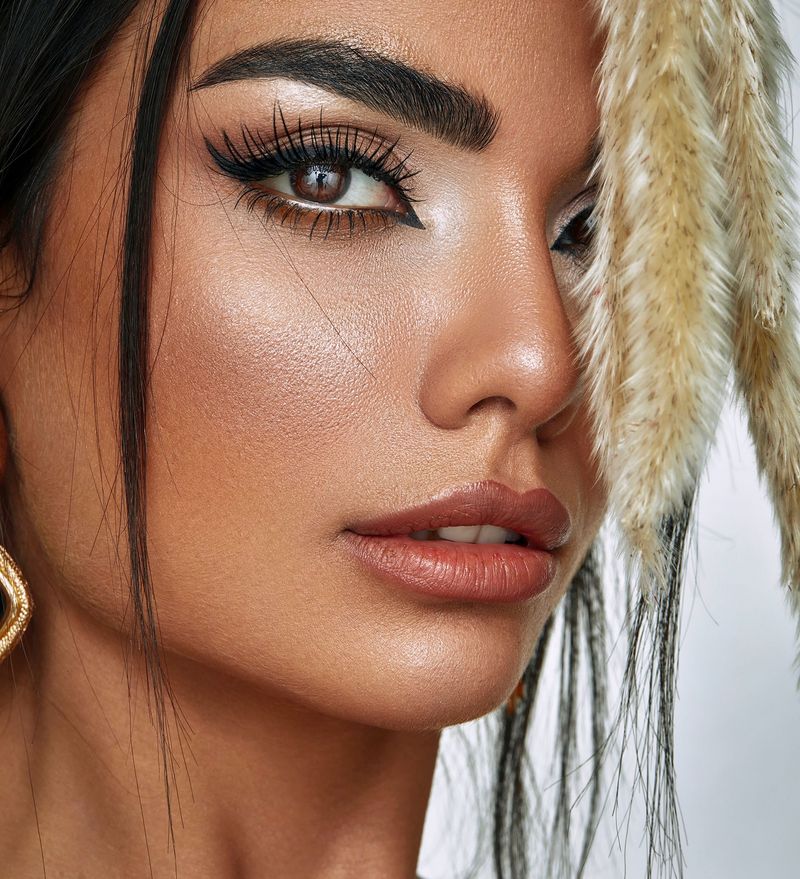
Contouring looks like simple shading, but it is actually rooted in an understanding of facial anatomy.
You have to know where light naturally hits the face and where shadows naturally fall.
Getting it wrong can make your face look muddy or cartoonish instead of sculpted and polished.
Undertones matter a lot here.
Using the wrong shade of contour for your skin tone can make the product look orange, gray, or muddy.
Blending is also critical, since harsh lines are a common beginner mistake.
On top of all that, the technique changes depending on face shape, lighting conditions, and whether the look is meant for photos or real life.
4. Intricate Nail Art
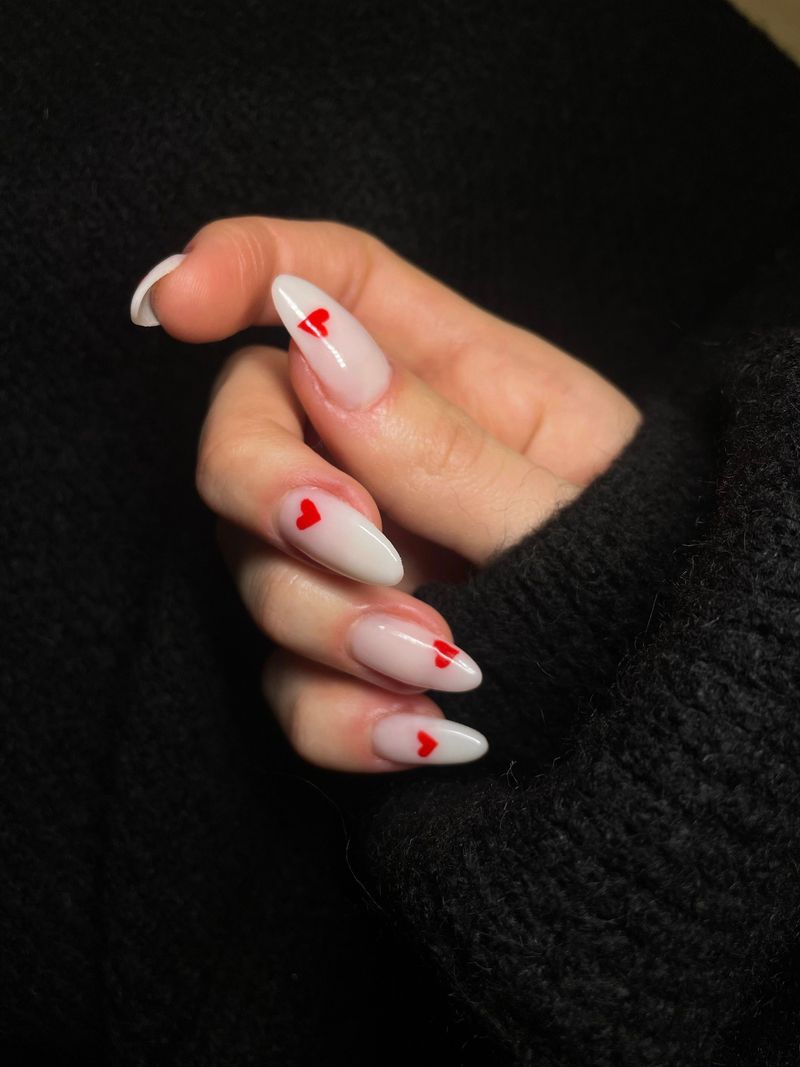
Nail art that features tiny flowers, geometric patterns, or hand-painted characters is basically miniature illustration work.
The canvas is incredibly small, and the tools are delicate, so even the tiniest hand tremor can mess up an entire design.
Some nail artists spend years developing the steady hand and fine motor control the craft demands.
Beyond the painting itself, the prep work matters just as much.
Nails have to be filed, buffed, and primed correctly before any art goes on.
Embellishments like rhinestones and foils also require precise placement using tiny tools.
When you see a flawless nail set on social media, know that it likely took several focused hours to complete.
5. Braided Hairstyles
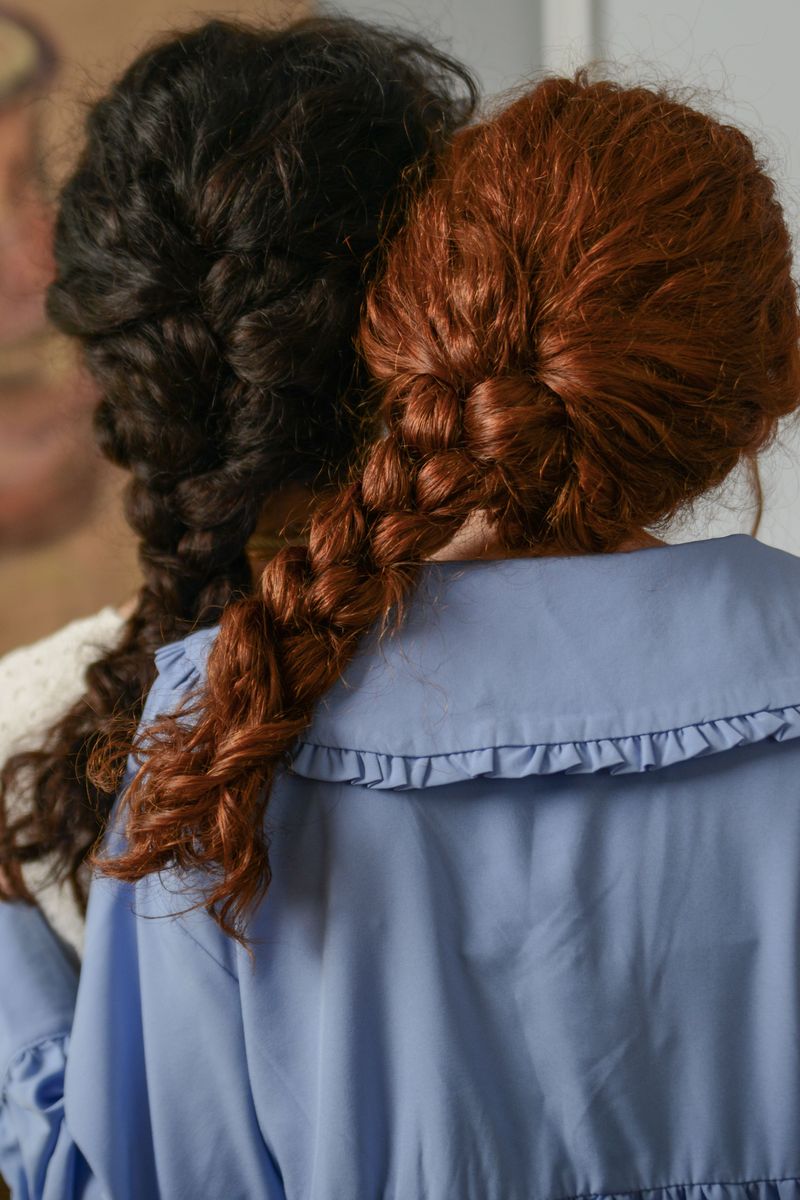
Braiding looks rhythmic and relaxing when someone skilled does it, but learning it from scratch is a completely different story.
French braids, Dutch braids, fishtail braids, and elaborate updos all require your hands to work in different directions simultaneously.
Spatial awareness and finger dexterity are both essential skills that take consistent practice to build.
Tension control is another major factor.
Too tight and the braid pulls uncomfortably on the scalp; too loose and it falls apart within hours.
Many people practice on mannequin heads or willing friends for months before they can braid confidently without looking in a mirror.
Professional braiders often train for years to master the more complex styles.
6. Heatless Curls
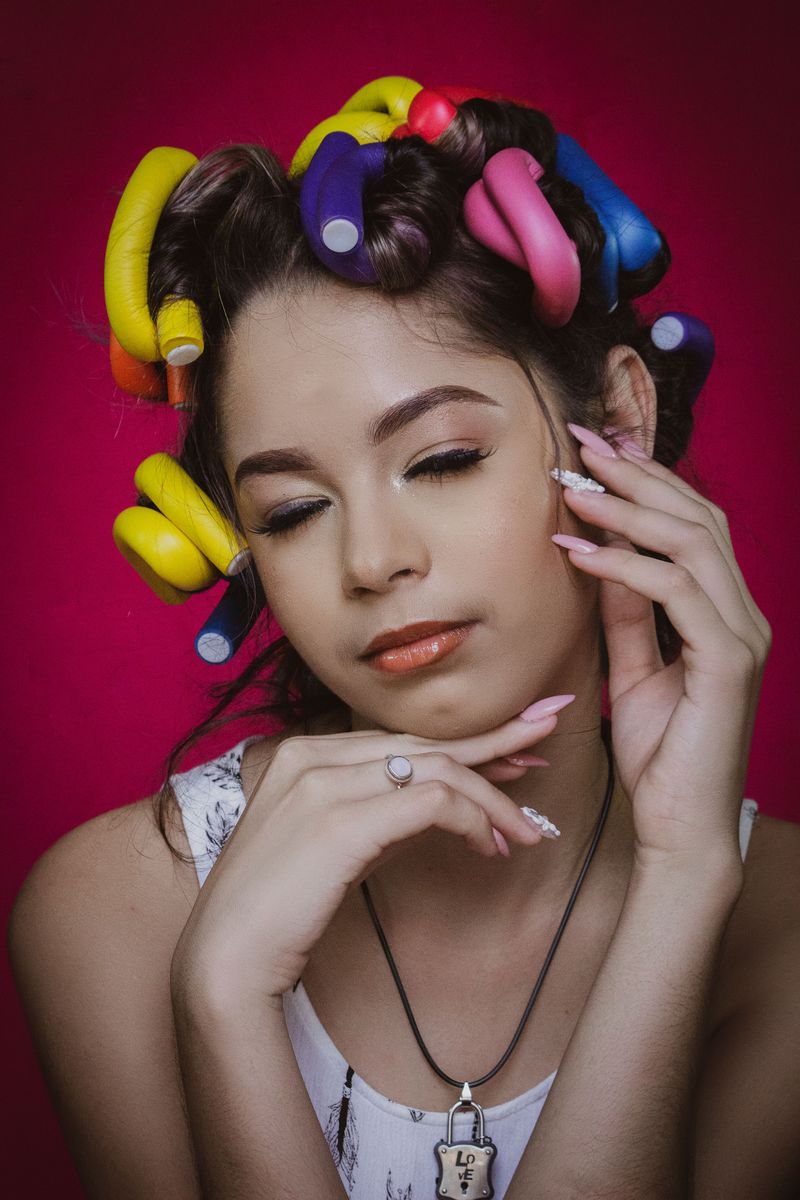
Heatless curls might seem like the lazy, low-effort alternative to a curling iron, but getting them to actually look good is surprisingly technical.
The size of each section you wrap determines how tight or loose the curl will be.
Wrapping technique, product choice, and how long you leave the style in all affect the final result.
Humidity, hair texture, and hair length also play a role in whether the curls hold or fall flat within an hour.
Many people go through several failed attempts before they figure out the right combination of factors for their specific hair type.
When it works, it looks effortless.
Getting to that point, though, takes real patience and experimentation.
7. Graphic Eyeliner
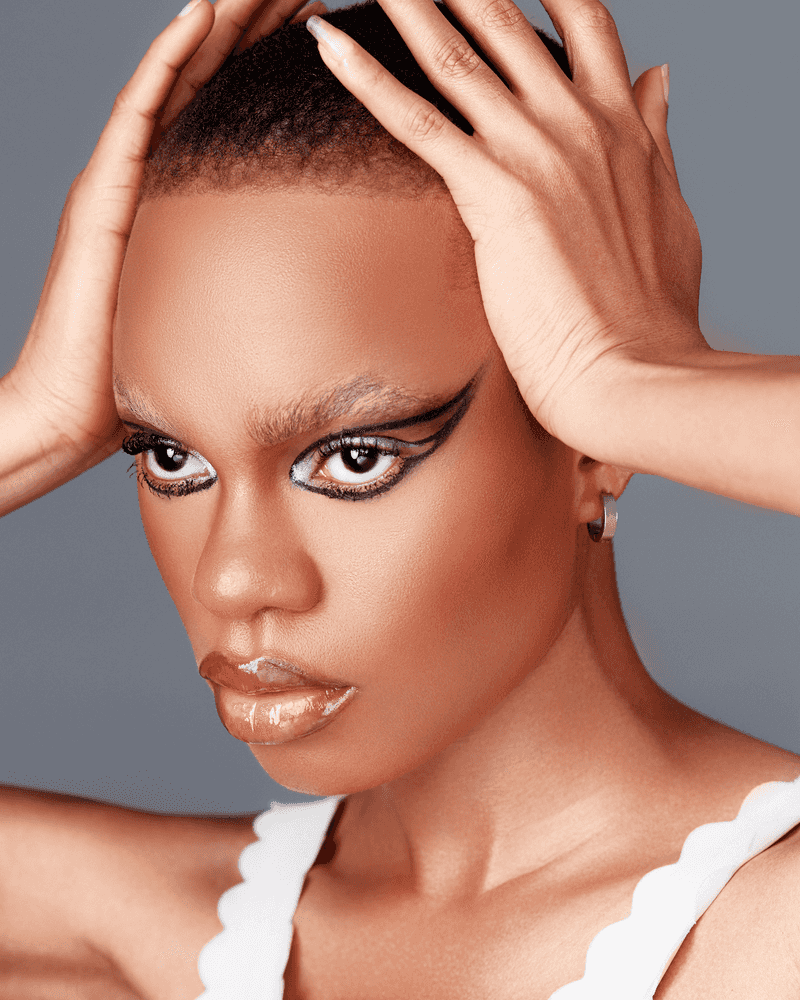
Graphic eyeliner takes the difficulty of winged liner and multiplies it by several levels.
Floating lines, geometric cutouts, and editorial shapes leave absolutely no room for shaky hands or uneven pressure.
One crooked line can throw off the entire composition, and corrections are not always easy since the design is often built in layers.
Artists who specialize in graphic liner frequently use rulers, tape, and stencils to get clean edges.
They also have to think like visual designers, considering symmetry, proportion, and how the shapes interact with the eye’s natural contours.
What looks like a spontaneous, artsy choice in a photo usually required careful planning, multiple practice runs, and a very precise hand.
8. Soap Brows
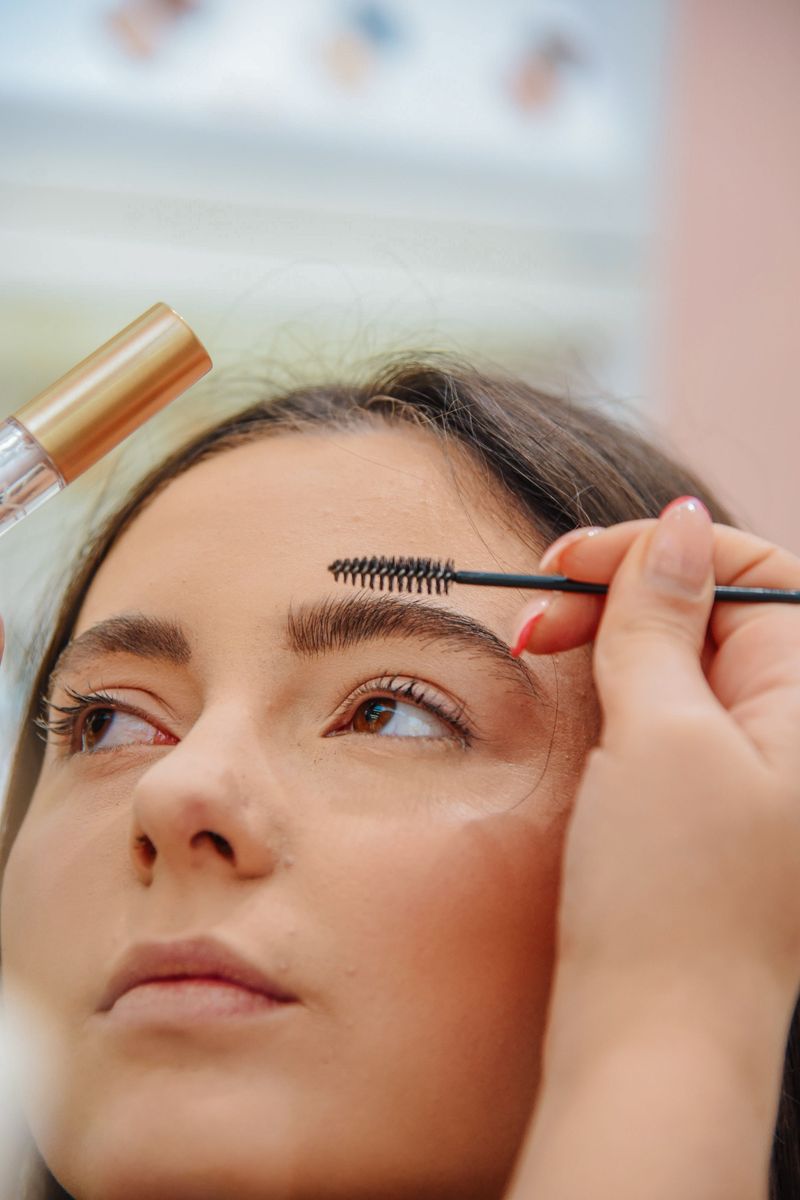
Soap brows have a deceptively simple concept: brush your brows up with a bit of soap and water to create that full, fluffy, laminated look.
In practice, getting it to look natural and intentional rather than wild and unkempt is a real challenge.
The hairs have to be positioned deliberately, and the product amount matters more than you might think.
Too much soap and the brows look crunchy and stiff.
Too little and they fall right back into place.
Brow shape, hair length, and growth direction all influence how the final result turns out.
Some people also use a combination of soap, clear gel, and tinted products to build the look in stages, which adds even more steps to the process.
9. Chrome Nails
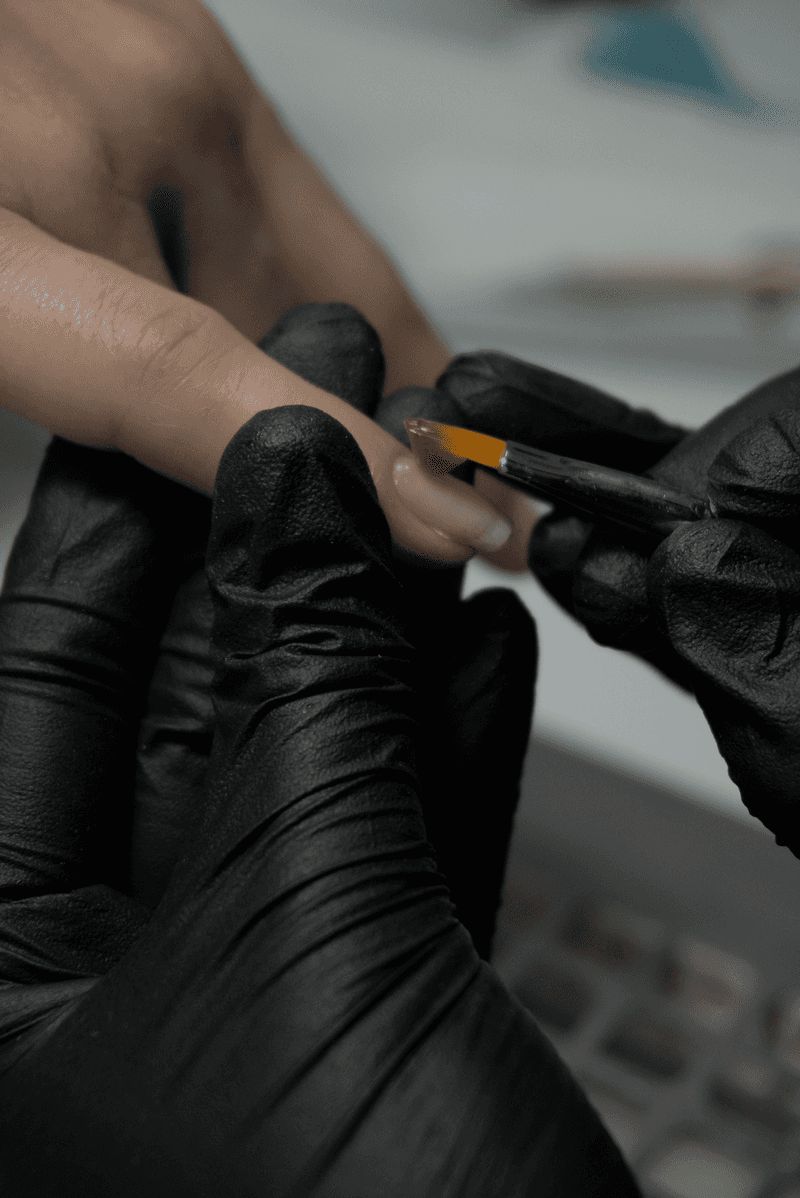
Chrome nails look futuristic and flawless in photos, but producing that seamless mirror finish is a multi-step process that requires everything to go right.
The base gel has to be cured to exactly the right consistency before the chrome powder is applied.
If the cure is off even slightly, the powder will not adhere correctly and the mirror effect disappears.
The buffing technique matters just as much as the curing.
Too much pressure and the chrome smears; too little and it stays patchy.
After buffing, a top coat has to be applied carefully to seal the powder without dulling the shine.
Nail techs who specialize in chrome often spend considerable time perfecting each step before they feel confident offering it to clients.
10. Sleek Baby Hairs
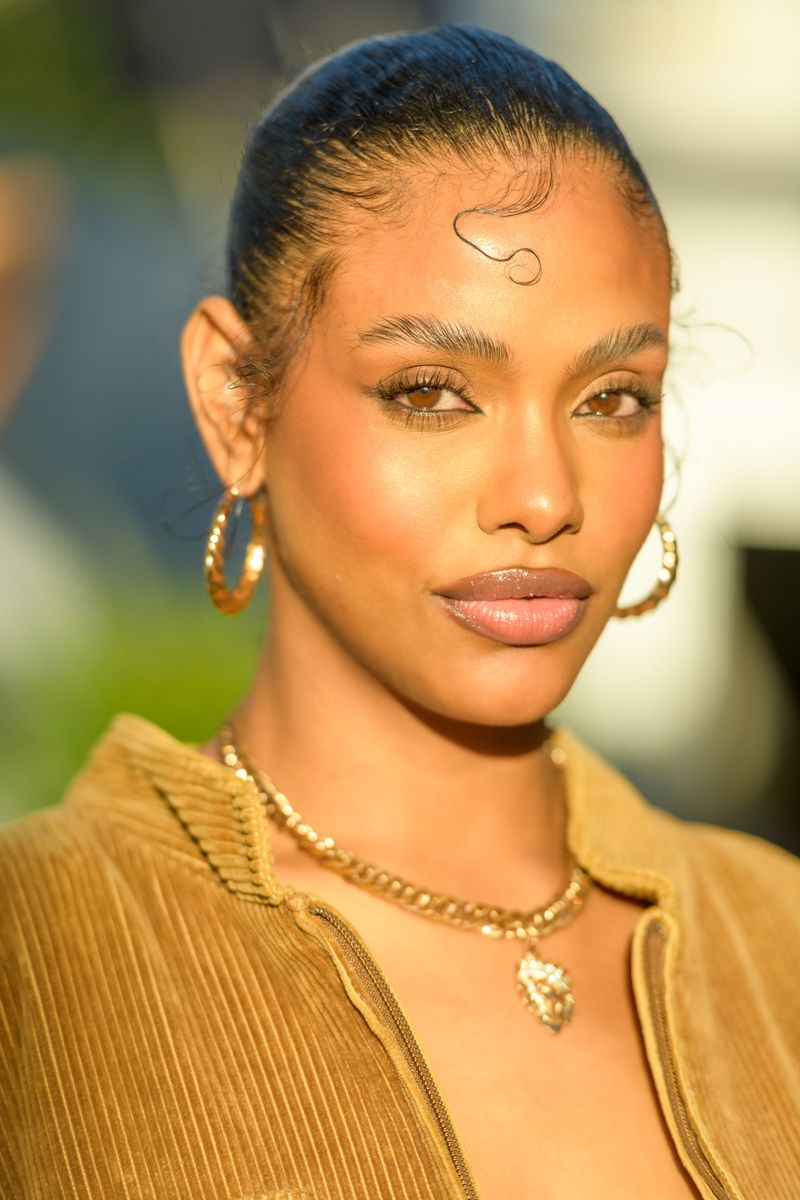
Baby hairs done well are a true art form.
Those tiny, smooth swoops along the hairline look casual and effortless, but they require a fine brush, the right edge control product, and a very controlled hand.
The hairs have to be shaped deliberately into curves, waves, or swirls that complement the overall hairstyle.
Getting the product amount right is one of the trickiest parts.
Too much and the baby hairs look greasy and stiff.
Too little and they frizz right back up the moment the brush leaves.
The technique also varies depending on hair texture and hairline shape.
Many people watch tutorials and practice for weeks before they can consistently achieve the polished, sculpted look they are going for.
11. Blush Draping
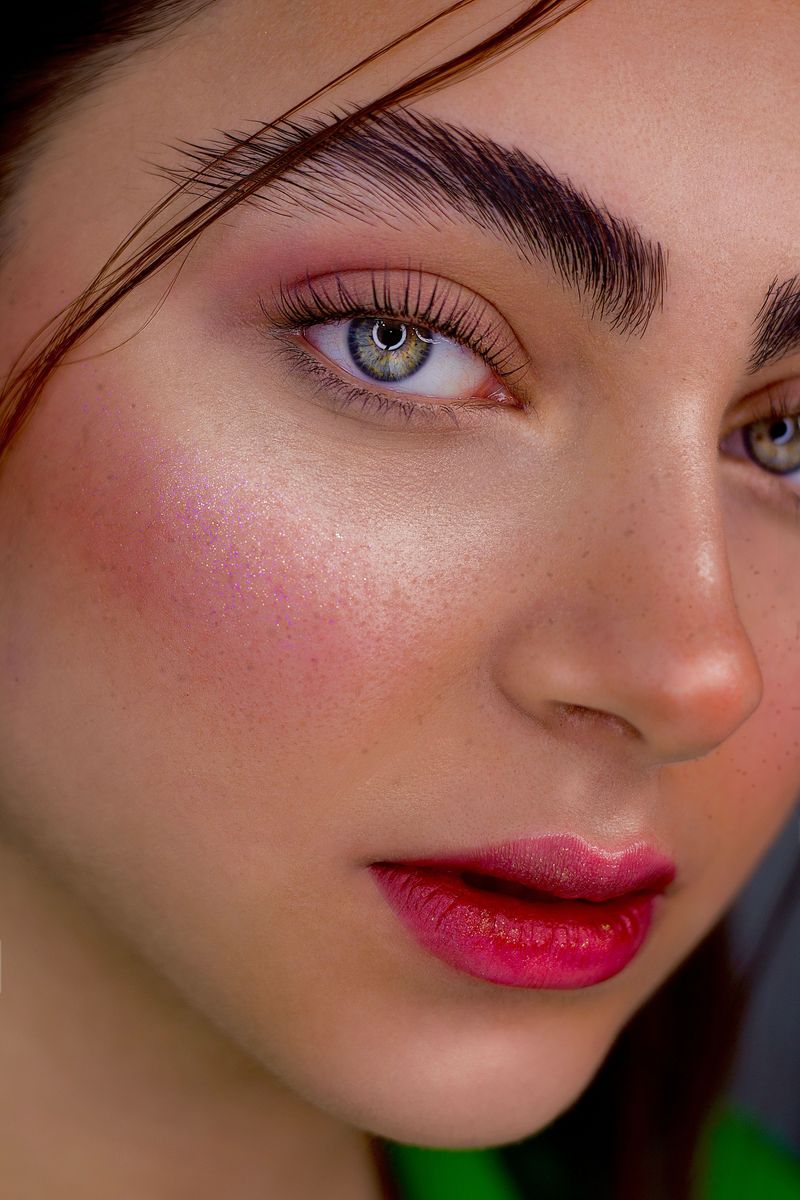
Most people think of blush as a simple pop of color on the cheeks, but blush draping is a completely different approach.
The technique involves sweeping blush across the temples, cheekbones, and sometimes even the nose bridge to reshape and define the face.
Used correctly, it can slim the face, lift the cheekbones, and create a sun-kissed depth that looks natural.
The challenge is understanding facial proportions well enough to know where to place each color and how far to blend it out.
The wrong placement can make the face look oddly flushed or unbalanced.
Shade selection also plays a big role, since the colors have to work together and suit the skin tone.
It takes practice and a good eye to get the balance right.
12. Ombre Lips
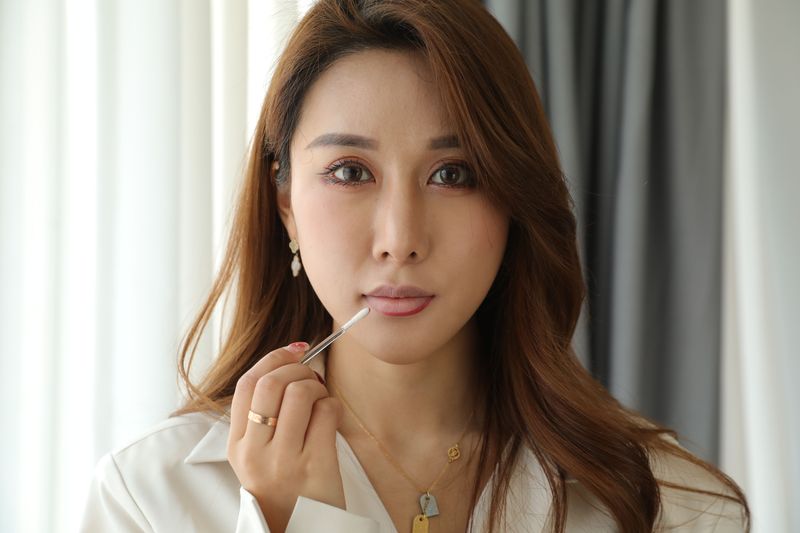
Ombre lips blend two or more shades together to create a gradient effect that looks polished and intentional.
Achieving that smooth color transition without the shades turning muddy in the middle is harder than it sounds.
The colors have to be compatible, the application order matters, and the blending has to be done with a light, controlled touch.
Lip texture also plays a role.
Dry or uneven lips make smooth blending nearly impossible, so thorough prep with a lip scrub and balm is often necessary before starting.
Many people find that using a lip brush instead of applying straight from the bullet gives them far more control.
Getting the gradient to look seamless from every angle takes patience and a steady hand.
13. At-Home Blowouts
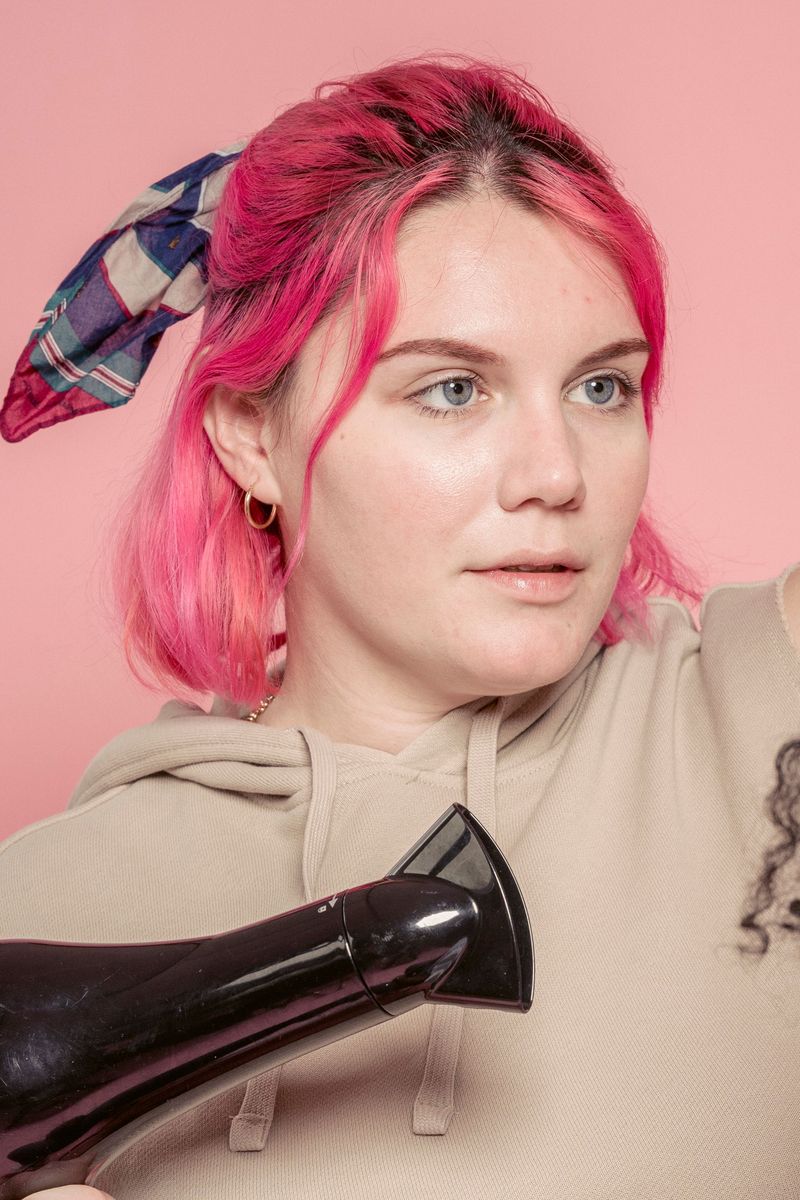
Professional blowouts always look so smooth and bouncy, which makes it seem like all you need is a round brush and a dryer.
The reality is that coordinating both tools while managing tension, heat direction, and section size is genuinely difficult.
Your dominant hand naturally gets more control, which can make one side of your hair look polished while the other side falls flat.
Getting volume at the roots while keeping the ends smooth requires specific brush rolling techniques that take time to develop.
Heat settings, dryer nozzle direction, and the size of the round brush all affect the outcome.
Stylists train for hundreds of hours to master the blowout, so do not feel bad if yours takes a few tries to get right.
14. False Lash Application
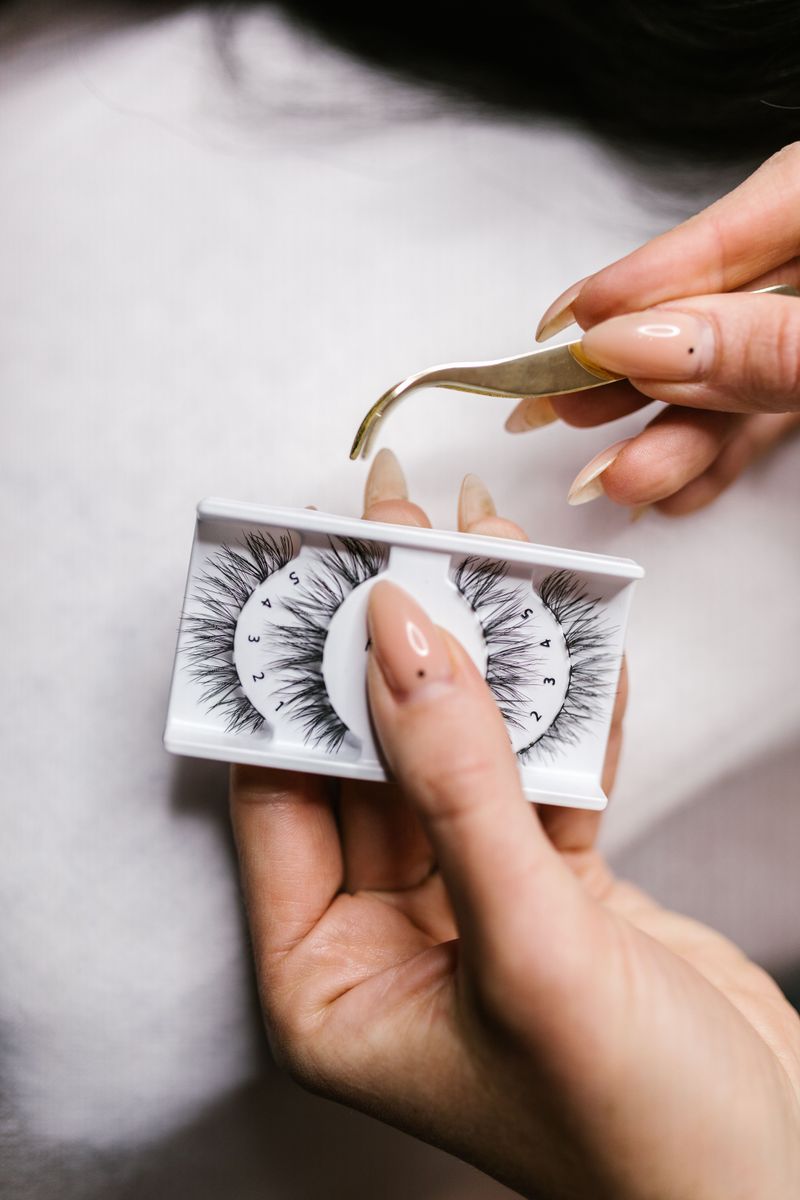
False lashes seem simple enough until you are actually holding a tiny strip of lashes, a tube of glue, and a pair of tweezers while trying not to blink.
The strip has to be measured and trimmed to fit your specific eye shape before anything else.
Then it has to be glued, allowed to get tacky, and placed as close to the natural lash line as possible without touching the skin awkwardly.
Alignment is where most beginners struggle.
One end lifting or the strip sitting too far from the lash line makes the whole look fall apart.
Blending the false lashes with your natural ones using mascara or liner is its own additional skill.
Most people need several practice sessions before application starts to feel smooth and confident.
15. Detailed Hair Updos
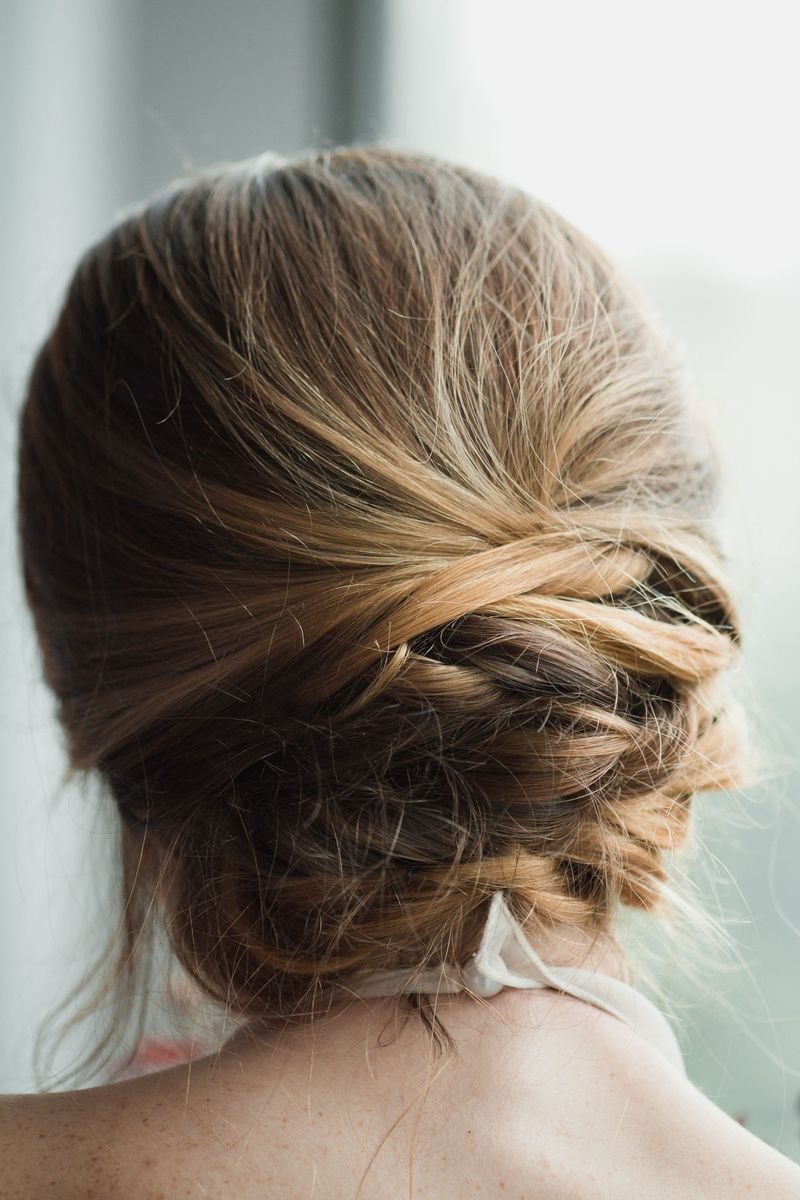
A beautifully pinned updo looks like it just casually happened, but behind it is usually a careful process of sectioning, curling, twisting, and pinning that can take a long time.
The structural balance of an updo matters enormously.
If the weight is not distributed correctly, the whole style can shift or collapse by the end of the day.
Bobby pins have to be placed at specific angles to hold sections securely without creating visible bumps.
Formal styles like chignons, pinned curls, and twisted updos also require the hair to be prepped with the right products and textures to hold shape.
Many hairstylists describe updos as some of the most technically demanding work they do, even after years of professional experience.