
After hours of testing different tools and techniques, our kitchen crew discovered which pumpkin prep essentials actually work. We carved dozens of pumpkins using everything from basic kitchen knives to specialized power tools. Some items amazed us with their performance, while others left us disappointed. Here are the twelve tools that earned our stamp of approval for making pumpkin carving easier, safer, and more fun.
1. Serrated Utility or Carving Knife
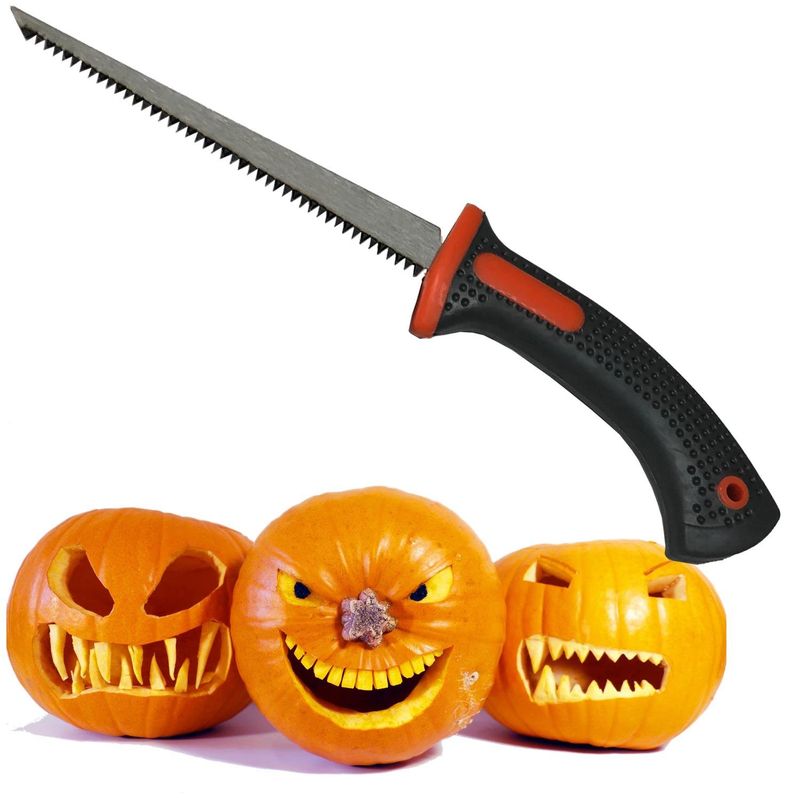
Sharp teeth make all the difference when cutting through tough pumpkin skin. We tested smooth blades against serrated ones, and the winner was clear every time.
Serrated knives grip the slippery surface and saw through flesh without slipping. Your regular kitchen knife might work, but it requires more pressure and creates messy cuts.
Safety improves dramatically with the right blade. Less force means better control, reducing the chance of accidents during your carving session.
2. Sturdy Scooper or Ice Cream Scoop
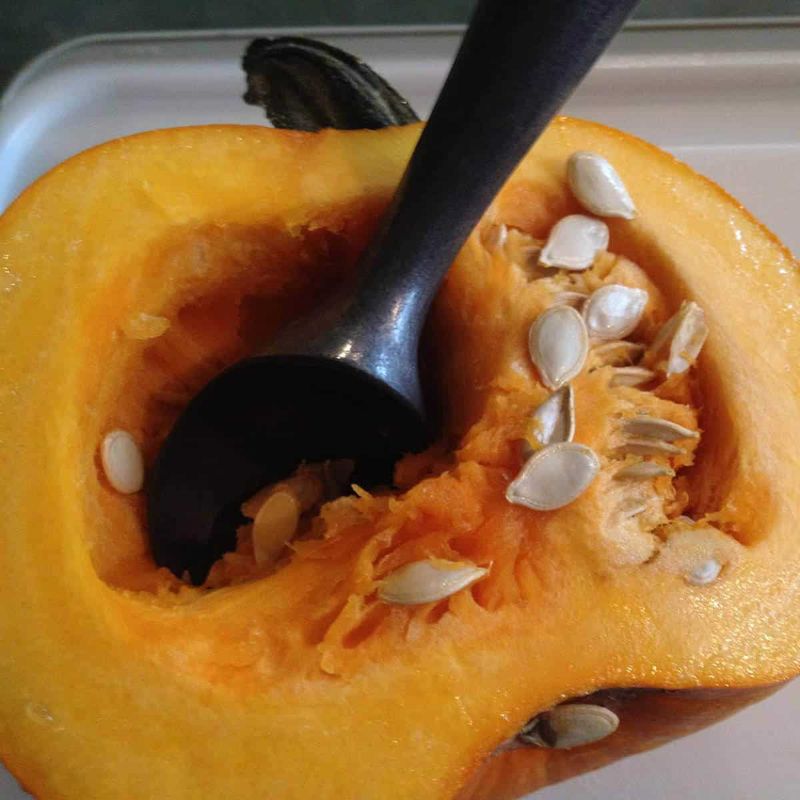
Plastic spoons break under pressure, but a quality ice cream scoop handles pumpkin guts like a champion. We discovered that metal construction beats flimsy alternatives every time.
The curved shape perfectly matches pumpkin walls, scraping clean with minimal effort. Spring-loaded handles add extra leverage when removing stubborn pulp and seeds.
Cleaning becomes simple with smooth metal surfaces. Unlike rough plastic tools, a good scoop rinses clean without leaving behind sticky residue or odors.
3. Poker Tool (Awl or Skewer)
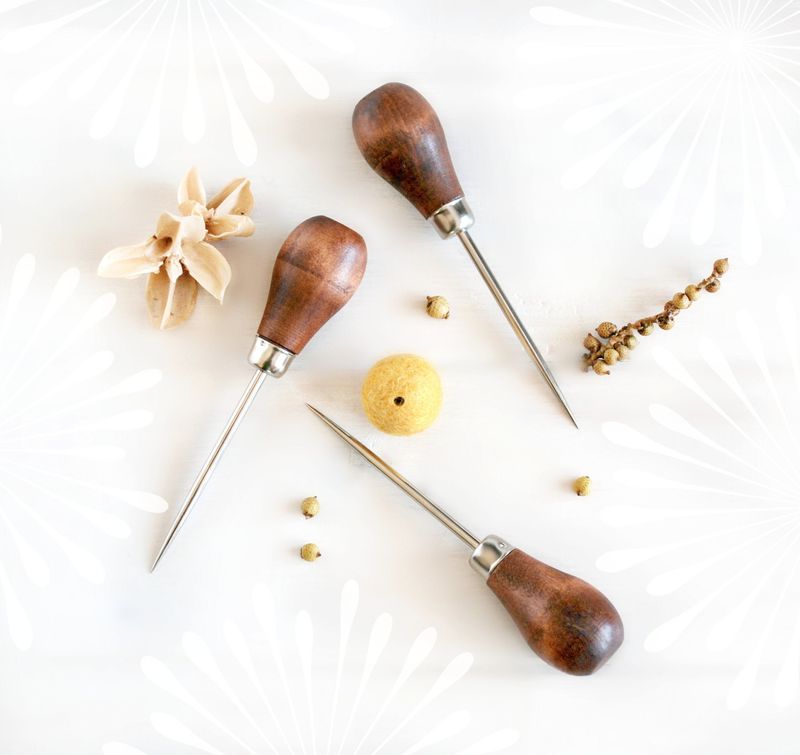
Precision starts with proper planning, and poker tools create perfect guide holes for your design. We found that metal awls work better than wooden skewers for detailed work.
Creating starter holes prevents knife slips and cracking. The thin point lets you test wall thickness before making major cuts.
Design transfer becomes foolproof when you poke through paper patterns. Your carved lines will follow the dots perfectly, creating professional-looking results every time.
4. Stiff Metal Serving Spoon or Scraper
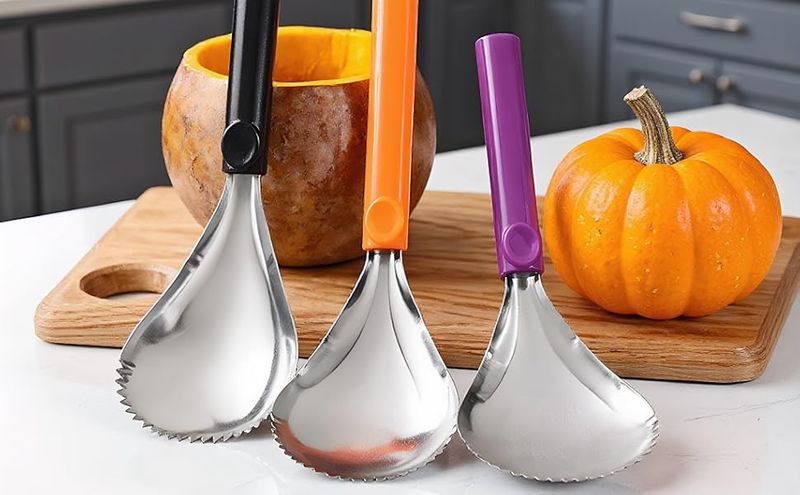
Flexibility works against you when scraping pumpkin walls, so we recommend rigid metal tools. Serving spoons with straight edges performed surprisingly well in our tests.
Wall thickness matters for candle safety and design visibility. A good scraper lets you achieve consistent thickness throughout your pumpkin.
Smooth finishes create better light transmission. Rough, stringy walls scatter candlelight, but properly scraped surfaces glow evenly and beautifully when illuminated.
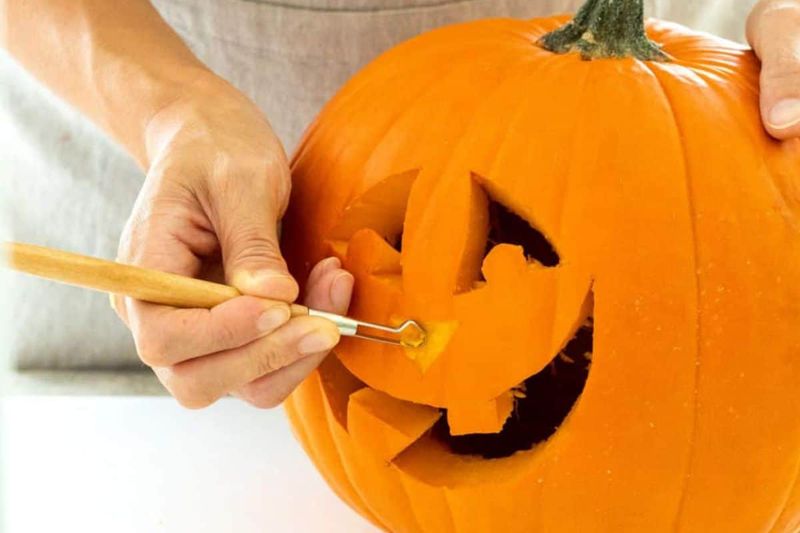
5. Multiple-Size Carving Saws (Large & Detail)
Different cuts require different tools, which is why we always keep both large and small saws handy. Broad cuts need wide blades, while intricate details demand precision tools.
Large saws power through thick sections quickly and efficiently. Detail saws navigate tight curves and create delicate features without breaking.
Blade flexibility varies between sizes, giving you options for different carving challenges. Having both types prevents frustration and delivers professional results consistently.
6. Linoleum Cutter
Art supply stores hold hidden treasures for pumpkin carvers, and linoleum cutters top our list. These specialized tools create texture and fine details impossible with regular knives.
Different blade shapes produce various effects. V-shaped cutters make clean lines, while U-shaped blades scoop out decorative channels.
Controlled cutting becomes second nature with proper handles. The comfortable grip and precise blade control let you add professional touches to your pumpkin masterpiece.
7. X-Acto or Detail Knife
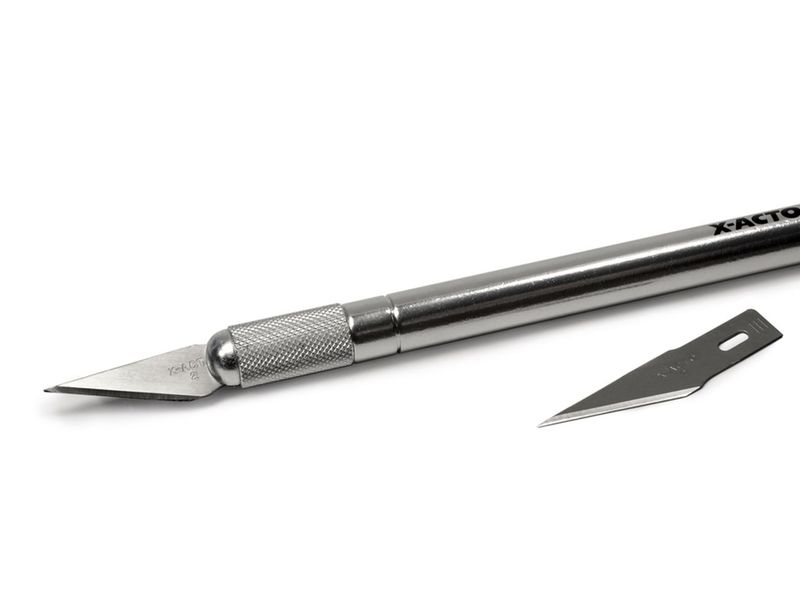
Surgical precision meets pumpkin carving when you use detail knives for intricate work. We discovered these craft knives excel at fine details that larger tools cannot handle.
Replaceable blades stay sharp throughout your project. Dull knives tear pumpkin flesh, but fresh blades slice cleanly through even delicate areas.
Comfortable handles reduce hand fatigue during detailed work. The lightweight design gives you complete control over every cut, resulting in crisp, professional-looking details.
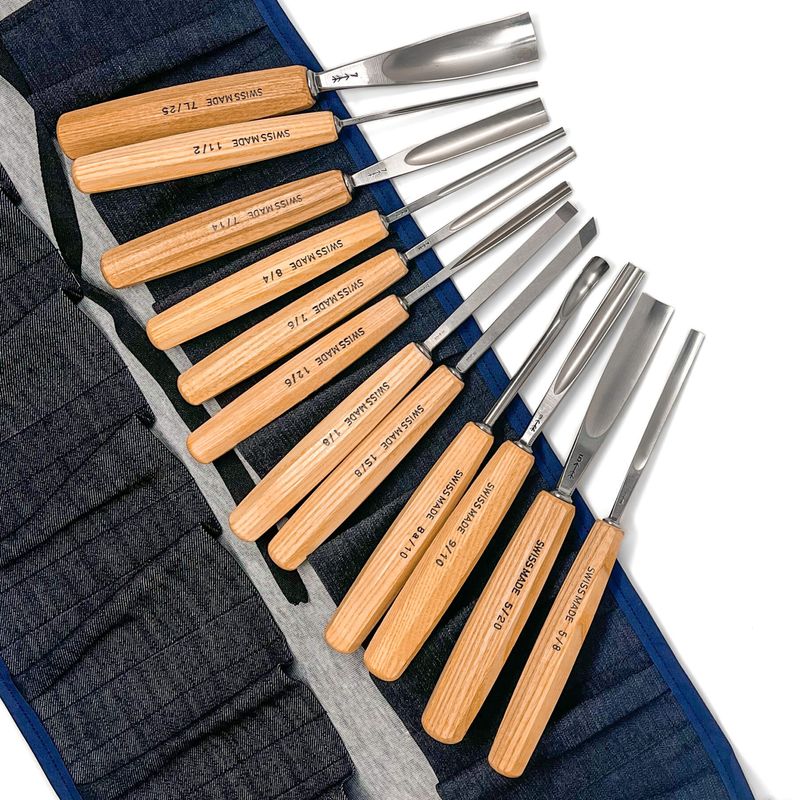
8. Wood Carving Tools / Ribbon Loops
Borrowed from woodworking, ribbon loop tools revolutionize pumpkin surface treatment. These curved metal loops shave thin layers, creating smooth gradients and professional textures.
Depth control becomes intuitive with practice. Light pressure removes thin shavings, while firm pressure cuts deeper for dramatic shadow effects.
Surface preparation improves dramatically with proper tools. Ribbon loops eliminate rough spots and create the smooth canvas your design deserves for optimal light transmission.
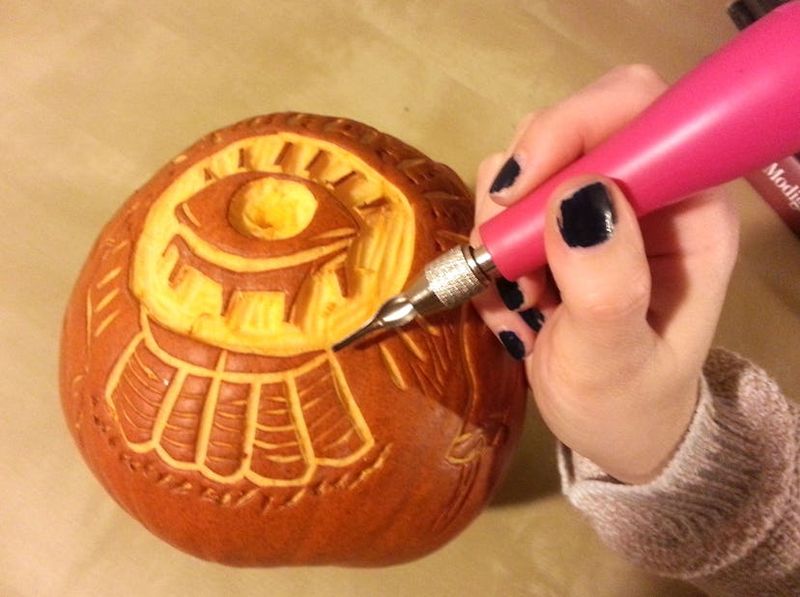
9. Power Tools (e.g., Dremel or Drill with Gutter Attachment)
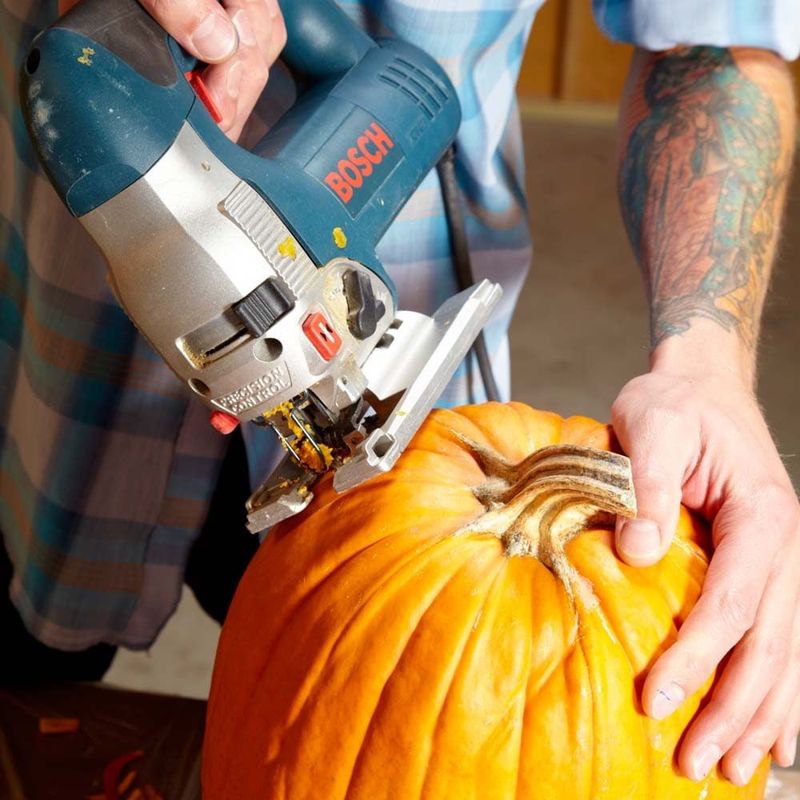
Modern technology transforms pumpkin carving from tedious work into efficient artistry. Power tools cut project time dramatically while improving precision and consistency.
Dremel rotary tools excel at detailed engraving and texture work. Variable speed control lets you match tool speed to your specific cutting needs.
Drill attachments handle repetitive tasks like creating multiple holes quickly. Consistent hole sizes and spacing become effortless with the right power tool setup.
10. Transfer Tools: Dry-Erase Marker, Transfer Paper, Sharpie
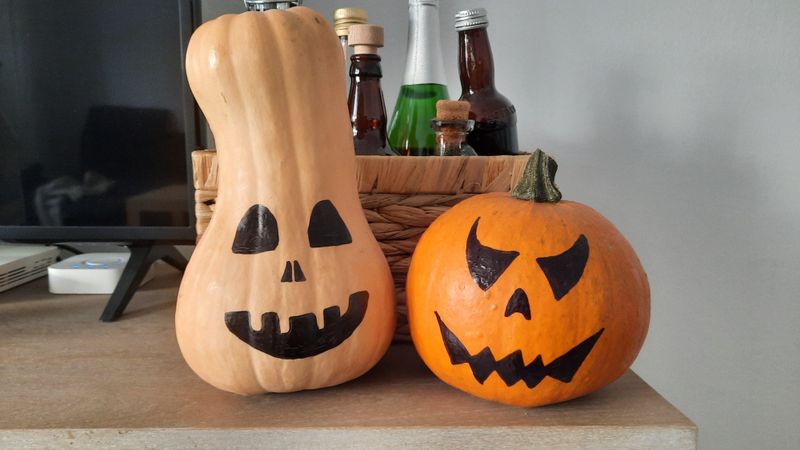
Perfect designs start with accurate pattern transfer, and we tested numerous methods to find the best approach. Dry-erase markers won for temporary guidelines.
Transfer paper works excellently for complex designs with multiple elements. The carbon backing leaves clear lines that guide your cutting perfectly.
Permanent markers help mark final cut lines after you perfect your design. Sharpies resist moisture and stay visible throughout your entire carving session.
11. Moisture Preservation Tools (Vaseline + Plastic Wrap)
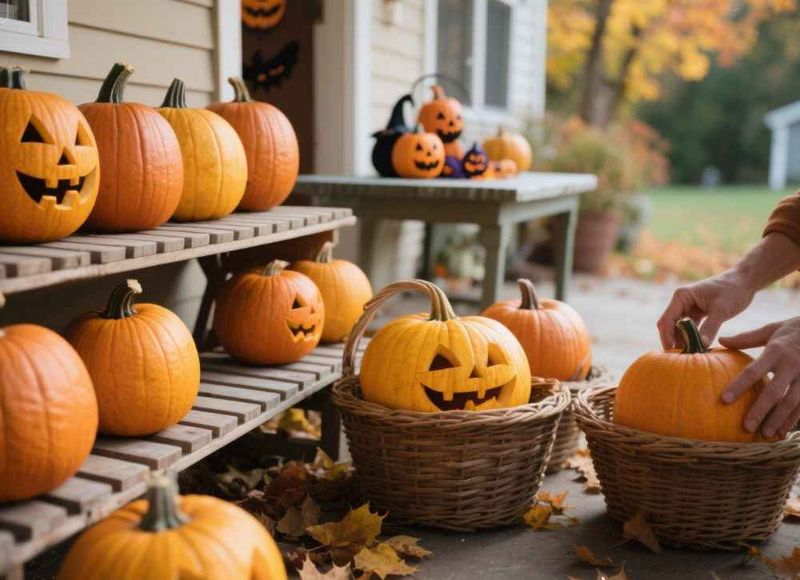
Carved pumpkins start deteriorating immediately, but proper preservation extends their lifespan significantly. We tested various methods and found this combination works best.
Vaseline creates a protective barrier on cut surfaces. The petroleum jelly seals moisture in while keeping bacteria out, slowing the decay process.
Plastic wrap provides additional protection during storage. Wrapped pumpkins stay fresh longer, maintaining their appearance for extended display periods throughout the Halloween season.
12. Colander & Baking Sheet for Seed Roasting
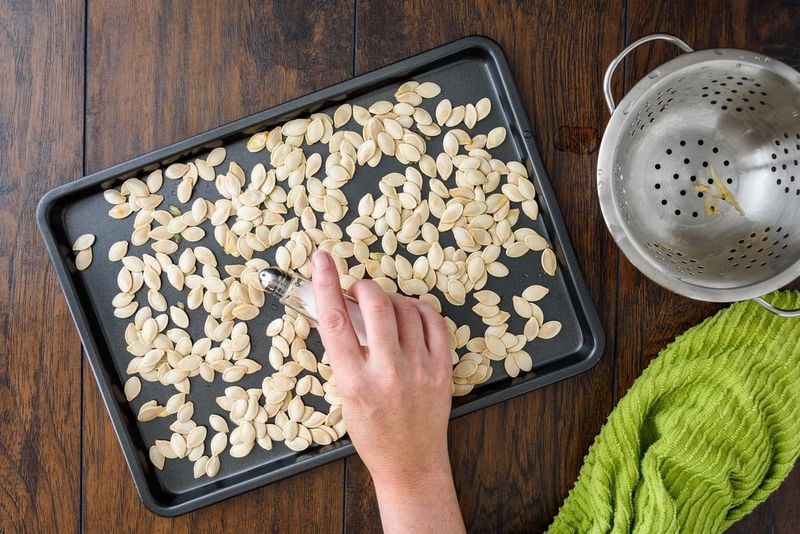
Waste nothing from your pumpkin prep work, because those slimy seeds transform into delicious snacks with proper handling. We perfected the cleaning and roasting process.
Colanders separate seeds from pulp efficiently. Running water rinses away sticky strings, leaving clean seeds ready for seasoning and roasting.
Baking sheets provide even heat distribution for perfectly toasted seeds. Proper spacing prevents sticking while ensuring every seed gets golden brown and crispy throughout.