 MomSkoop
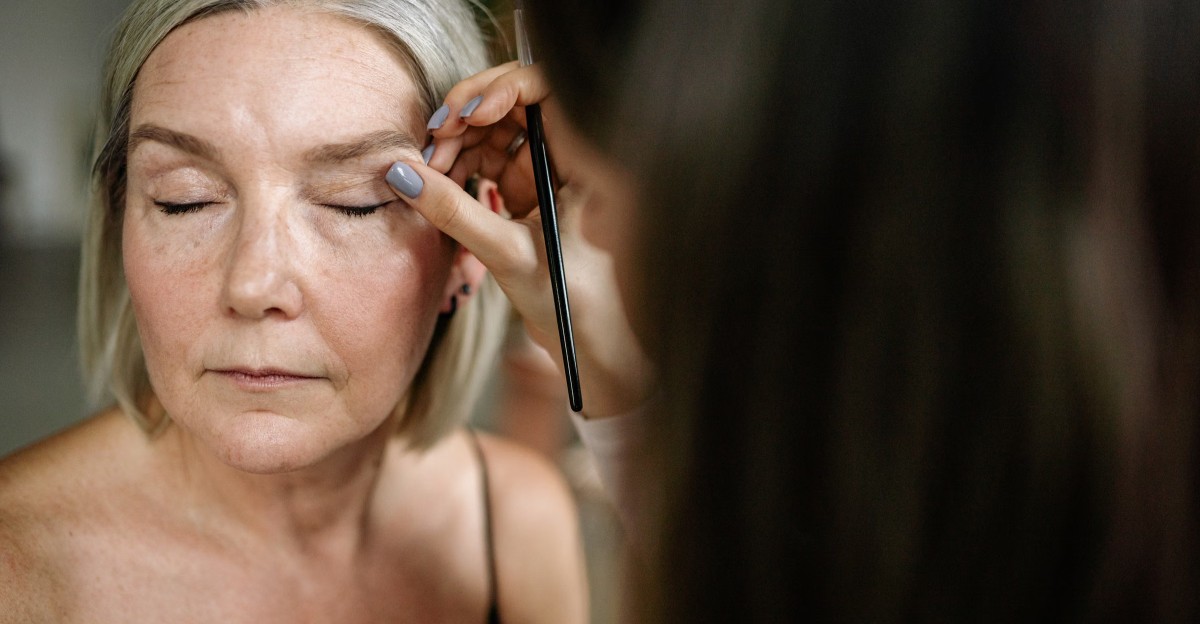
Your eyes have stories to tell, and the right eyeshadow can help them shine. After 50, skin texture changes a little, so small tweaks in products and placement make a big difference.
Color is still totally welcome, and a few smart habits can keep your look fresh and polished. Here are easy ideas you can try at your own vanity tomorrow morning.
1. Start With a Smooth Base
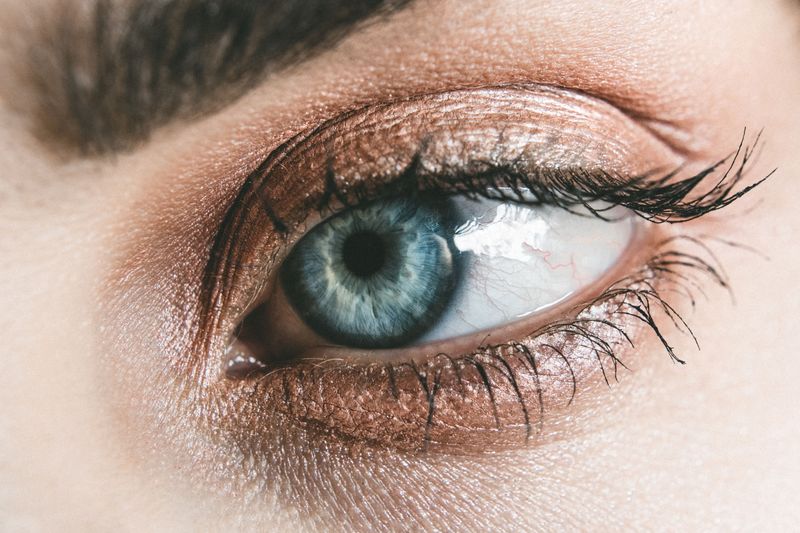
Think of primer as the primer coat on a freshly painted wall.
Without it, the color can slip and gather in tiny lines by lunchtime.
Choose a lightweight eye primer instead of a thick cream.
Dot a very small amount on each lid, then tap it in with your ring finger until it feels smooth and slightly tacky.
Give it about thirty seconds to set before adding shadow.
This short pause helps powder cling evenly and keeps the color looking fresh for hours.
If your lids are oily or dry, test a couple of formulas until you find one that feels comfortable and does not tug the skin.
2. Pick Softer Finishes
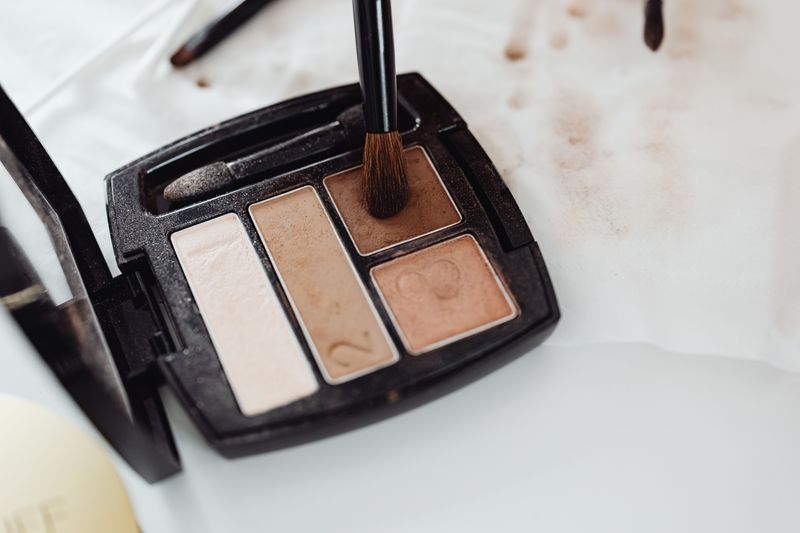
Did you know that shimmer reflects light, and light can highlight texture?
That is why finish matters so much for eyelids that have a little crepiness.
Matte and satin shadows usually look smooth and flattering.
They give color without drawing attention to every tiny line.
You do not have to give up sparkle completely.
Save glitter for a small accent, such as a dot in the center of the lid or a touch at the inner corner.
Keep the rest soft and velvety, and your eyes will look rested and polished instead of busy.
3. Light Neutrals Brighten the Lid
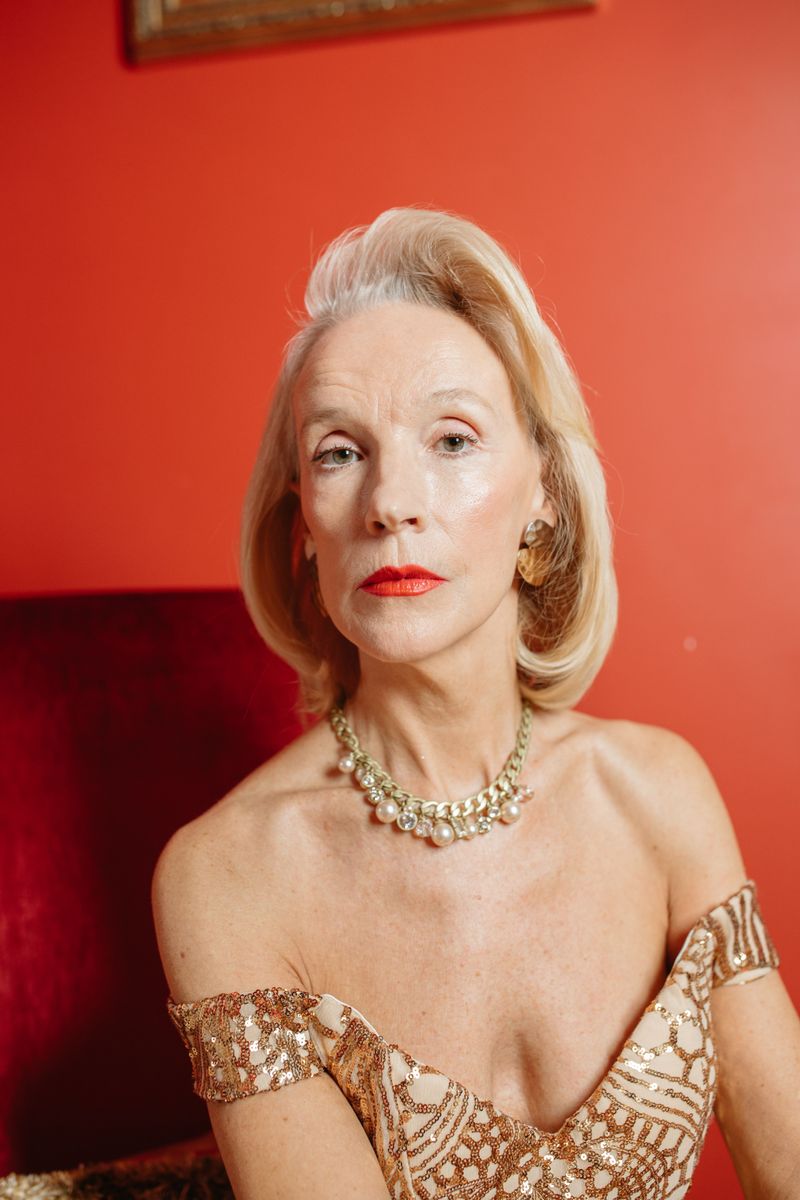
Champagne, beige, soft peach, taupe, and warm pink are like a flattering lamp for your face.
They lift the eye area without making it feel heavy.
Sweep one of these shades across the whole lid with a flat brush.
Press it on first, then blend lightly so the color looks like a wash instead of a stripe.
Pick a tone that echoes your natural coloring.
Cooler skin often loves taupe and rosy pinks, while warmer skin glows with peach and golden beige.
Once you find a favorite, you can wear it alone on busy mornings and still look put together.
4. Define the Crease Gently
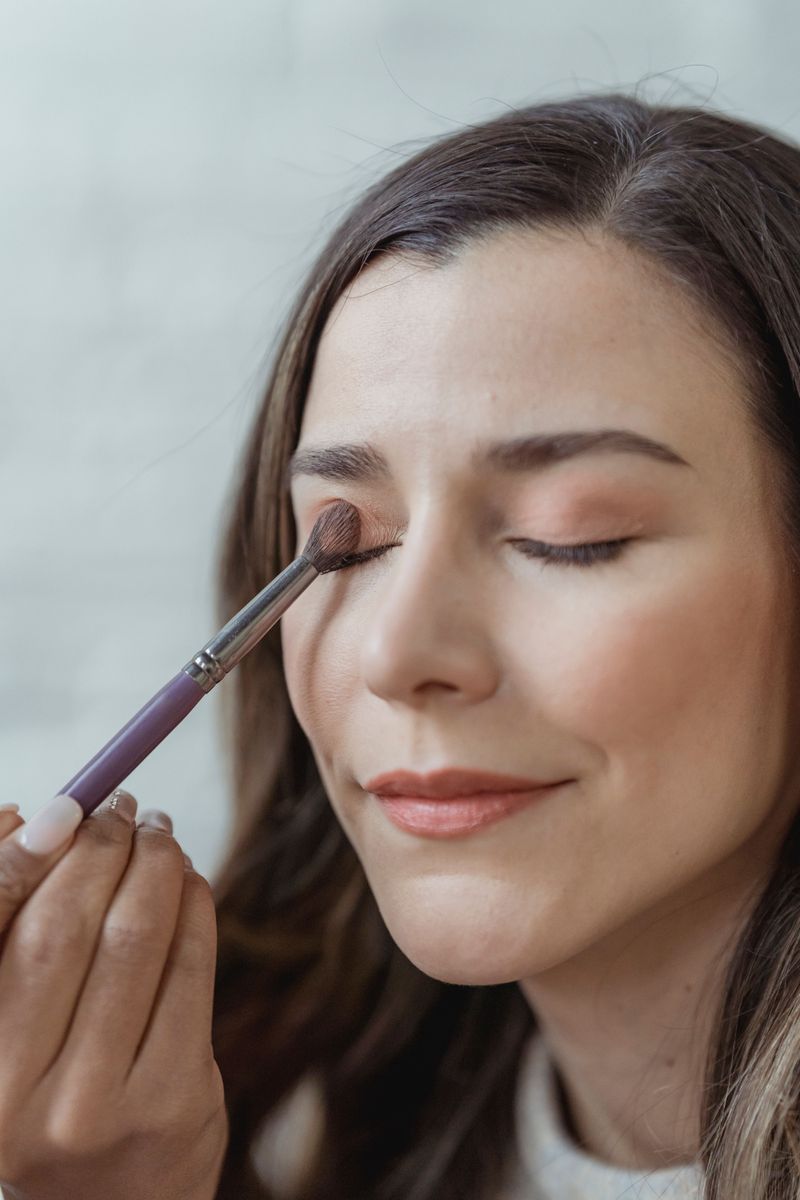
Here is a little trick makeup artists love: put the crease color a touch higher than where your eyelid folds.
This is especially helpful for hooded eyes, where the fold can hide when you look straight ahead.
Use a fluffy brush and a medium-toned neutral, like soft cocoa or warm taupe.
Move it in small windshield-wiper motions so the color builds slowly.
Stop when you see a gentle shadow, not a hard line.
That subtle depth adds shape and makes the eyes look more open, almost like adding a soft contour to your lids.
5. Blend, Blend, Blend
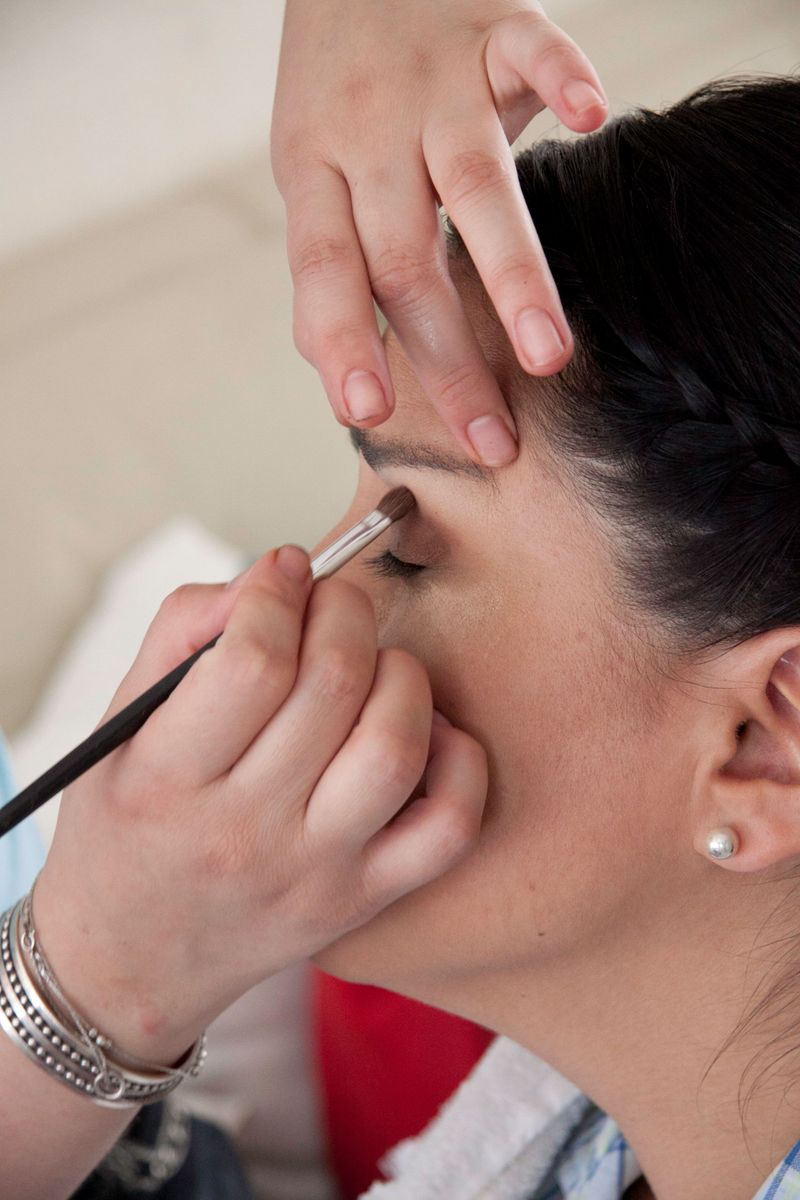
Ask any pro what separates a fancy look from a messy one, and the answer is almost always blending.
Soft edges melt into the skin and look far more polished than blocks of color.
Keep a clean, fluffy brush just for blending.
After you apply each shade, buff the borders in tiny circles until you cannot tell where one color stops and the next begins.
Use light pressure and take your time.
If a shade looks too strong, a clean brush can soften it in seconds.
Good blending also keeps powder from sticking in lines, which helps the finished look feel smooth.
6. Keep Dark Shades Strategic

Deep colors are not off limits, but they work best like a spice rather than the whole meal.
A little goes a long way.
Place brown, plum, charcoal, or navy on the outer corner of your eye in a soft V shape.
This pulls attention outward and gives the eye a lifted, defined look.
Avoid covering the entire lid with a dark shade, since it can make the eye look smaller.
Use a small brush, add color in thin layers, and blend toward the crease.
You will get depth and drama without any heaviness.
7. Wake Up the Inner Corners
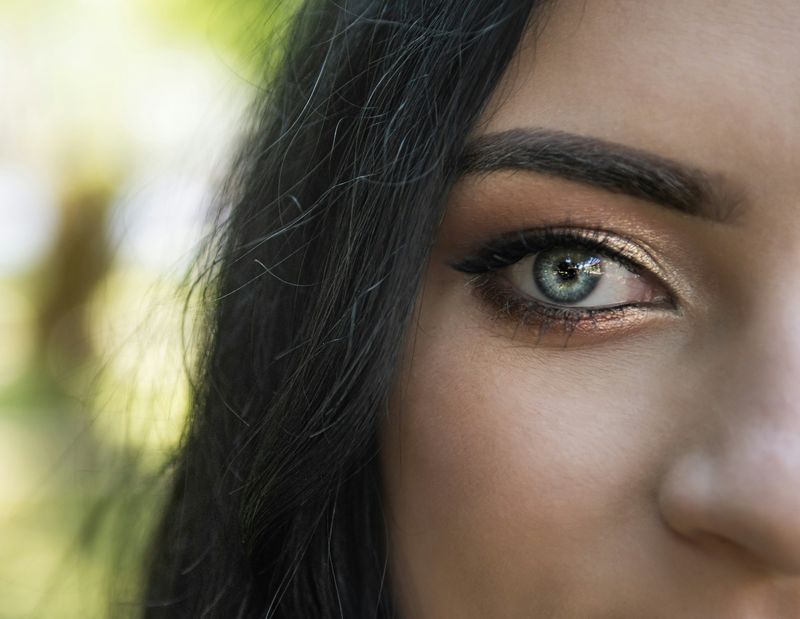
Picture a tiny spotlight right where your eye meets your nose.
That is the effect of a little brightness in the inner corners.
Choose a satin or softly luminous shade in champagne or pale pink.
Dab a small amount with a pencil brush or fingertip, then blend the edges so there is no obvious dot.
This quick step can make you look as if you slept eight hours, even when you did not.
Keep the amount tiny, because too much shimmer can look chalky.
Soft glow is the goal.
8. Go Subtle Under the Brow
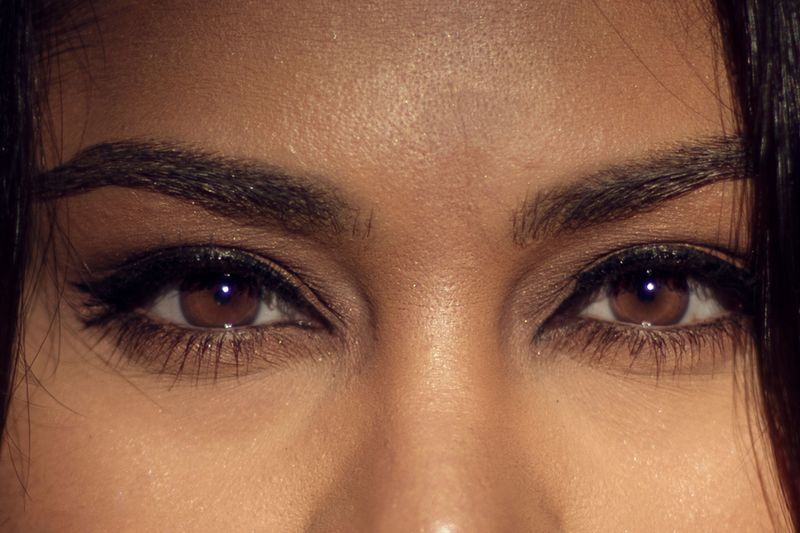
Brow bone highlighter is where many people go a bit too far.
Strong frost can emphasize texture and make the area look shiny rather than fresh.
Reach for a matte or satin shade that is just a little lighter than your skin tone.
Cream, soft ivory, or pale peach are lovely choices.
Tap a small amount right under the arch of the brow and blend downward.
The result is a clean, lifted look that frames the eye without shouting.
If you like a little glow, choose satin and keep it very light.
9. Swap Black for Softer Shades
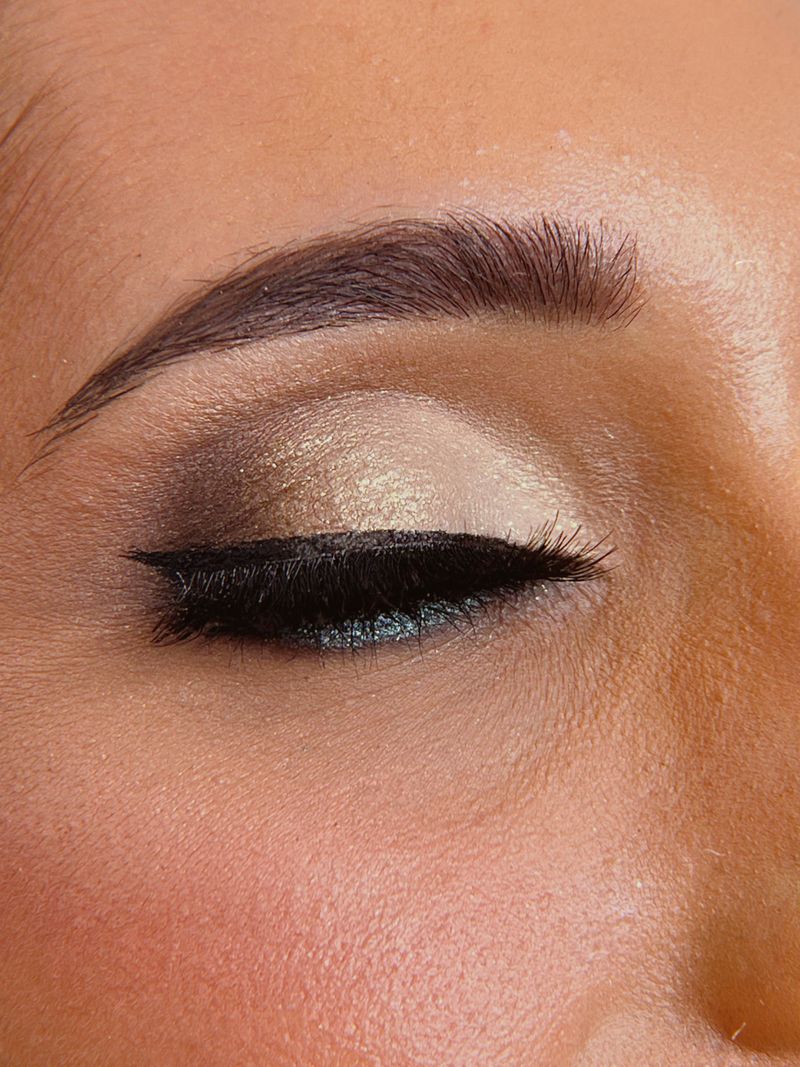
Black can feel a bit like a bold marker on delicate paper.
It looks striking, but it may also look harsh as skin changes over time.
Try brown, bronze, plum, navy, or charcoal instead.
Smudge one of these along the upper lash line with a small angled brush to add definition that still feels friendly.
Each color has its own personality.
Navy can make blue and hazel eyes pop, plum flatters green eyes, and bronze warms up brown eyes.
Experiment to see which one makes your eyes sparkle the most.
10. Light Hand on the Lower Lashes
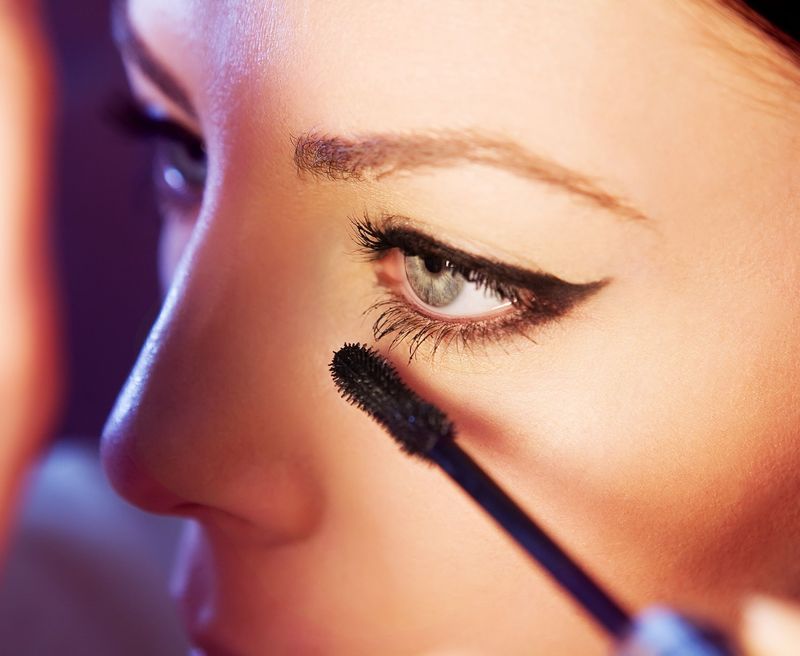
Lower lids are thin and sensitive, so they need a gentler approach.
Heavy color there can pull the eye downward and draw attention to puffiness.
Use a small brush and a soft brown or taupe.
Apply shadow only along the outer third of the lower lash line, then smudge it until it looks hazy.
This small touch connects with the color on your upper lid and frames the eye nicely.
If you wear glasses, you may find this step makes your eyes look more defined behind the lenses.
Keep it whisper-light.
11. Match Your Technique to Your Eye Shape
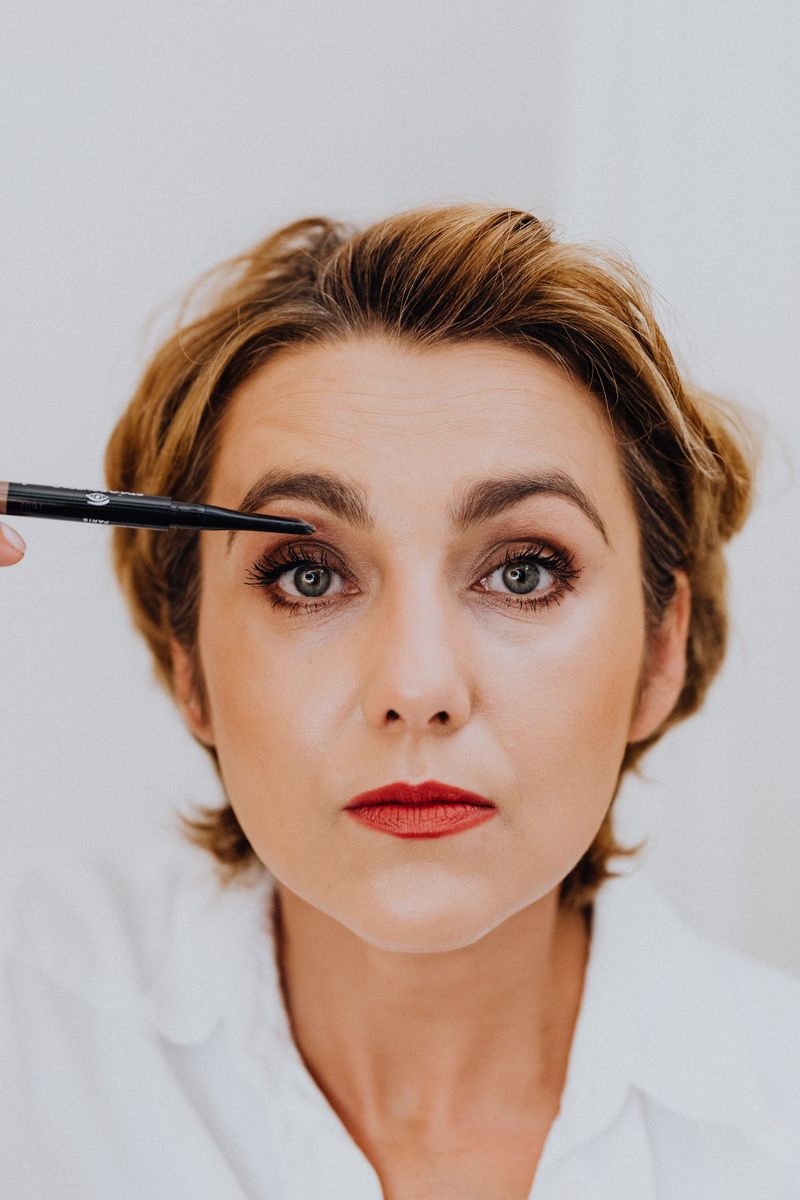
Here is the best news: there is no age cutoff for color.
Placement, texture, and blending matter far more than the number of candles on your cake.
Hooded eyes shine with shadow placed slightly above the crease.
Deep-set eyes look brighter with lighter shades on the lid, while round eyes can be lengthened by blending color outward.
Almond eyes are flexible and suit most looks.
For downturned eyes, lift the outer corner by angling shadow upward toward the end of the brow.
Play with your own shape and enjoy discovering what works.