 MomSkoop
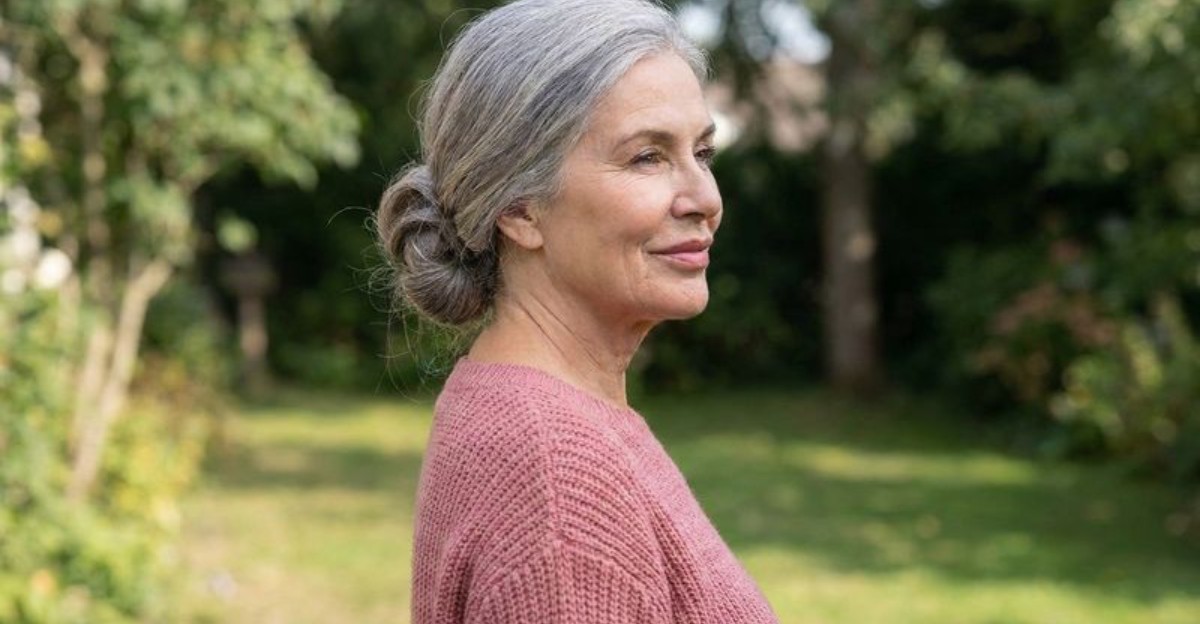
Silver strands often feel coarser and drier than the pigmented hair they replace, which changes how long hair behaves after 60. That texture shift can actually work in your favor, because coarser hair tends to hold a twist, clip, or braid with less fuss. The old rule about cutting your hair short at a certain age has faded. Long hair after 60 is now a style choice, not a statement, and plenty of women wear it with ease.
The real question is time, since nobody wants to spend a morning wrestling a curling iron. The good news is that smart cuts, simple updos, and a few clever accessories handle most of the work for you. The ideas ahead lean on air-drying, second-day hair, and tools you probably already own.
1. Loose Air-Dried Waves
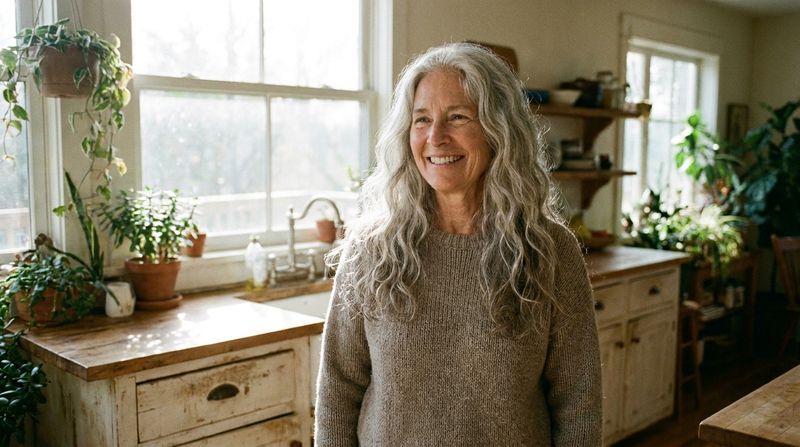
Your hair dryer deserves a vacation, and loose waves give it one.
Air-drying lets hair keep its natural bend, so you get movement and body without heat.
Start with damp, towel-blotted hair.
Squeeze in a little leave-in conditioner or a light curl cream, focusing on the ends.
Next, twist a few large sections loosely and leave them alone.
Touching hair while it dries is the fastest route to frizz, so find something else to do with your hands.
Once it feels dry, shake the twists apart with your fingers instead of a brush.
Brushing breaks up the waves and leaves a puffy finish.
Silver and gray hair often runs dry, so moisture matters here.
A few drops of argan oil smoothed over the ends can tame flyaways and add a soft shine.
Want more lift at the roots?
Flip your part to the opposite side while hair dries, then flip it back.
That tiny trick gives instant volume with zero tools.
Second-day waves can look even better.
Sleep with hair in a loose braid or a silk scrunchie, and you’ll wake up with refreshed texture ready to go.
2. Long Layers That Do the Work
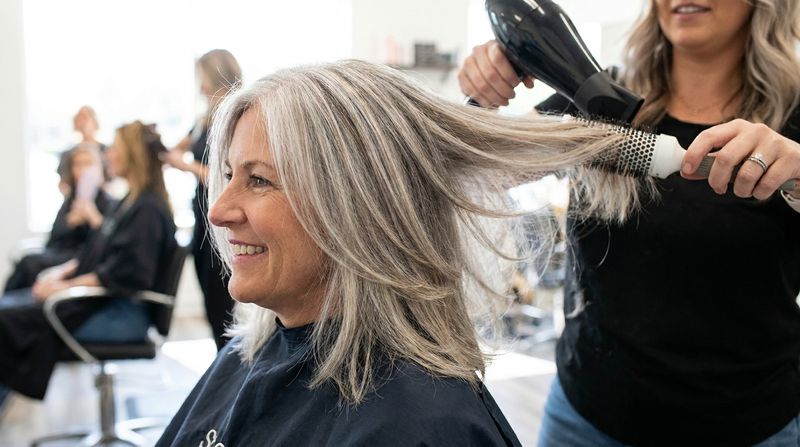
A good haircut is the laziest styling trick on earth, and that’s a compliment.
Long, soft layers add movement and help hair look fuller, especially when strands have thinned a bit.
Ask your stylist for layers that start around the chin or collarbone.
Shorter pieces up top create lift, while the length stays intact below.
The beauty of this cut is how it falls on its own.
Hair that’s all one length can hang flat and heavy, but layers break up that weight so the shape shows through.
On busy mornings, a quick finger-comb might be enough.
On days you have five spare minutes, a round brush on the front sections adds bounce.
Layers also help natural waves and curls show off.
Removing some weight lets the texture spring up instead of getting pulled straight.
Keep things fresh with trims every six to eight weeks.
Regular trims clip split ends before they travel up the strand and make the layers look ragged.
Bring a photo to your appointment if words fail you.
Stylists love a visual, and it saves a lot of guessing about where those layers should begin.
3. Sleek and Straight
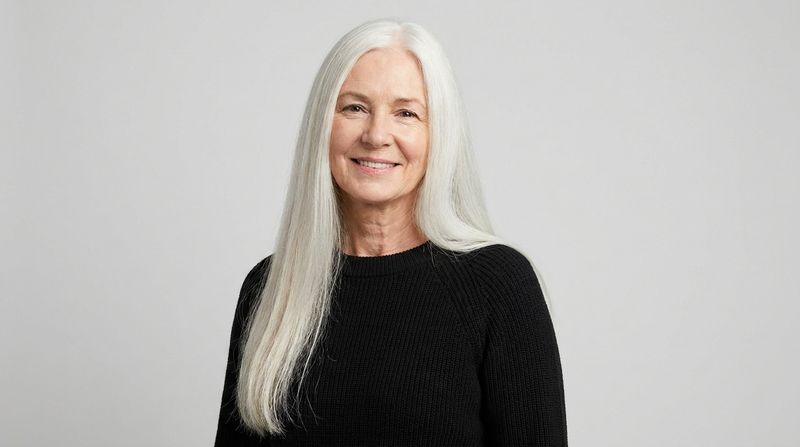
Straight hair is the little black dress of hairstyles.
It goes with jeans, a blazer, or a wedding outfit, and nobody questions it.
Simplicity is the point here.
If your hair grows mostly straight already, wash, condition, and let it dry with a smooth comb-through.
A wide-tooth comb is your best friend for detangling.
Start at the ends and work upward, which helps prevent snapping and breakage.
Shine makes this look polished, so hydration matters.
Use a moisturizing conditioner and a weekly hair mask to keep strands smooth.
If you do reach for a flat iron, choose the lowest setting that works.
Always apply a heat protectant first, since frequent high heat can damage hair over time.
A center part feels modern and clean.
A deep side part adds a touch of softness and a bit more lift at the crown.
For blond or silver straight hair, color tone shows clearly against such a smooth surface.
A purple shampoo once a week helps cancel yellow or brassy tones so the shade stays bright.
Finish with a pea-sized drop of oil on the ends, and you’re done.
4. The Upgraded Low Ponytail
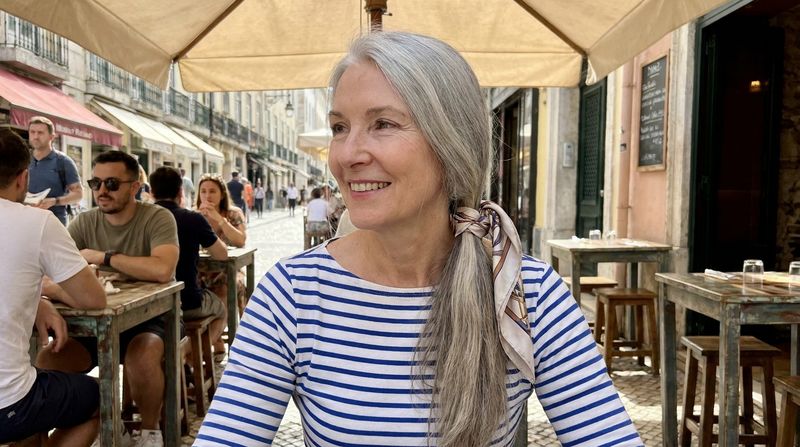
Ponytails get unfairly labeled as gym hair.
Placed low at the nape and dressed up a bit, one looks polished enough for lunch out or a family photo.
Gather hair loosely at the base of your neck.
A low position feels easier on a sensitive scalp than a high, tight pony.
Now add one small upgrade.
Wrap a thin strand of hair around the elastic and pin it underneath, and the hair tie disappears.
Scarves are another fast option.
Knot a silk square around the base and let the ends trail down, which adds color with almost no effort.
Texture makes a pony look intentional.
Gently tug a few pieces loose near the face, or loosen the crown slightly with your fingertips for softness.
Choose snag-free ties or soft scrunchies over thin rubber bands.
Those little bands can grip and tear strands when you pull them out.
This style also rescues second-day hair beautifully.
If your roots feel a bit flat or the ends look tired, a low pony hides both and still looks put together.
Total time, about two minutes on a slow day.
5. Curtain Bangs With Long Layers
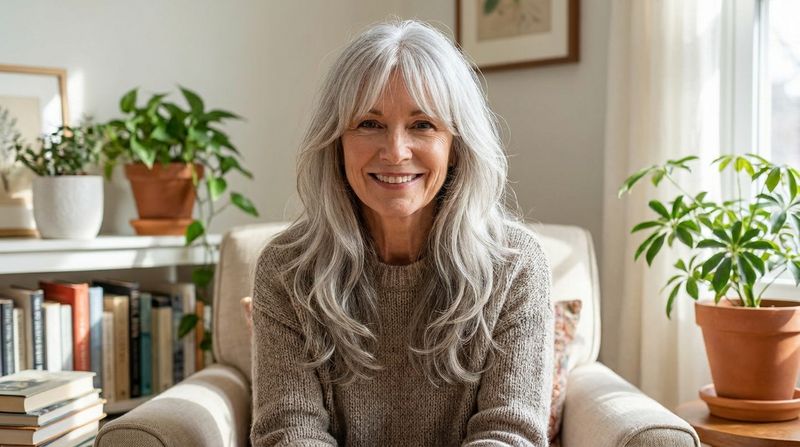
Bangs can feel like a big leap, so curtain bangs are the friendly middle ground.
They part in the center and sweep outward, blending right into long layers.
I like how they frame the eyes and cheekbones without hiding your whole forehead.
They also make long hair feel styled even when the rest is left alone.
Daily care takes about a minute.
Dampen the bangs, then blow-dry them with a small round brush, rolling each side away from your face.
No brush handy?
Pin each side back while damp, wait a few minutes, then release them for a soft swoop.
Growing them out is low drama too.
Since curtain bangs are already longish, they fade into face-framing layers instead of awkward stubby pieces.
Plan on small trims between full haircuts.
Many salons offer quick bang touch-ups, so ask about yours when you book.
Fine hair can benefit nicely from this look.
The angled pieces add visual fullness around the face, where people notice it most.
Pair them with a loose pony or a simple clip, and the bangs keep the look from feeling plain.
6. Side-Swept Bangs
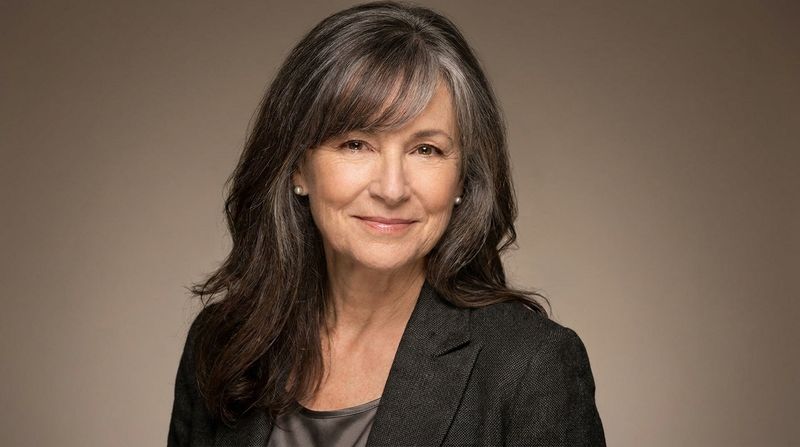
A diagonal sweep of hair across the forehead can change your whole look in one snip.
Side-swept bangs soften the face and add a bit of drama to long hair.
They’re forgiving in a way blunt bangs aren’t.
Cowlicks and uneven hairlines blend in when the fringe falls at an angle.
Styling is quick.
While the bangs are damp, blow-dry them across your forehead in the direction you want them to fall, using a flat brush.
Once dry, a tiny bit of smoothing cream keeps them in place.
Too much product makes them clump, so start with less than you think.
Side bangs play well with nearly any long style.
Wear them with hair down, in a braid, or tucked into a bun, and they keep the front looking finished.
On windy days, a single bobby pin behind the ear rescues the situation.
You can also pin them back entirely when you want a sleeker look.
Talk with your stylist about length before cutting.
Starting longer, around cheekbone level, gives you room to adjust, and you can always go shorter at the next visit.
7. Natural Curls Left Alone
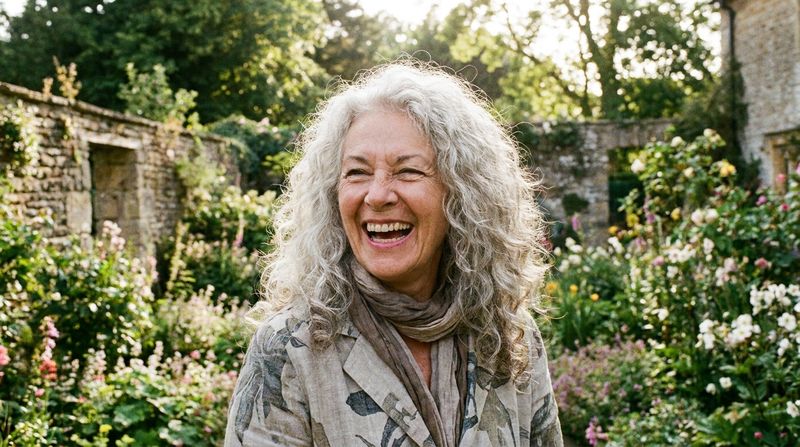
Curly hair has been waiting decades for you to stop fighting it.
Embracing your natural pattern means less heat, less time, and often a lot more volume.
Curls crave moisture, especially as hair gets drier with age.
A rich conditioner and a leave-in product make a clear difference in definition.
Apply curl cream to soaking wet hair, since that helps the curls clump together.
Scrunch upward gently, then let them air-dry or use a diffuser on low heat.
Skip the regular brush once curls are dry.
Brushing pulls them apart into a fluffy cloud, which is fun for a costume party but not for Tuesday errands.
Refreshing curls between washes is simple.
Mist with water, scrunch in a little product, and the shape comes back.
Washing less often helps protect natural oils that curly hair needs.
Many people with curls wash every two to three days, or even less, using a sulfate-free shampoo.
Sleeping on a satin or silk pillowcase can reduce friction on your curls overnight.
A loose pineapple, where you gather curls high and loose on top, also helps them survive until morning.
8. Half-Up, Half-Down
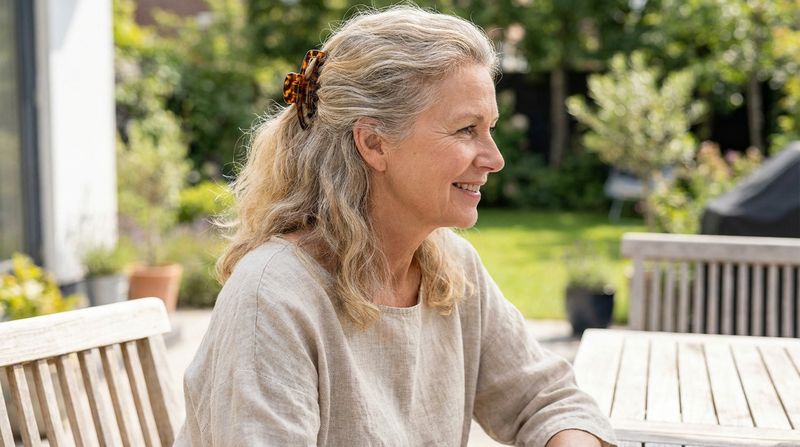
Can’t decide between up or down?
Good news, you don’t have to.
The half-up style keeps hair off your face while still showing off your length.
It works for reading, gardening, cooking, or a dinner where you’d rather not dip your hair in the soup.
Grab the top section from temple to temple and pull it back loosely.
Secure it with an elastic, a couple of bobby pins, or a pretty clip.
A half-up bun is a fun twist on the idea.
Twist that top section into a small knot at the crown, and you’ve added height without teasing.
Loose is better than tight here.
A gentle hold puts less tension on the scalp and looks more relaxed.
This look forgives a lot.
Hair that’s slightly flat, a little frizzy, or on its third day still looks fine once the top section is gathered back.
You can change the mood with accessories.
A tortoiseshell barrette feels classic, a velvet bow feels playful, and a plain pin practically disappears.
Pull out a few strands near your face if the style feels too strict.
9. A Simple Side Braid
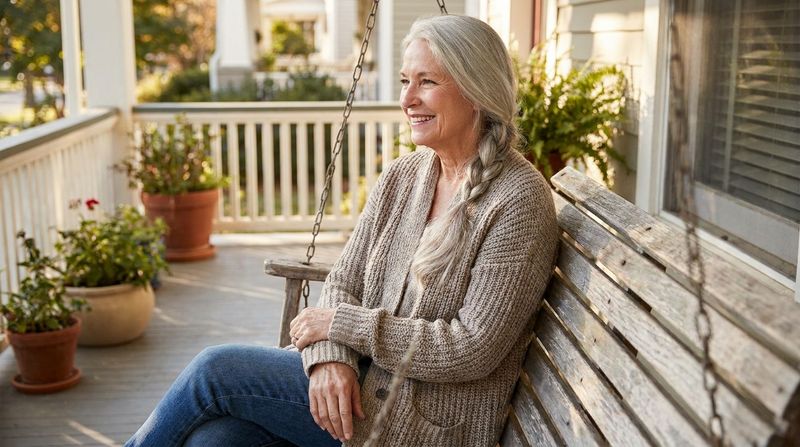
Most of us learned to braid as kids, and that skill is about to pay off.
A loose side braid takes a few minutes and holds up through a whole busy day.
Brush hair over one shoulder and split it into three sections.
Braid loosely down to the ends and secure with a soft tie.
Gently pull the edges of each loop outward afterward.
This trick, often called pancaking, makes the braid look thicker and softer.
Braids keep long hair from tangling in scarves, coat collars, and seatbelts.
They’re also handy for travel, walks, and windy beach days.
Fancy an upgrade?
A braided topknot wraps the braid around itself on top of your head, pinned into place.
Overnight braiding does double duty.
Braid damp hair before bed, and you’ll wake up to soft waves once you take it out.
Keep the braid relaxed rather than tight, especially if your scalp feels tender.
A gentle braid looks prettier anyway, with a few face-framing strands left out to soften the edges.
Add a ribbon at the end if you’re feeling festive.
10. The Five-Minute Chignon
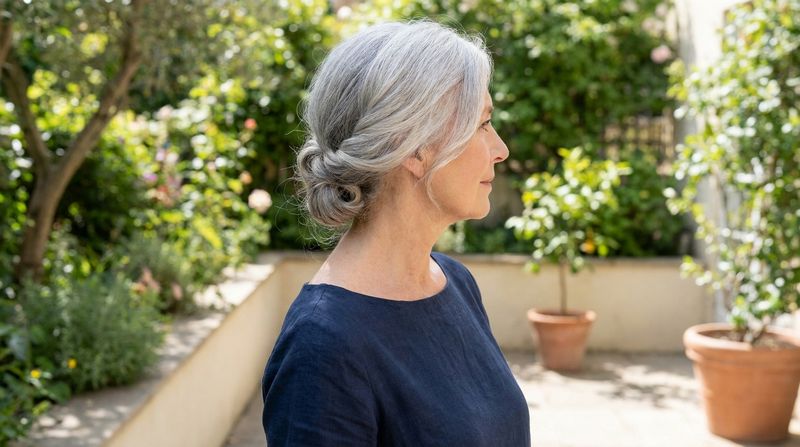
French women didn’t invent elegance, but the chignon makes a strong case that they perfected it.
The word comes from French, referring to the nape of the neck, which is exactly where this low bun sits.
A basic version is easier than it looks.
Gather hair into a low ponytail, twist it, then coil it around the base and pin.
Four to six bobby pins usually do the job.
Slide them in along the edge of the coil, angling toward the center.
Prefer a messier finish?
Loosen the twist slightly before pinning, and leave a few pieces loose around your face.
This style shines at weddings, holiday dinners, and the theater.
Still, nobody says you can’t wear it to the grocery store.
Second-day hair often holds a chignon better than freshly washed hair.
Clean hair can feel slippery, so a bit of dry shampoo adds useful grip.
Long hair can feel heavy in a bun.
If pins keep sliding out, try a spiral pin or a small claw clip tucked underneath for extra security.
11. A Quick French Twist
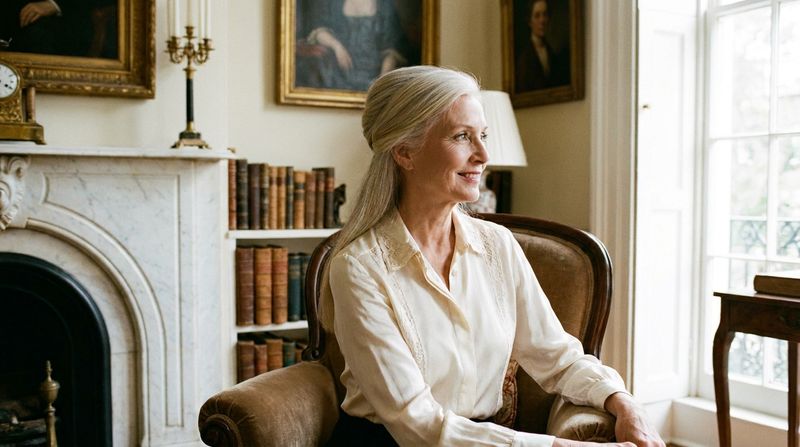
Old Hollywood loved a French twist, and the style still holds up beautifully.
It looks complicated, yet a simple version takes under five minutes.
Gather hair as if making a low ponytail, but don’t tie it.
Twist the length upward against the back of your head, then tuck the ends inside the roll.
Secure with bobby pins along the seam.
A large claw clip works too, and it’s much faster when you’re running late.
Long hair actually helps here.
Extra length means more hair to wrap, which creates a fuller roll.
A swirled version adds some flair.
Instead of tucking the ends neatly, let them spill over the top in a loose curl.
Pair the twist with bangs for a softer, modern feel.
Curtain or side bangs keep the front from looking too severe.
Practice makes this one easier, so try it on a lazy Sunday before a big event.
By the third attempt, your hands will know the motion.
Keep a mirror behind you, or check your phone camera, to see the back clearly while you pin.
12. The Claw Clip Twist
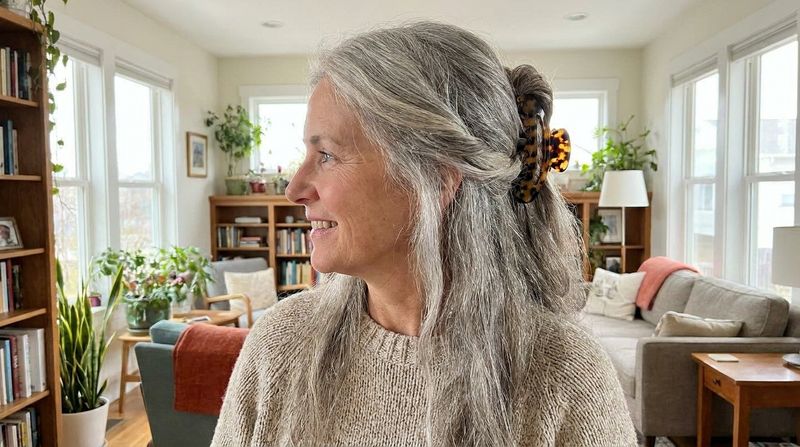
Claw clips made a big comeback, and long hair is the reason they shine.
A twist and a clip can take you from messy to put-together in about thirty seconds.
Gather hair at the back, twist it upward, and fold the ends over the top.
Clamp the clip over the twist, and you’re done.
Choose a clip size that matches your hair.
Thick or very long hair needs a large clip with strong teeth, while finer hair can use a medium one.
The half-up version works nicely too.
Clip just the top section back for a softer look that keeps hair out of your eyes.
Claw clips put less pressure on the scalp than tight elastics for some people.
They also skip the dent that a hair tie can leave behind.
Style comes easy with all the shapes and finishes out there.
Tortoiseshell, matte neutrals, and metal designs each give a different feel.
Keep one in your purse and another in the car.
Long hair has a habit of needing rescue at random moments, like hot afternoons, windy parking lots, or a surprise sink full of dishes.
13. A Messy Top Knot
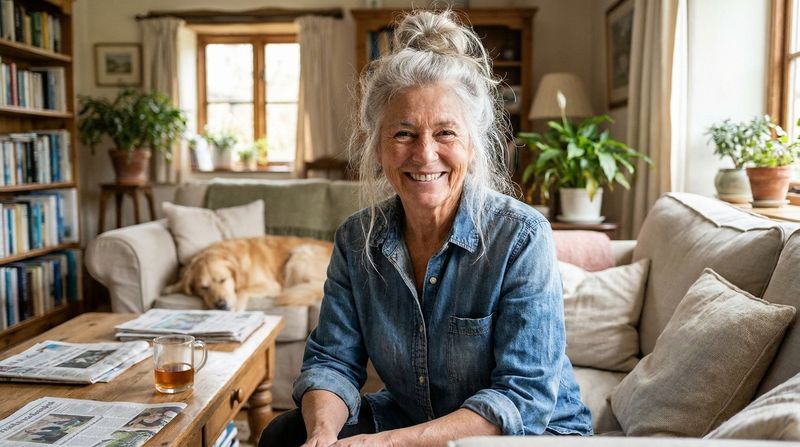
Some days call for hair that says relaxed, not rushed.
A messy top knot handles that mood perfectly, and it’s ideal for second or third-day hair.
Flip your head upside down and gather hair at the crown.
Twist it loosely, wrap it around the base, and secure with a soft scrunchie or a few pins.
Then loosen it up.
Tug gently at the knot and the hairline so it looks soft rather than stiff.
A spritz of dry shampoo before you start adds grip and body.
It also absorbs oil at the roots, which helps on non-wash days.
The knot doesn’t have to sit high.
Moving it slightly back can feel more comfortable, especially if a high bun pulls at your scalp.
Wearing hair up regularly also protects the ends from rubbing on collars.
That means fewer tangles and less breakage over time.
Take it down at night and you may find a bonus wave.
Long hair pressed into a knot for hours often relaxes into soft bends, so tomorrow’s hairstyle might already be half done, and that’s a fine reward for doing very little.