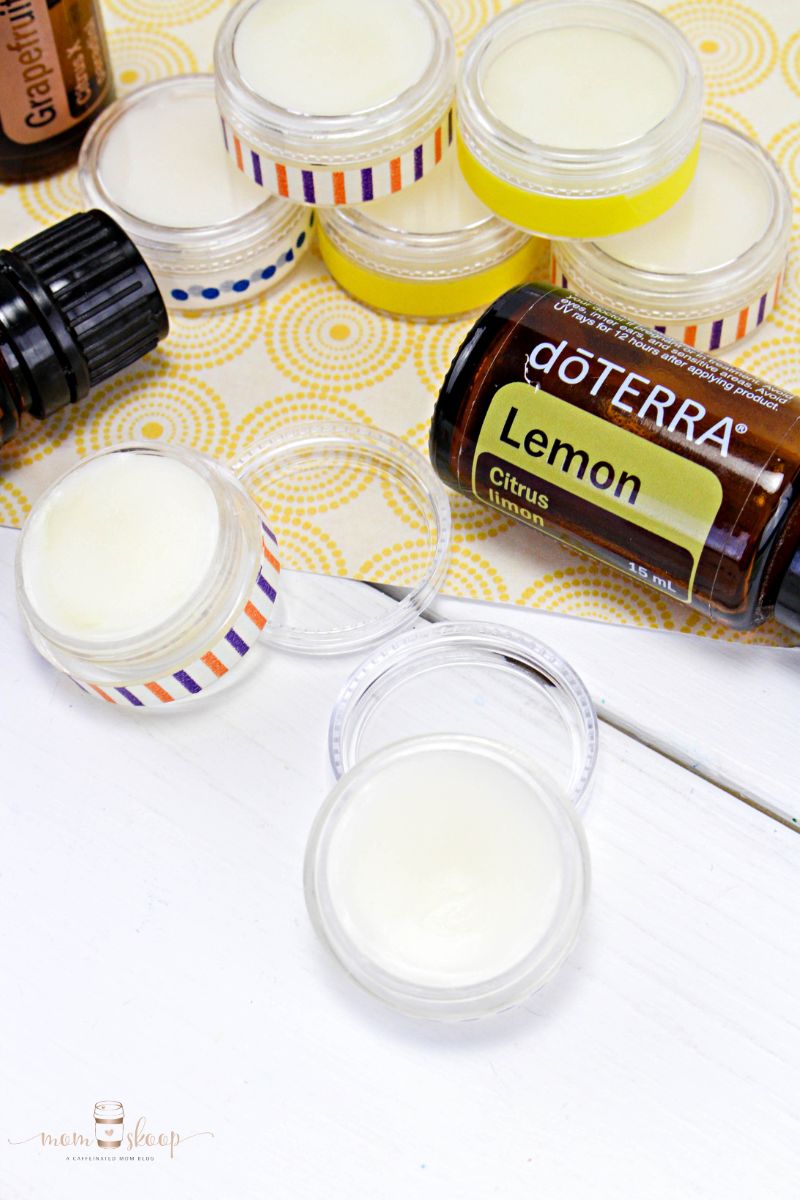
DIY lip balm is easier to make then you think. With just a few ingredients, you can make your own customized lip balm that will keep your lips protected.
One of the most forgotten parts of our body to protect from the sun, is our lips. If you’ve ever had sunburnt lips before, than you know what it feels like. Swollen, cracked, and painful lips are no fun at all.
That’s why this project to make your own homemade lip balm is not only fun but a must to make. This way you can have multiple containers nearby you so you can always keep your lips feeling nice and smooth.
Remember this balm is NOT SPF rated. You will still need to use SPF sunscreen for your lips. Even though coconut oil provides a little bit of SPF coverage, don’t rely on it to provide all of it. Check out this article about using Coconut oil as sunscreen.
Looking for other homemade DIY projects? Make sure to look at these projects for our Honey and Oatmeal Soap Bars, my Lavender Sugar Scrub Bunnies, and our DIY Acrylic Nails tutorial.
🧾Materials
You will find the exact amounts needed in the how-to card at the bottom of the post.
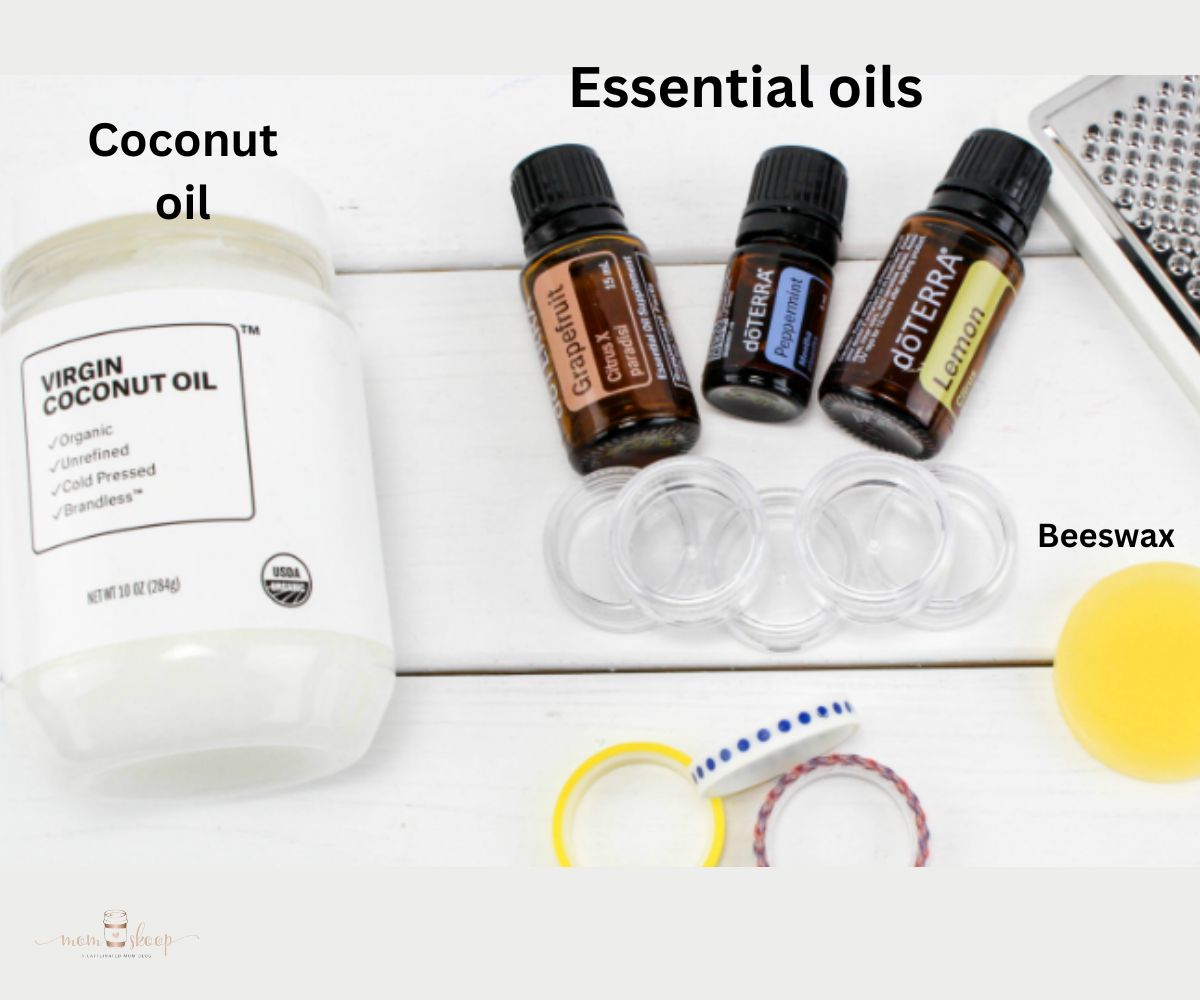
- Coconut oil
- Beeswax
- Essential oils
✂Instructions
At the bottom of the post, you will find the step-by-step instructions to complete this project.
📖Variations
- Without Beeswax – you can make this without using beeswax. Just look for a wax such as candelilla.
🔪Equipment
- Lip Balm Containers
- Washi Tape
- grater
- toothpicks
🥫Storage
Make sure to store in a cool and dry place.
As long as you take care of it, it “should” last for up to one year. Make sure to wash your fingers before dipping them into the container. You can also use an applicator to help prevent germs from getting in there.
But as with all things homemade, if it begins to look funny, smell funny, or just seem off, throw it away.
🔎Top tips
- Look for lip products that have ingredients like beeswax as it helps seal the moisture in.
- Look for lip gloss with a minimum of SPF 30.
- Exfoliate your lips with sugar, coconut oil, and vitamin E oil to remove the skin cells that have died on your lips.
- Moisturize your lips with lip balms like the DIY one below. A wonderful time to moisturize your lips is at bedtime. Apply lip balm liberally at night before you go to bed.
❔FAQ
The basic lip balm recipe calls for oil (coconut, grapeseed), butter (shea, cocoa, mango), wax (soy or beeswax), and your favorite essential oils.
Lavender, Chamomile, Coconut, and Jasmine.
How to Make DIY Lip Balm
DIY lip balm is easier to make then you think. With just a few ingredients, you can make your own customized lip balm that will keep your lips protected.
Materials
- 3 Tbsp. Coconut Oil
- 3 Tbsp. Beeswax grated
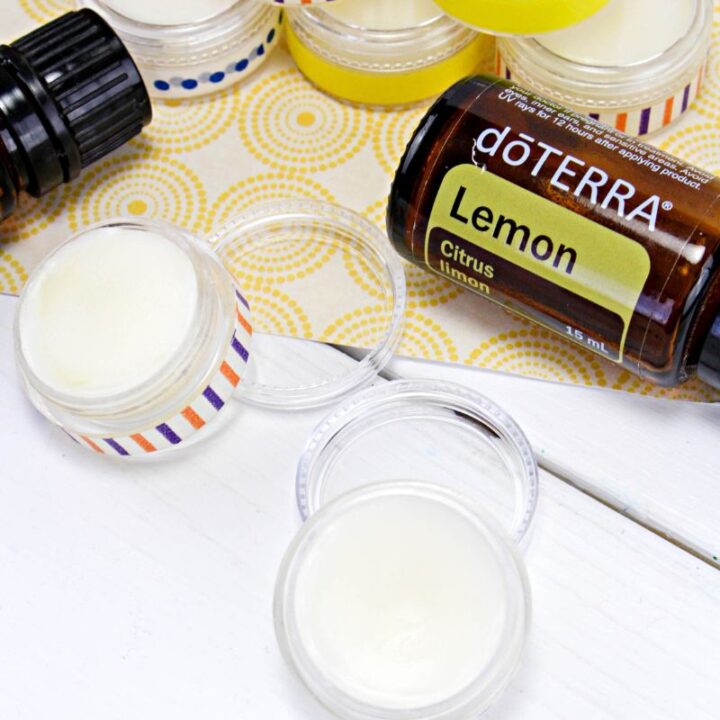
- 3 Essential Oils different fragrances
- Lip balm containers
- Washi tape
Tools
- Grater
Instructions
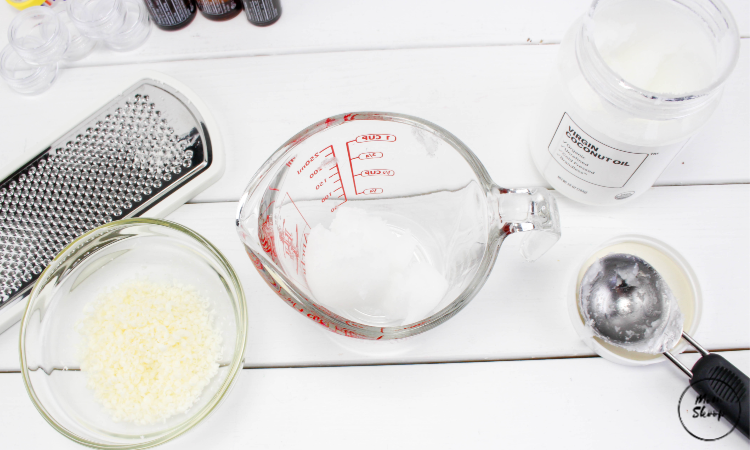
- Grate the beeswax and measure out 3 tablespoons and put it into a glass measuring cup.
- Add the coconut oil to the measuring cup and microwave it in 30-second intervals, stirring in between, until it’s all melted.
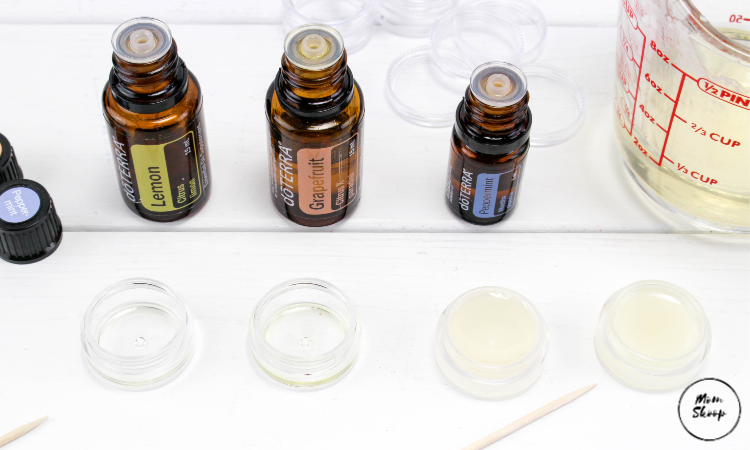
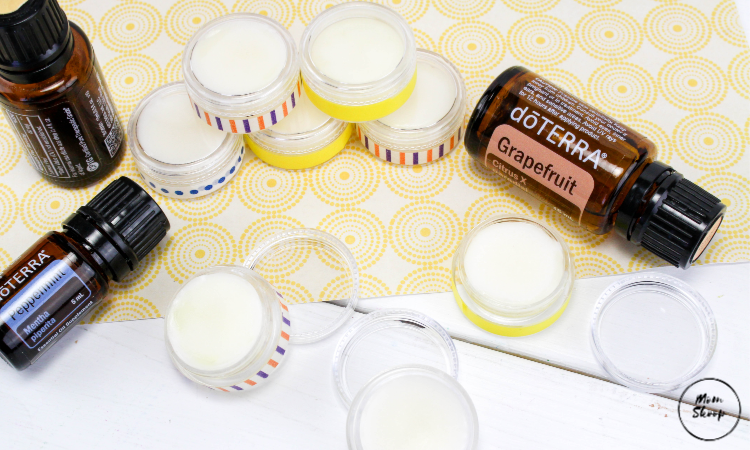
- Put about 3-4 drops of essential oils into each of your lip balm containers.
- Pour the coconut/beeswax mixture into each container until filled to the top.
- You can take a toothpick and do a quick stir in each container if you want to.
- Let these set for at least an hour and become solid, then you can put the lids on.
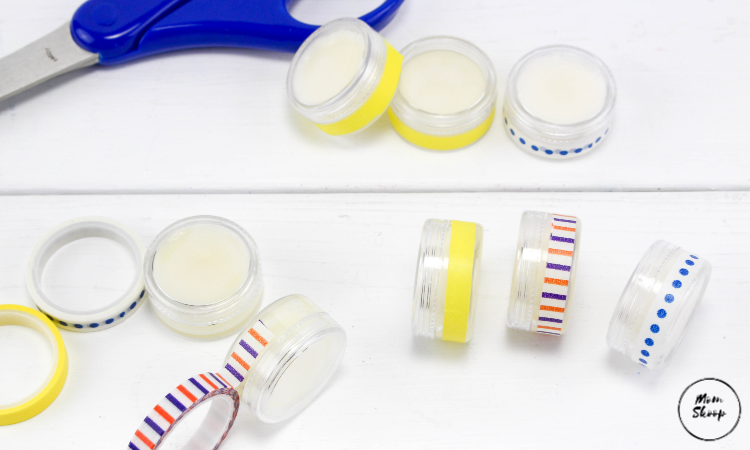
- Use the washi tape and put a strip around the bottom of each container to make them look cute and fun.
- Very easy way to use essential oils for party favors or just make for yourself.
This post was originally written in May 2019.