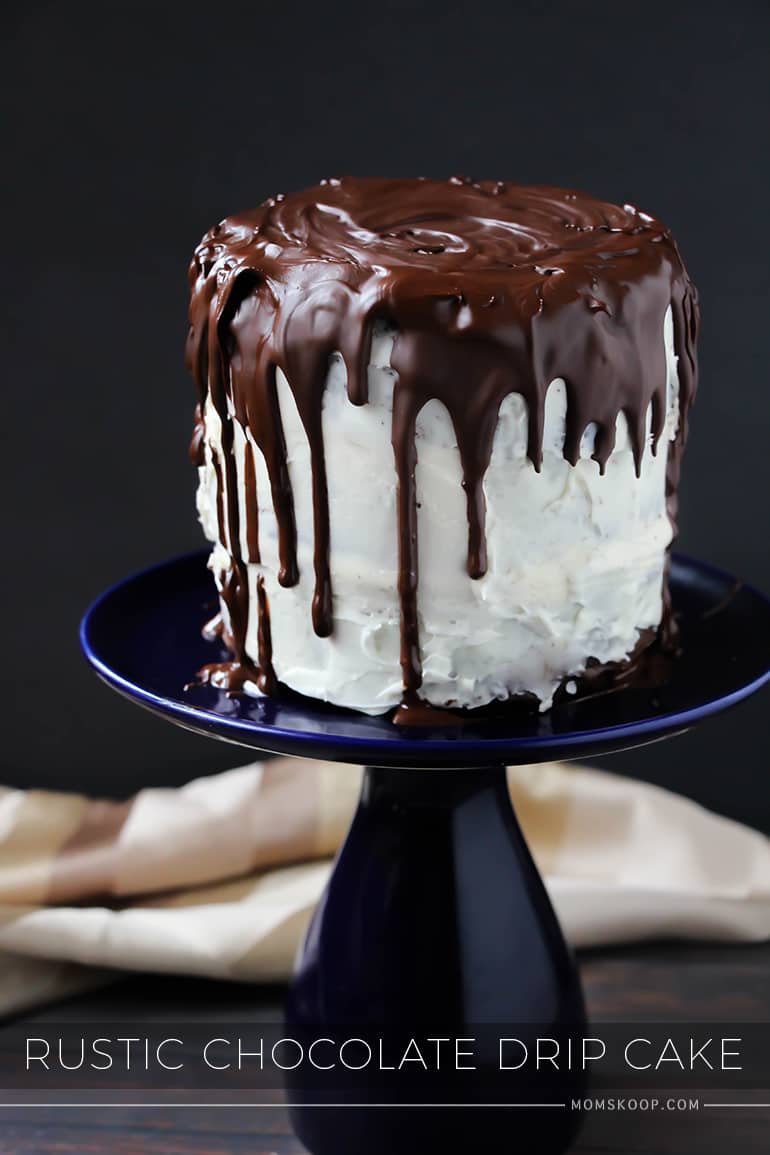
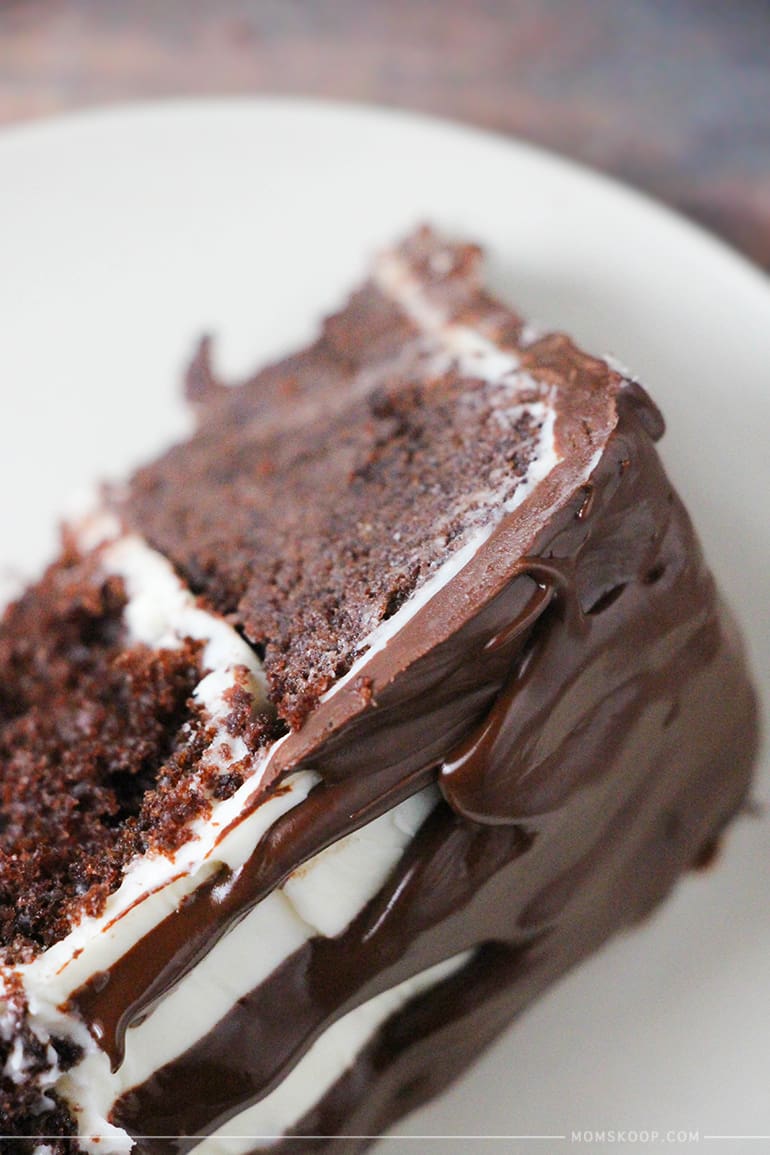
This Rustic Chocolate Drip Cake with decadent chocolate layers, rich buttercream frosting, and overflowing chocolate icing is perfect for both beginners and seasoned bakers. Imaging slicing into this amazingly moist and delicious cake right now! If you are looking for an easy dessert to make this week that the whole family will love, this is one to bookmark!
How to Make a Rustic Chocolate Drip Cake
There is just something very appealing about a chocolate cake, let alone a chocolate drip cake. Maybe it’s the milk chocolate slowly dripping down the cake. Maybe it’s because it’s a unique take on cake decorating. Or maybe it’s just because it’s simply an easy chocolate cake recipe to make.
Expert Tips, Ingredient List and Suggestions for Recipe Success
- All-purpose flour – make sure to use the scoop with a spoon and level with a knife method to get the most accurate measurement.
- Baking soda – double check the expiration on your container.
- Baking powder – make sure this isn’t expired.
- Unsweetened cocoa powder
- Kosher salt
- Unsalted butter
- White granulated sugar
- Eggs
- Pure vanilla extract
- Powdered sugar
- Heavy cream
- Chocolate chips
Don’t worry if at first it doesn’t look the best. Perfecting the chocolate drip takes a bit of practice, however, you can totally do it. Plus, as with our Rustic Drip Cake, it’s okay if it looks a bit rustic! It doesn’t have to be perfect!
All that really matters is that it’s a yummy cake!
Why Make it a More Rustic Dip?
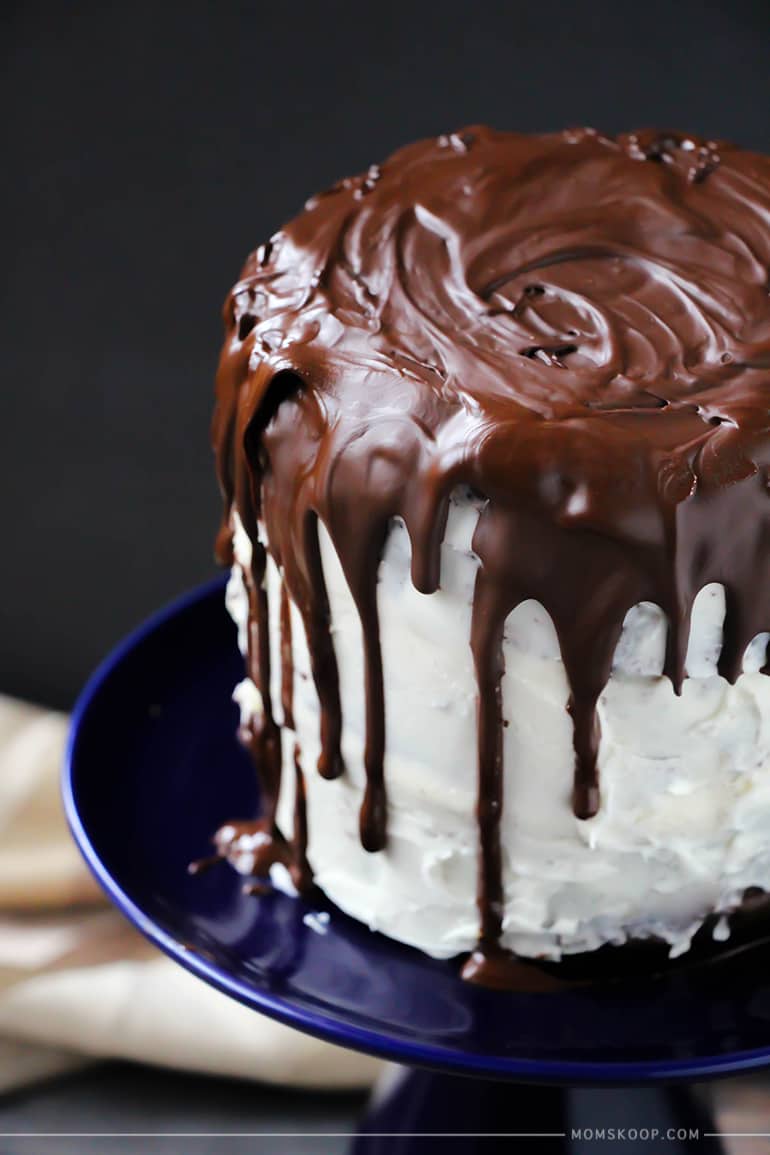
You can always add a second layer of white buttercream frosting if you want a neater finish, but I like the rough appearance and how parts of the chocolate cake peeked out from under the frosting. I think it goes well with the thick drips, creating a rustic, country feel.
Perfecting the Rustic Chocolate Drip
Once the top of the cake is covered in chocolate, take large spoons of chocolate and, touching the spoon to the edge of the cake, spill the chocolate down the side of the cake, causing a dramatic drip.
Repeat this effect all around the cake and then go back and check where you may want to add extra drips or elongate a drip for a natural look.
To Make the Chocolate Ganache
To create this type of drip, you may prefer to use an offset spatula and a squeeze bottle that has melted chocolate in it.
You may prefer a chocolate ganache drip instead of a basic chocolate drip. To make this type of drip for your cake, follow the chocolate ganache recipe by Spend With Pennies. She does a great job detailing the steps you need to follow to create the perfect ganache.
Once you make your ganache, you will simply add the chocolate into a squeeze bottle and then squeeze out of the chocolate along the top edge of the cake and let the chocolate flow down the cake. Then add the ganache to the top of the cake and spread it out using an offset spatula.
Step by Step Directions
Step 1: Preheat the oven.
Step 2: Prepare the pans.
Step 3: In a larger bowl, sift your dry ingredients together and set aside.
Step 4: Cream together the liquid ingredients then combine with the dry.
Step 5: Bake.
Step 6: Make the frosting.
Step 7: Drip that decadent chocolate.
How to Store
You can place the cake in a cake container if you have one that is air-tight and place it in the fridge for up to 4 days.
Related Posts:
Rustic Chocolate Drip Cake
Ingredients
Chocolate Cake
- 1 1/3 cups all-purpose flour
- 1/4 tsp baking soda
- 2 tsp baking powder
- 3/4 cup unsweetened cocoa powder
- 1/8 tsp kosher salt
- 3 tbsp unsalted butter softened
- 1 1/2 cups white granulated sugar
- 2 eggs
- 3/4 tsp pure vanilla extract
Vanilla Buttercream Icing
- 1 cup unsalted butter softened
- 3-4 cups icing sugar
- 2 tsp vanilla extract
- 1 pinch kosher salt
- 2-3 tbsp milk or heavy cream
Chocolate Drip
- 2 cups chocolate chips
- 1-2 tbsp vegetable shortening optional
Instructions
- Preheat oven to 375 degrees F.
- Grease and line 3 5-6" circular cake pans.
- In a large bowl, sift together the flour, baking powder, baking soda, cocoa and salt. Set aside.
- In a large bowl, cream together the butter and sugar until light and fluffy, about 2 minutes.
- Add the eggs one at a time, beating well with each addition, then stir in the vanilla.
- Add the flour mixture alternately with the milk; beat well.
- Divide the batter amongst the 3 cake pans and bake until an inserted toothpick comes out clean, about 20-25 minutes.
Frosting
- Place softened butter into a bowl and beat in 2 cups of icing sugar. Add 2 Tablespoons heavy cream and vanilla.
- Add remaining icing sugar 1/2 cup at a time until you reach your desired consistency.
- Cut the cakes into even layers using your preferred method. Stack them using thick coats of the vanilla buttercream and then give a quick "crumb coat" to seal in the crumbs.
Drip Chocolate
- Place the chocolate chips in a microwave-safe bowl and heat for 25 seconds. Stir well and repeat as necessary. Test the consistency – if it's not free-flowing, add a bit of shortening.
- Pour half of the melted chocolate onto the top of the cake and swirl out to the edges using the back of a spoon or an offset spatula.
- Once the top is covered, use additional spoonfuls of the chocolate to drip down the sides.
Setting
- Place the cake in the fridge immediately to set and harden, at least 30 minutes.