Post contains Amazon Affiliate links. As an Amazon Associate I earn from qualifying purchases. Please refer to our disclosure policy for more information.
These Love Letter Cookies are a sweet way to give your loved ones a love letter. These old-fashioned cookies are flaky, buttery, full of citrus flavor, and scrumptious, and they are very easy to make. If you are looking for a new treat to make this year for Valentine's, this is one to consider.
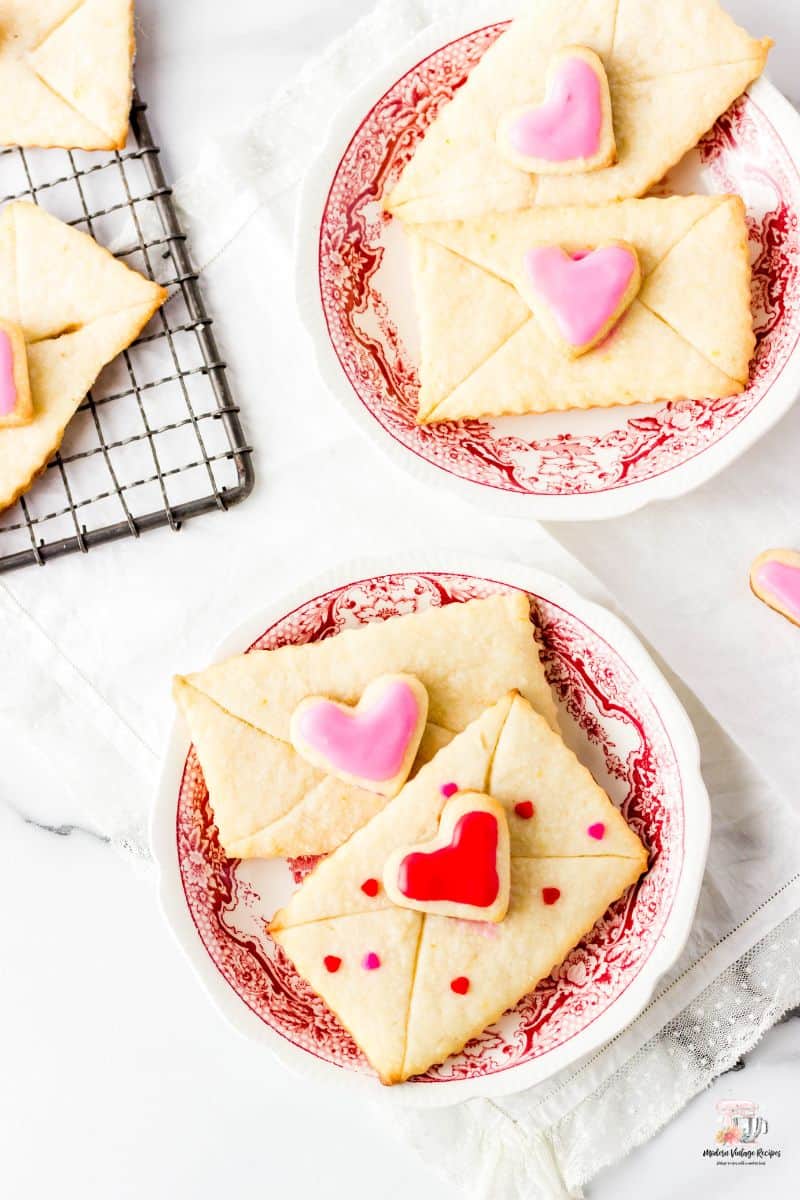
This is one of those vintage cookie recipes that you will be able to use throughout the year. Even though in the cookbook they are referred to as "Love Letters", you could really use them for any occasion.
If you are looking for more old-fashioned cookies, make sure to check out our Old-Fashioned Lemon Cookies made with Bisquick, our Snickerdoodles, and our Butter Shortbread Cookies.
Jump to:
📖 The Original Receipt
The recipe can be located on page 29 of the Betty Crocker Cooky Book.
The ingredients used in the original recipe are:
- 2 cups of Gold Medal Flour
- ½ cup of sugar
- 1 tsp. salt
- 1 cup butter or margarine
- 2 teaspoon finely grated lemon rind
- finely grated rind of 1 orange
- ½ cup commercial sour cream
Then the cookies were baked in a HOT oven of 475 degrees and made about 4 dozen of cookies.
📖 About the Cookbook
If you are looking for a new cookbook that is full of vintage cookies, then this Betty Crocker Cooky Book may be worth considering.
Home bakers back in 1963 didn't have the internet to rely on. They were self-taught and often used a pinch of this and a pinch of that. Cookbooks from that time period didn't have many pictures (if any) and definitely no in-process photos. Baking and cooking back then required using your imagination.
🥘Ingredients
The recipe card located at the bottom of the post contains a comprehensive list of ingredients.
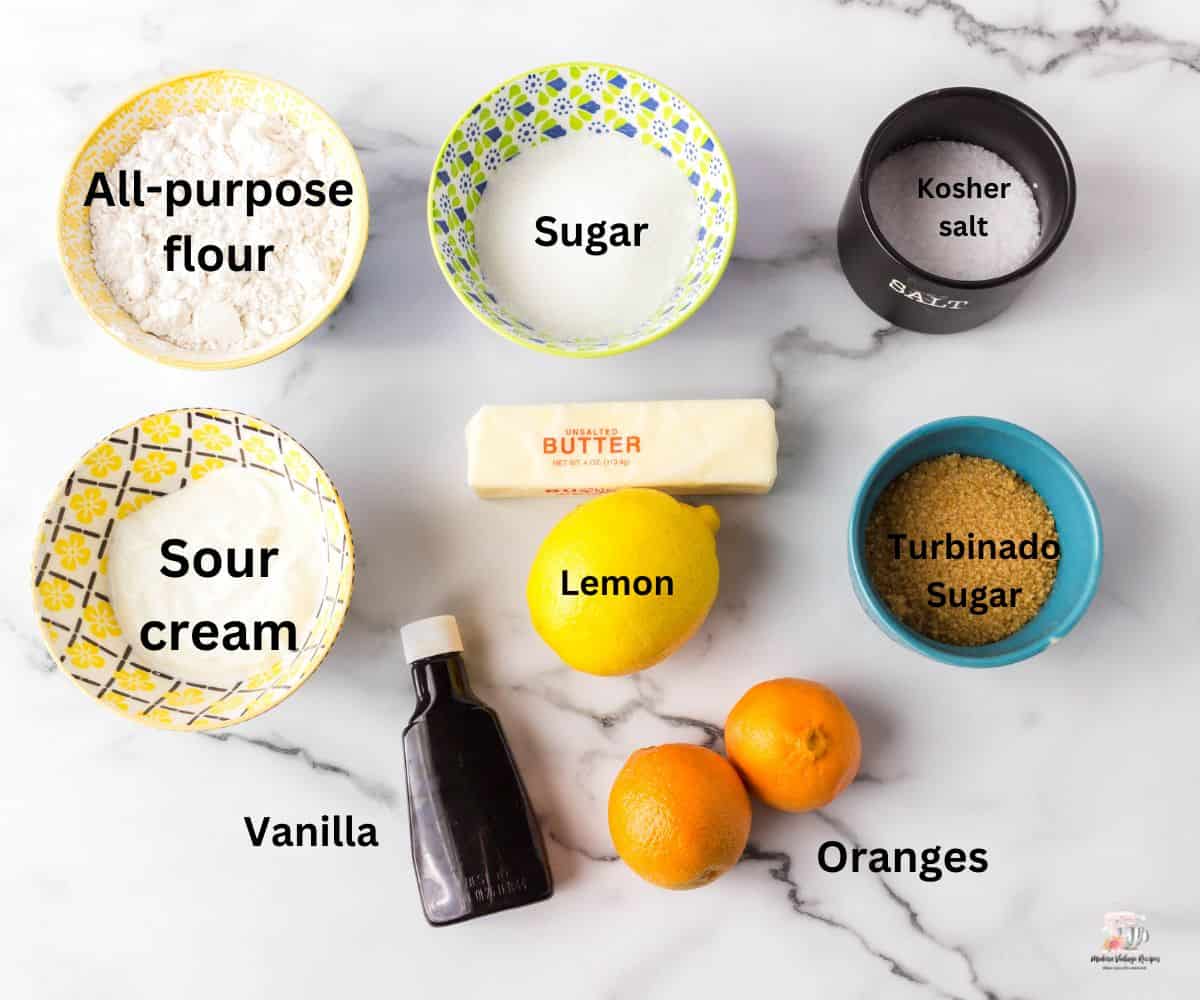
- All-purpose flour
- White granulated sugar
- Kosher salt
- Sour cream
- Pure vanilla extract
- Unsalted butter
- Lemon zest
- Orange zest
- Turbinado sugar (optional)
🔪 Instructions
The complete instructions are provided in the recipe card below.
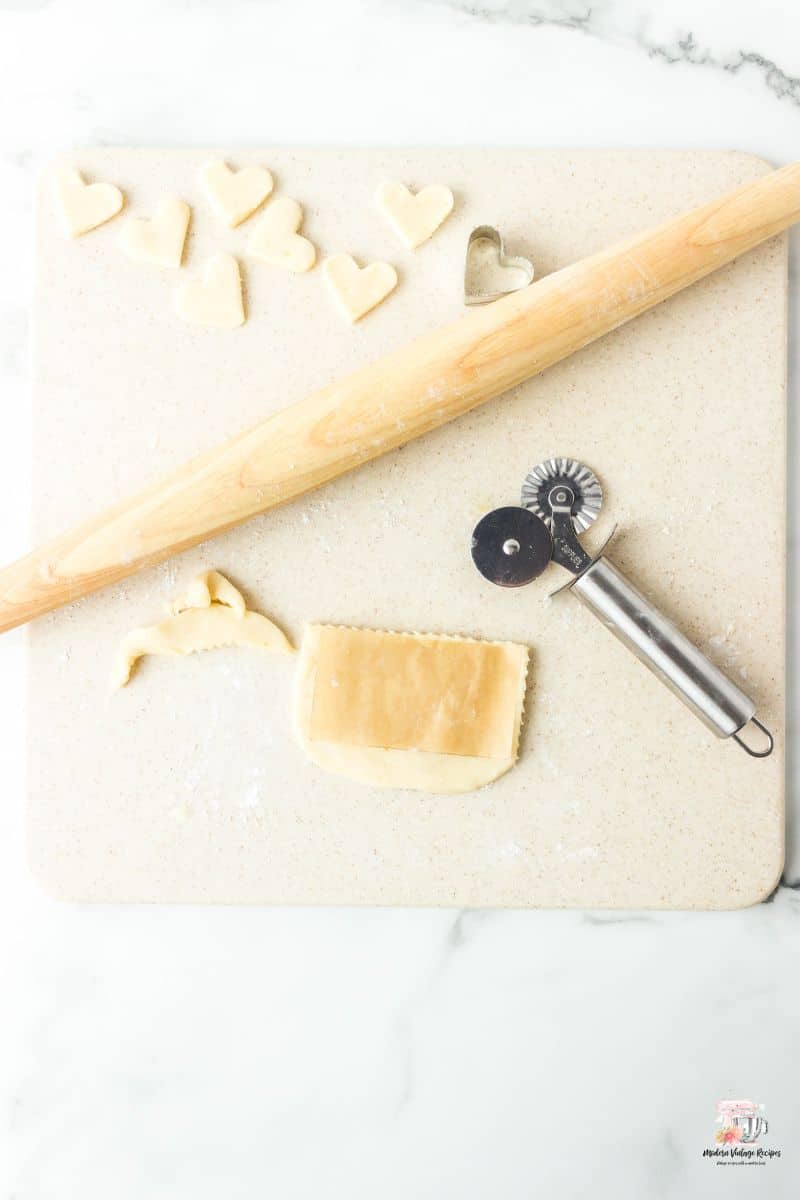
To create the desired shape, the dough should be flattened and cut with a pastry wheel.
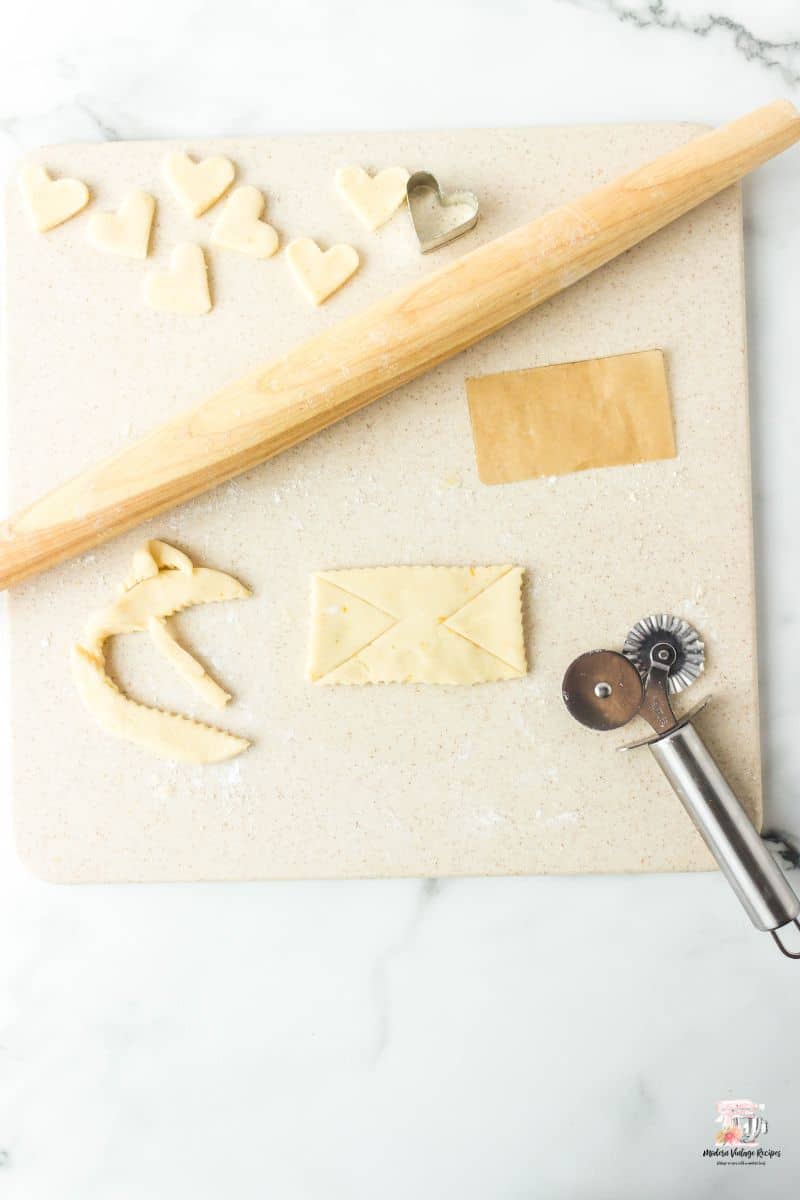
Use the pastry wheel to draw lines on the envelope.
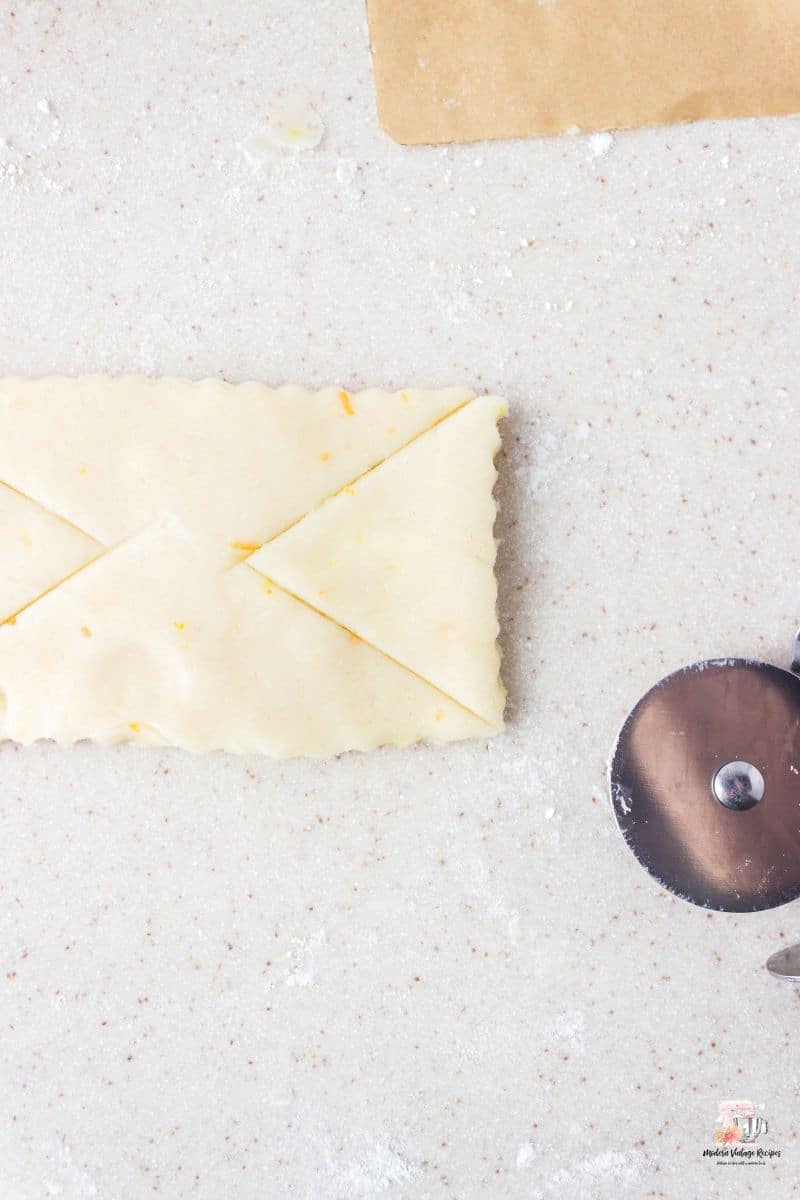
Here is a photo that shows the lines in more detail.
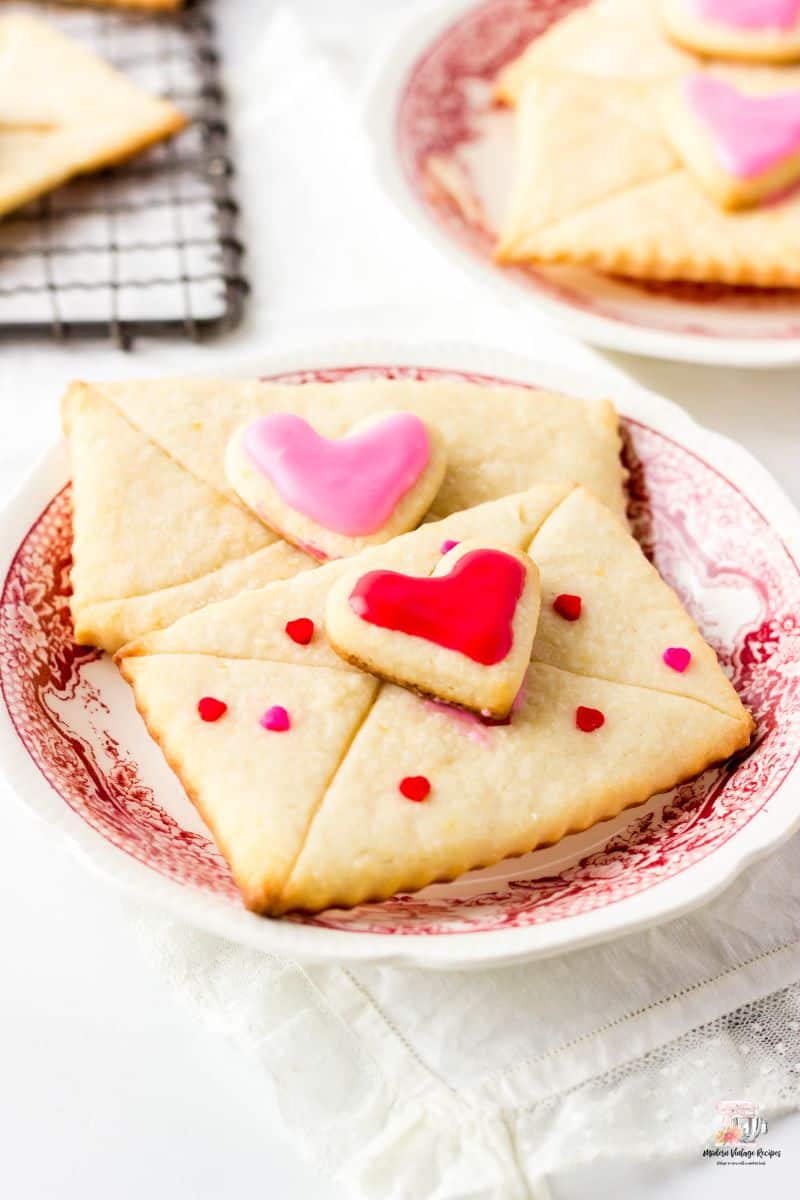
Love Letter Cookies
🧾Substitutions
- Self-rising flour -If using self-rising flour, it is unnecessary to add salt.
- Salted butter - If using salted butter, avoid adding additional salt.
- Lite sour cream - I used regular, however, feel free to sub as needed.
📋Variations
- Easter - make these into fun Spring cookies by using Easter themed cookie cutters.
- Sprinkles - add sprinkles to the tops of the cookies before baking them.
- Hearts - to add a decorative touch, sprinkle sanded sugar on the hearts before baking.
- Any occasion - just switch out your cookie cutters or free hand draw any design you wish.
🍽Equipment
One of my favorite things about this recipe is that you probably already have all of the supplies needed to make this recipe.
Some key pieces that will definitely help it go smoother is a pastry wheel. I use mine more than I thought I would. Another piece of equipment that I have slowly been changing out in my kitchen is my bakeware. I have been switching to the Nordic Ware baking sheets and I absolutely love them. Nice and even baking and they clean up nice too.
🥫Storage
These will last up to five days on the counter in an airtight container. I haven't tried freezing them yet, however, I will and update this post.
💭Top tips
- Keep sticks of frozen butter in your freezer. Grating the frozen butter into your recipes makes a world of difference.
- The original recipe called for an oven temp of 475. That bakes really hot, and you have to watch your cookies like crazy. I lowered it to 375 and even though it took a bit longer, they didn't burn as easily on the bottom.
- Make sure to use the scoop with a spoon and level with a knife method when measuring out your flour.
FAQ
Yes, you can. However, make sure to add the salt and baking powder so you get the rise you are looking for.
Absolutely! You can decorate these any way you want.
You can use silicone mats to line your baking sheets instead.
This post was originally on Modern Vintage Recipes
📖 Recipe

Love Letter Cookies
Equipment
- Baking Sheet
- Parchment paper
- zester
- Measuring cups
- spoons
- Mixer
- large mixing bowl
- Whisk
- pastry cutter
- Spatula
- Rolling Pin
- pastry wheel/small pairing knife
- small heart shaped cookie cutter
- Grater
Ingredients
- 2 cups all-purpose flour scooped with a spoon and leveled with a knife
- ½ cup white granulated sugar
- ½ teaspoon kosher salt
- 2 teaspoons lemon zest
- 1 orange zested
- 1 cup unsalted butter frozen and grated also 2 sticks of butter
- ½ cup sour cream
- 1 teaspoon pure vanilla extract
- turbinado sugar optional
- sprinkles optional
- royal icing optional
Instructions
- Preheat the oven to 375 degrees.
- Line your baking sheets with parchment paper or silicone mats and set aside.
- In a large bowl, add the flour, sugar, and salt and whisk together.
- Next, zest in your lemon and orange. Then grate in your frozen butter.
- Using your hands or a pastry cutter, cut in the butter until you get a nice and crumbly consistency. Then with a spatula stir in your sour cream and vanilla.
- Using a dough hook on your mixer or a wooden spoon, mix the dough together until everything is mixed together, and it forms a ball around the hook.
- Lightly flour your work area. Divide the dough in half. Place one half on the prepared surface and put the bowl with the other half into the fridge so it stays cold.
- Roll the dough to roughly ⅛" thickness. Then cut out a 3" x 2" rectangle for the letter. You can use a small paring knife or a pastry wheel.
- Then cut out a small heart for each love letter cookie you make. Using your pastry wheel, make the lines in the cookie to resemble an envelope.
- Place the cookies on the cookie sheet and top them with either the white granulated sugar or the turbinado sugar. Then bake for 6 to 8 minutes or until the sides and bottom are lightly browned.
- Once the cookies are done, remove them from the oven. Let them cool on the cookie sheet for a few minutes.
- When they have cooled, decorate the small hearts however you choose and attach them with a dollop of frosting or icing to the cookie.
- Enjoy!
Notes
- Keep sticks of frozen butter in your freezer. Grating the frozen butter into your recipes makes a world of difference.
- The original recipe called for an oven temp of 475. That bakes really hot, and you have to watch your cookies like crazy. I lowered it to 375 and even though it took a bit longer, they didn't burn as easily on the bottom.
- Make sure to use the scoop with a spoon and level with a knife method when measuring out your flour.




Comments
No Comments