Post contains affiliate links. Purchases made through links provide us with a small commission. As an Amazon Associate I earn from qualifying purchases. Please refer to our disclosure policy for more information.
There is nothing better than enjoying warm buttermilk biscuits that are full of flaky layers for breakfast. There's just something about eating homemade biscuits that makes life a little bit sweeter. Once you make our soft and Flaky Buttermilk Biscuits, you'll not only see how easy they are to make, but you'll also definitely want to be making them more often.
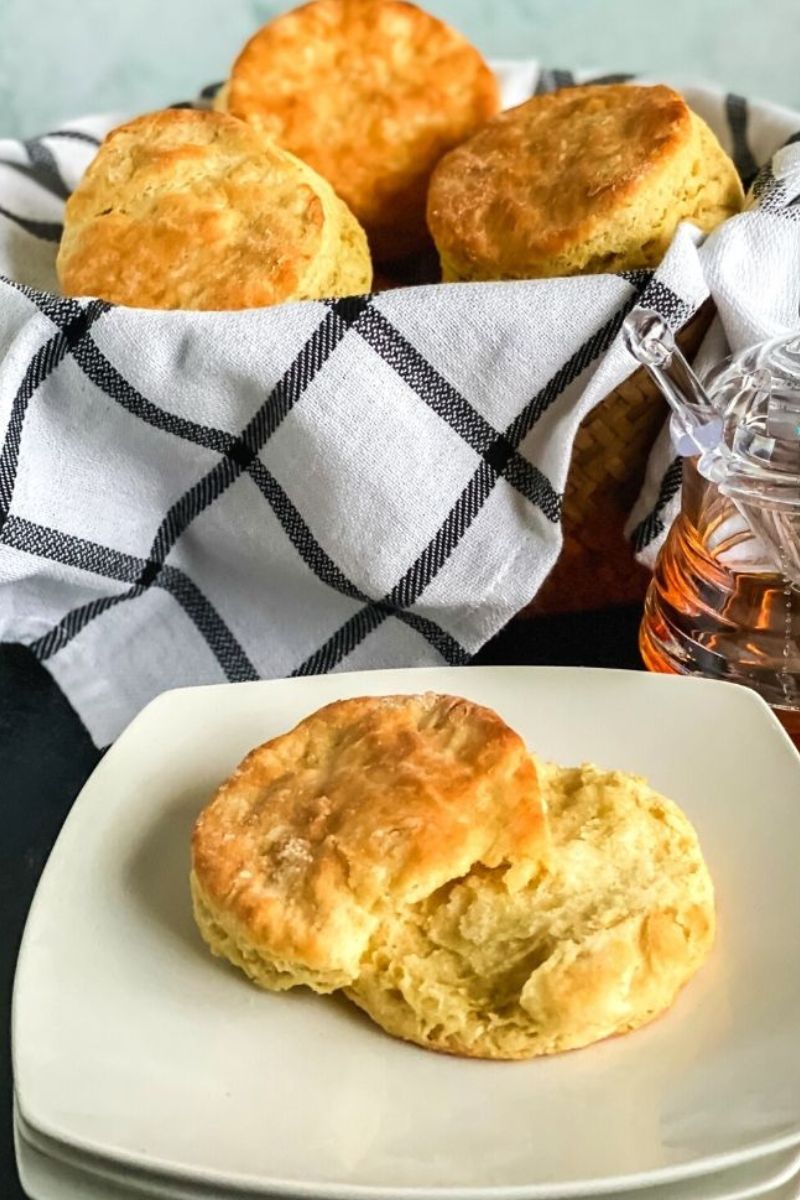
Biscuits are such a simple food item that can be used in so many different ways. You can enjoy them plain, slathered with Honey Cinnamon Butter, topped with a sweet homemade Honey Strawberry Jam made with fresh strawberries from your garden, or as the top and bottom for your breakfast sandwich with your choice of meat and cheese in between.
Regardless of how you enjoy your country buttermilk biscuits, just make sure you make the time to enjoy these delicious golden brown bites of heaven! If you are looking for a recipe that you reminds you of Grandma's biscuit recipe, then this is it!
Why Make This Recipe
Wondering why you should make this recipe instead of buying the ones in a can? Well, you should totally make this recipe because it's:
Easy - once you make these you'll be wondering WHY you haven't made them fresh before. Don't get me wrong, store-bought are great, BUT, these are so good.
Delicious - these buttery and flaky layers are just so good.
Versatile - you can use this recipe to make them for breakfast, lunch, or dinner.
Ingredients
At the bottom of this post, you will find a complete list that you can print off of all of the ingredients you will need to make this recipe.
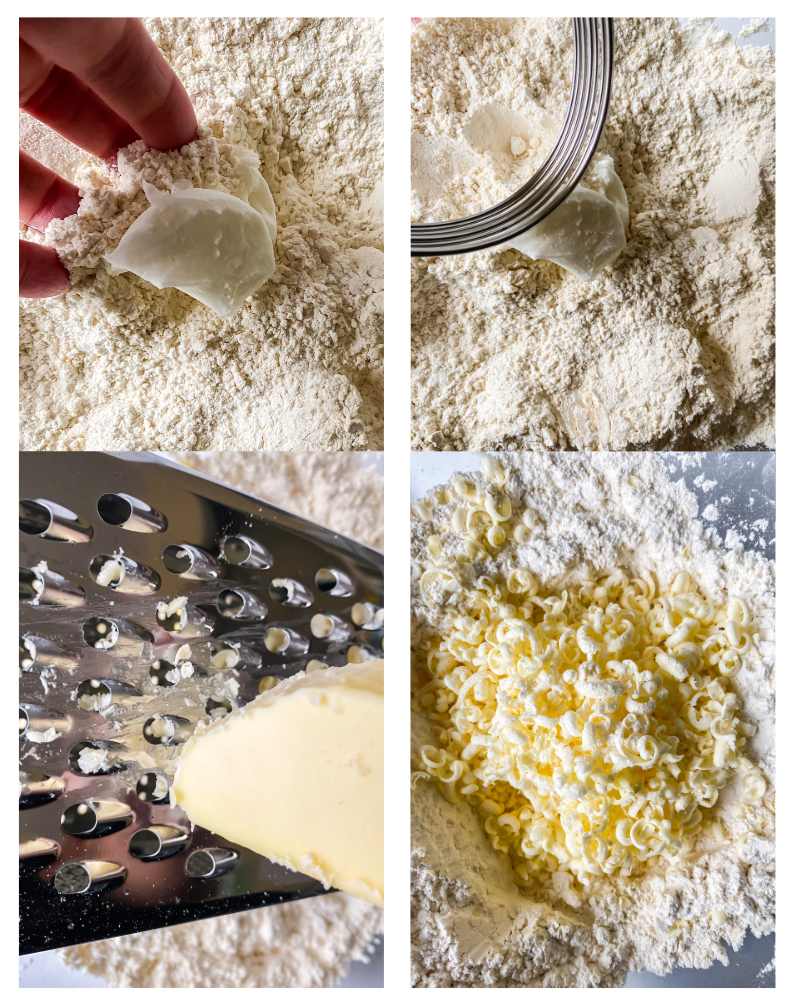
- Unsalted butter - make sure that you use UNSALTED butter. Since you will be using salt in this recipe, you do not want to use salted butter. Also, make sure that the butter is FROZEN. You will be grating the butter in the recipe so it must be frozen to do this. This is a critical part of the step.
- All-purpose flour - when you are measuring out the flour, make sure that you scoop it with a spoon and level it with a knife. Do NOT just scoop it out and think that is all that you do. You have to level it and actually scoop it out. If you don't, your measurement will not be accurate.
- Vegetable shortening - you will need to use Crisco or another brand of solid shortening. You cannot use oil for this recipe.
- Buttermilk - keep this cold until you are ready to use this.
- Salt - make sure that you use kosher salt. Do NOT use regular table salt. Table salt is for seasoning your food after it has already been seasoned while the dish was cooking.
Instructions
You will find the complete list of instructions on the printable recipe card.
Storage
Counter: They can stay on the counter, in a container that's airtight, for up to 2 days.
Freezer: Freeze them for up to two months. Unthaw them and then bake them in a 350° oven until toasty and warm.
Equipment
- Pastry cutter or fork
- Parchment paper
- Sheet pan
- Biscuit cutter
Top Tip
Remember, one key tip to making fluffy biscuits is that you don't need fancy kitchen equipment. Use your hands. That way you can feel when the dough is just right. You don't want the dough to be too sticky or too dry at the end. You'll know when you get it just right.
FAQ
Because the butter wasn't the same size. That's why it's so important to use frozen butter and to grate it.
Quite simply the butter. It's all about the butter. That's why it must be kept cold. That's why you need to keep it frozen until the exact moment you are ready to use it. Do NOT defrost it. Do not lay it out. Only bring it out when you are ready to grate it.
Because you overworked them. The key is to not overwork the dough.
Related Posts
📖 Recipe
Homemade Buttermilk Biscuits
Equipment
- Pastry cutter or fork
- Parchment paper
- Sheet pan
- Biscuit cutter
Ingredients
- 8 tbsp. unsalted butter frozen
- 2 ½ c. all purpose flour, scooped and leveled with additional flour for kneading
- 1 tbsp. baking powder
- 1 tsp. sugar
- 1 tsp. kosher salt
- ½ tsp. baking soda
- 2 tbsp. vegetable shortening
- 1 ½ c. cold buttermilk
Instructions
- Preheat your oven to 450°
- Lay a sheet of parchment paper on the cookie sheet that you are going to use and cut it down to fit if needed.
- Stir together the following ingredients in a large bowl with either your hands or a whisk; the flour (make sure to read the instructions in the post on proper measuring of the flour), salt, baking powder, baking soda, and the sugar.
- Next, cut in the solid shortening with a fork or pastry cutter until it resembles coarse crumbles.
- Pull of the stick of butter from the freezer and grate the butter into the bowl with the dry ingredients using a hand held grater. You will want to use the side that has the large grater holes.
- Once you have the butter grated, toss the ingredients together with a fork or your hands. Just mix until the butter is coated. Do NOT overmix.
- Now, add in the buttermilk and mix together just until everything is incorporated. The mixture will be very sticky. That is how you will want it. Do NOT add more flour.
- Regardless of what work surface you are using, lightly coat that surface with flour.
- Turn the dough out of the bowl onto the floured surface.
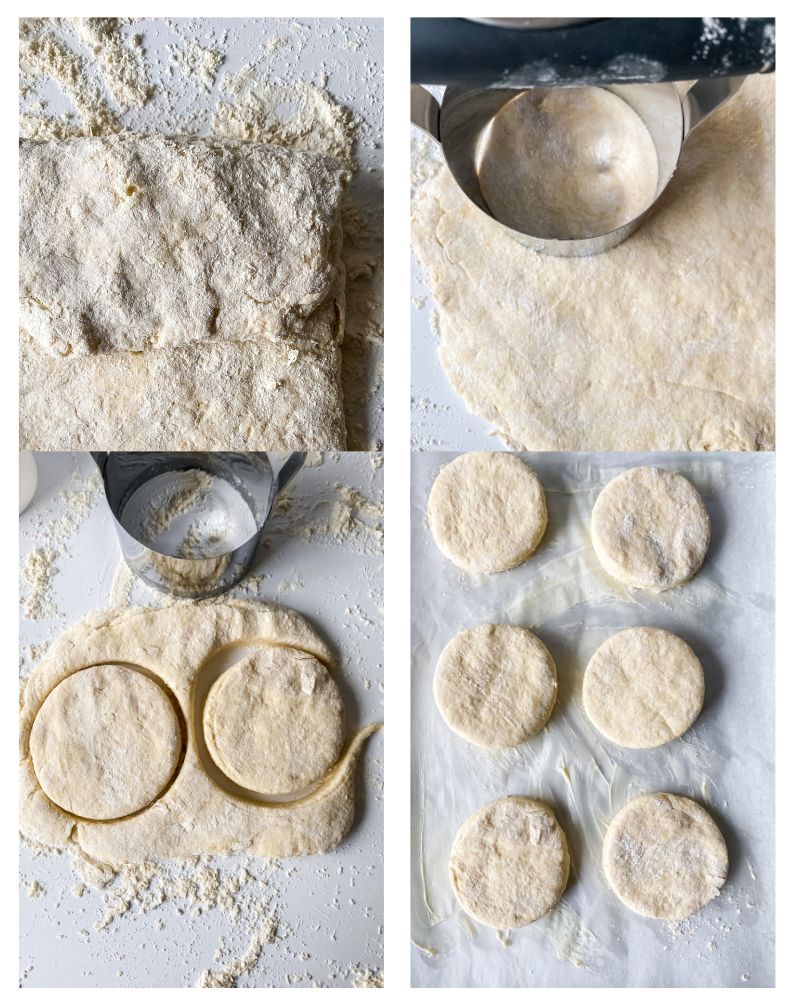
- Sprinkle the dough with flour and fold into thirds as you would a letter.
- Repeat that process over two times and turn the dough 90 degrees each time you do it.
- Carefully pat the dough into a thickness of ¾ inch thick. At this point, your dough should no longer be sticky.
- Then dip your biscuit cutter into flour and cut your biscuits.
- Add your biscuits onto the prepared cookie sheet.
- Stack the remaining dough into a pile and repeat the process again.
- Place the baking sheet into the refrigerator and let the biscuits rest for 15 minutes.
- Then bake the biscuits for 15 - 18 minutes until they are golden brown.
- Once you remove them from the oven, let them rest on the pan for 10 minutes.
- Then serve them up and enjoy!


Comments
No Comments