There are several different ways to create a watermark on your photographs. You can use a program for batch marking, use a transparent overlay image or – my top choice – create a watermark brush in Photoshop CC. A brush allows you to quickly tag images in any color you need without having to open new files or use a third party program. It does take a few steps to create the original brush. But, after you have it saved in your brush library, you only have to select it and stamp your images. Quick and easy.
For this tutorial I’ll be using Photoshop CC 2015
Instructions
1. Open your logo file in Photoshop and resize if needed to fit your photos. Image > Image Size
If you lose some of the resolution when you resize your logo : Filter > Sharpen > Smart Sharpen – and adjust until it’s the sharpness you need.

2. Convert your logo to grayscale: Image > Mode > Grayscale. A window will pop up – click ‘Discard’

3. Click Edit > Define Brush Preset
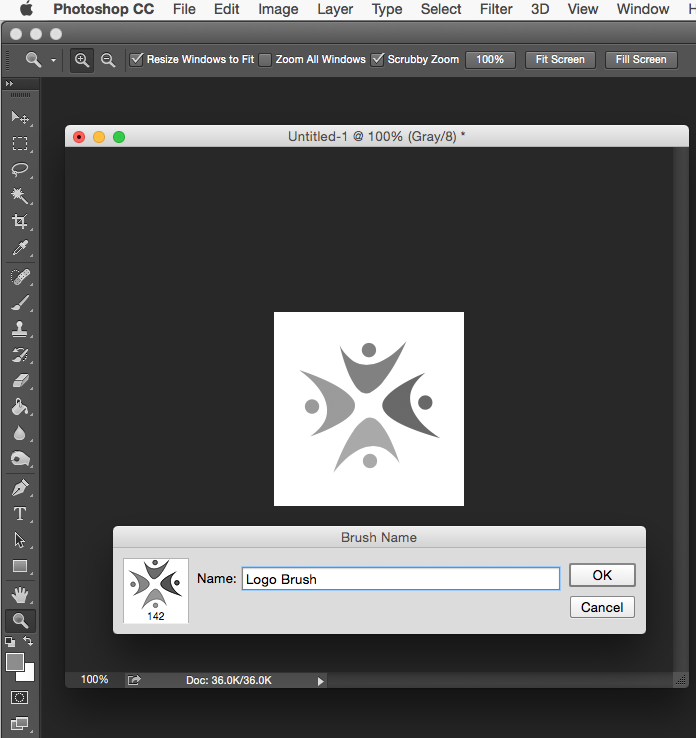
4. In the popup, name your brush and click OK. Your new brush will now be visible at the end of your brush menu.
USING YOUR WATERMARK BRUSH
5. Open the photo you want to watermark
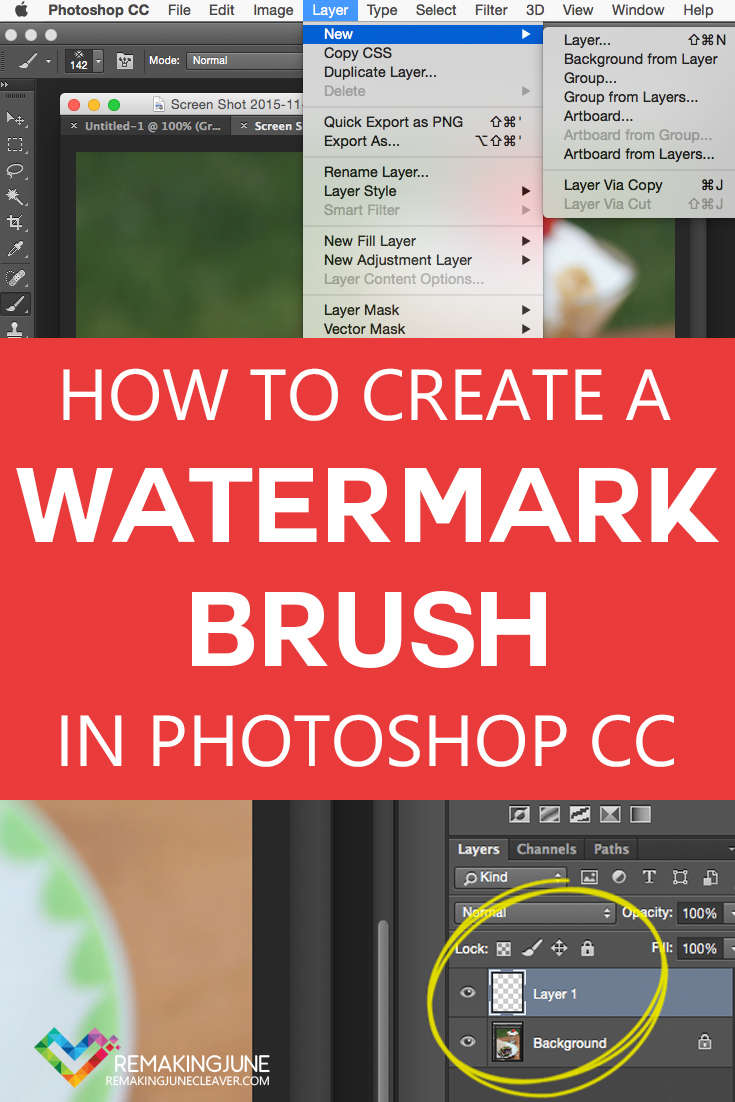
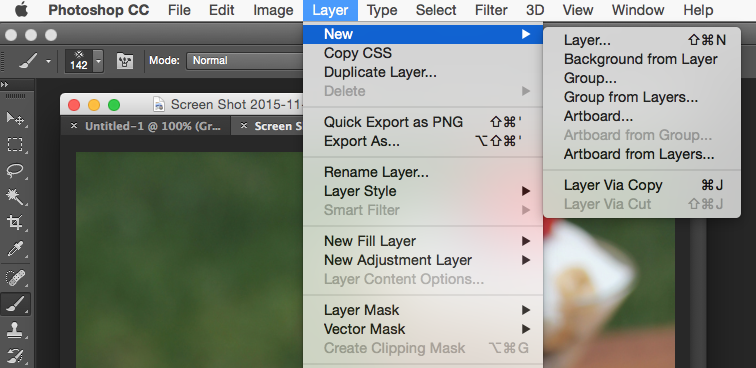
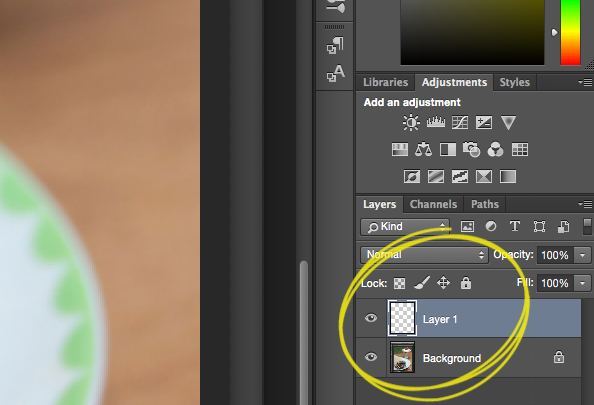
6. Create a new layer. Layer > New – You can name your layer, or leave it as is. Click Ok. This is the layer you’ll be placing your logo on.
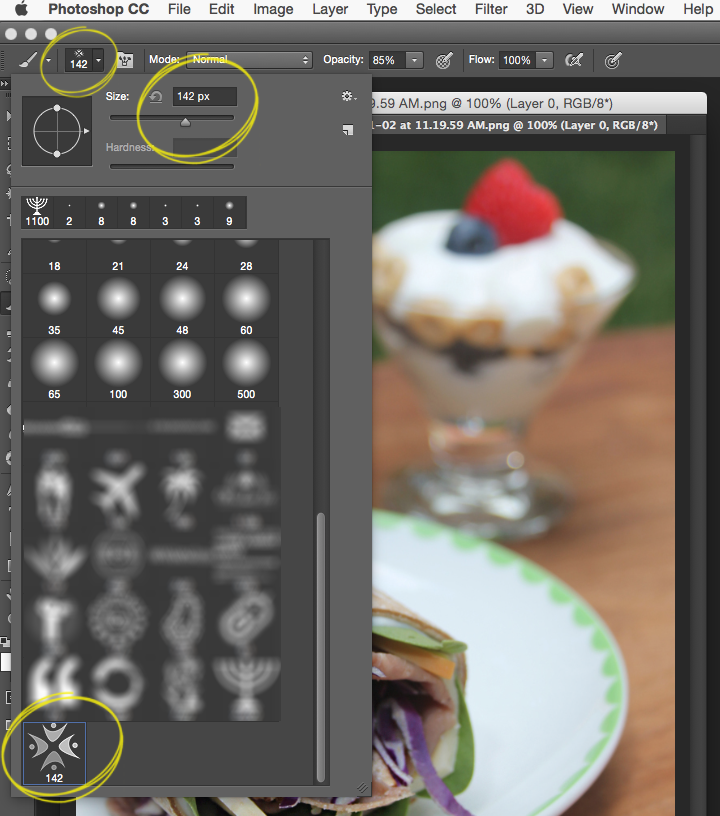
7. Click to select Brush : Click the brush menu > scroll to the bottom and click the new logo brush. You can also adjust the size of the brush if needed. At this point you’ll also choose your watermark color: white for darker images, black or grey for lighter images.
9. Make sure the new layer is selected so that you don’t place the logo directly on your image, preventing adjustment later.
10. Position your brush in the spot where you want your watermark and click ONCE to place it.
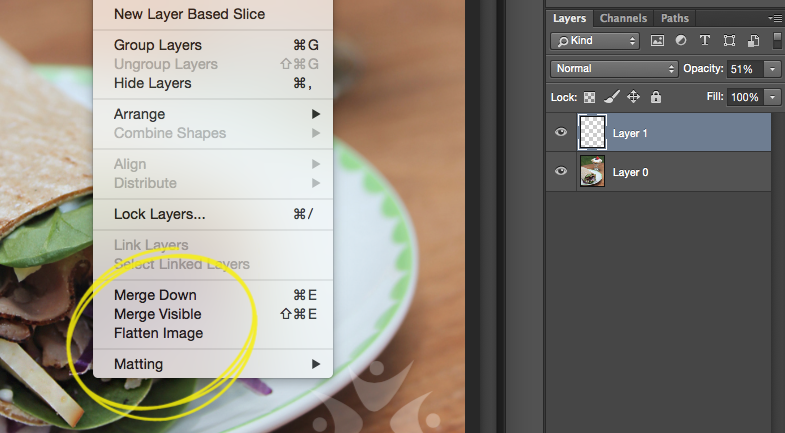
11. Use the Opacity slide on your layers panel to adjust transparency. At this point you can also relocate the mark by using the Move Tool at the top of the left side menu.

12. Once your logo looks exactly the way you want it – it’s time to flatten your image. Layer > Flatten Image
Save your image and you’re done. For any future images just start at Step 5.
[Tweet “How To: Create a watermark brush in Photoshop”]
About The Adobe Creative Cloud Photography Plan
Photoshop CC is part of the Adobe Creative Cloud Photography Plan, available online. The Creative Cloud Photography plan is all about enhanced photo editing and convenience with the multi-screen capabilities provided by the Cloud. A 1-year subscription is $119.99 reg retail, aimed at more advanced photographers and designers who need a full array of edits and full customization on multiple devices.
The $119.99 plan includes: Photoshop CC and Lightroom CC + mobile tools.
- Image editing and compositing
- Digital photo processing and editing.
- Organize, Edit & Share images from Anywhere: On your computer, on the web, on your iPad and on your iPhone or Android device. And when you make an editor flag a favorite in one place, it’s automatically updated everywhere else through Adobe CreativeSync technology.
- Showcase your Work: Organize images in web galleries or share them on your favorite social sites. Then use the Adobe Slate mobile app to craft visual stories and animated videos and the Adobe Voice mobile app to add your own voice for narration.
Learn More At Adobe