Post contains Amazon Affiliate links. As an Amazon Associate I earn from qualifying purchases. Please refer to our disclosure policy for more information.
Permanent Hair Straightening at Home is easier than you think! Can you do permanent hair straightening at home? That was my question for over a year. How could I avoid the cost, but without ruining my hair? The answer was much easier and affordable than I imagined.
DISCLAIMER: This is a professional salon product which, while available for anyone to purchase, is intended for use by licensed stylists and hair care professionals. This post is not sponsored, requested, or endorsed by any company and I am not a haircare professional. Misuse of hair straightening chemicals can permanently damage your hair and scalp. If you decide to use this or any other chemical straighter at home, you accept all risks and responsibility. Always follow product directions as stated on the manufacturer's packaging.
Jump to:
Background
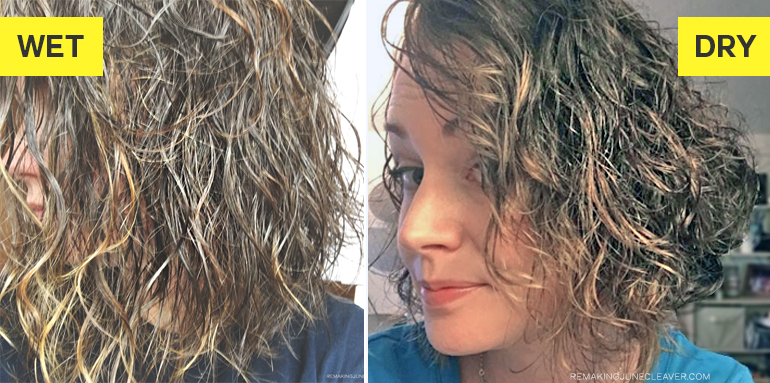
I spent hours every week running a flat iron through my hair. (I own FIVE flat irons... I'm not even playing) Not only did it take too much time, but it created continuous heat damage to hair that was already dry and frizzy. It would look great for an hour or two. It would be shiny, bouncy, and super straight.... then weather happened. If it was damp, rainy, or humid - forget about it. My hair would turn into a crazy mess. "You just need to embrace your curls", my friends would tell me. So I bought all kinds of curl products. What did I end up with? Crunchy hair.
I was done with it. I knew I wanted my hair straight - all the time.
After researching local salons about permanent straightening, I almost had a heart attack. $500 was the average price. I knew there had to be a way to escape that high cost, and I found it: Bio Ionic ReTeX Straightening Kit.
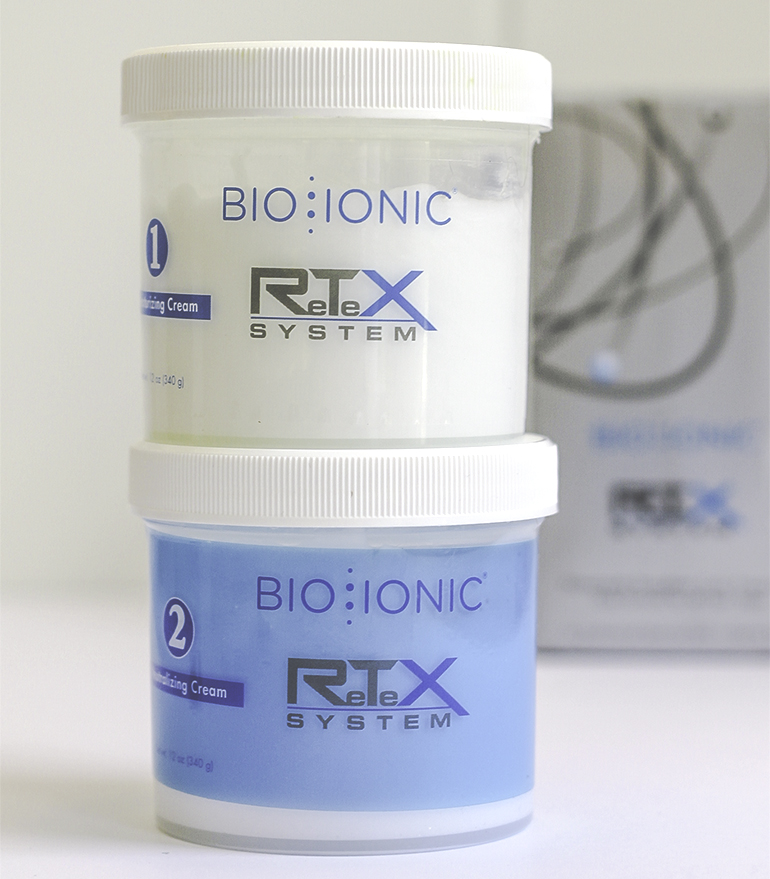
I heard about Bio Ionic from my friend Trisha. She'd tried their temporary Agave formula and loved it. I was intrigued, but I knew temporary wouldn't be enough for me. I wanted a one time set it and forget it. The ReTeX promised Japanese method, permanent straightening from day one. I was sold.
Materials
- Clarifying shampoo
- Hair color application kit
- Salon cape
- Disposable processing cap
- Flat iron
Instructions
Step 1: Clarifying Wash
I washed my hair with a clarifying shampoo to get rid of any buildup. No matter if you washed your hair 24 hours ago - wash it again. Leave it damp and comb out.
Step 2: Apply Retexturizing Cream
This is the bad boy, the stuff you really need to pay attention to and dedicate most of your time. It essentially softens the structure of your hair to near breaking, so you want to be gentle with your comb.
Note: The smell is strong, like perm solution. I started at the top, separating my hair into sections similar to when you apply hair color. I used this hair color application kit to make sure I got an even coat on every section of hair and this salon cape to protect my clothes. After I evenly coated each section, I folded it up on top of my head and moved to the next. The cream is thick so once you stick it in place it stays put.
Important: I left about ¼ of an inch of my hair, next to my scalp, clear of retexturizing cream. You want to avoid applying the cream directly to your scalp.
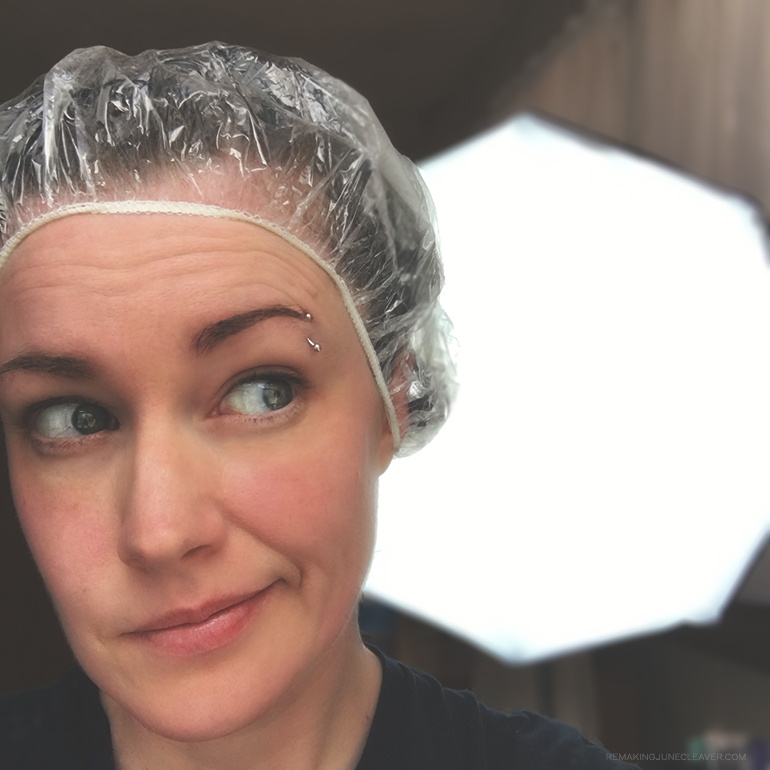
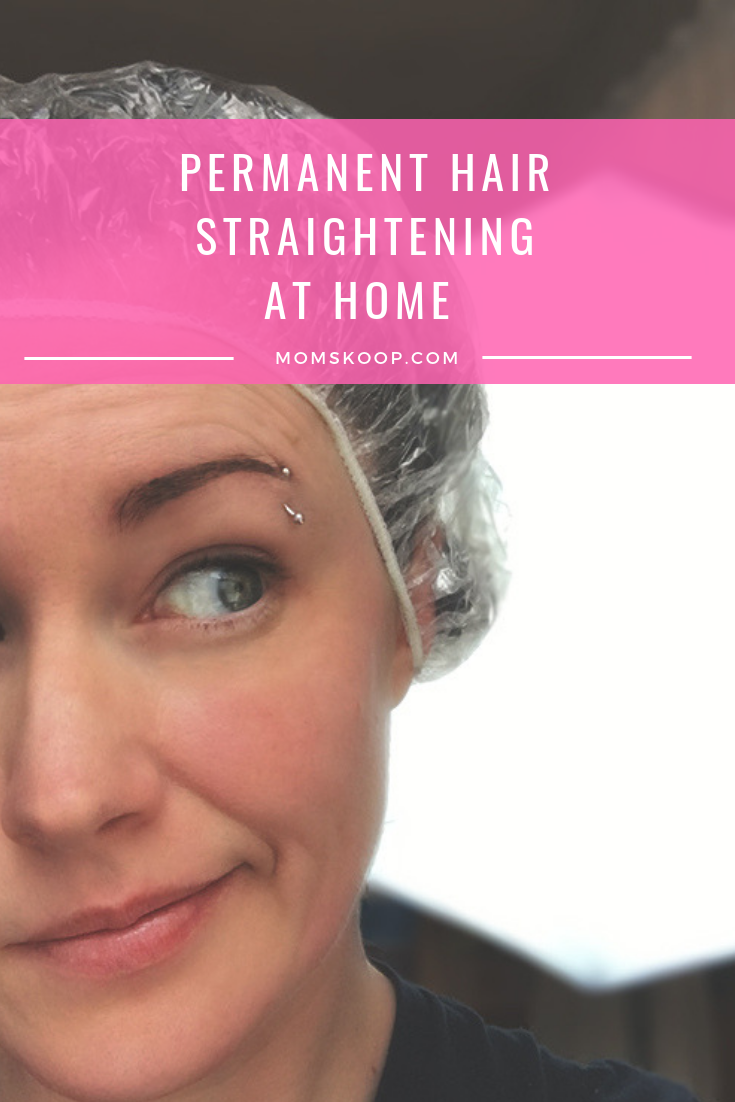
My hair is only shoulder length, but super thick so it took me about 25 minutes to coat every area of my hair. Once finished, I covered it with a disposable processing cap so that the heat from my head would help the process. The box recommends 25 - 45 minutes depending on how curly or resistant your hair is. I left mine on for the full 45 minutes.
Step 3: Rinse
I rinsed my hair with warm water until it no longer felt "slimy" and the water ran clear. Make sure there is NO product left in your hair or on your skin.
Step 4: Blow Dry & Straighten
I blow dried my hair completely. I used a round brush once it was 40 - 50% dry. Be very careful not to tug or pull your hair to much - it's still in a very weak state. Once dry, I straightened my hair with a flat iron on the highest setting.
Tip: work with smaller sections than you usually do when straightening your hair. During this step you are setting how your hair will be until it grows out - take your time. The directions say to move slowly and go over each section of hair 3 - 4 times. Approximate time: 30 - 40 minutes depending on hair length and thickness. If possible, get a friend to help with straightening the areas in the back so you don't miss any spots.
Step 5: Apply the Neutralizer Cream
This is MUCH easier than the retexturizer. Whew! I still separated my hair like before and used an applicator brush, but now I could slap that stuff all over my head - my scalp was safe. I made sure to cover every inch of hair. Recommended sitting time: 5 - 6 minutes. I left mine on a few minutes longer just to be safe.
Step 6: Rinse Again
I rinsed with warm water until my hair was free of all product. DO NOT SHAMPOO. You can let it air dry or blow dry. Your hair is going to be SUPER straight. Flat. Limp and lifeless. I was scared at first. Luckily the body and bounce returned after about 2 weeks and some much needed conditioner.
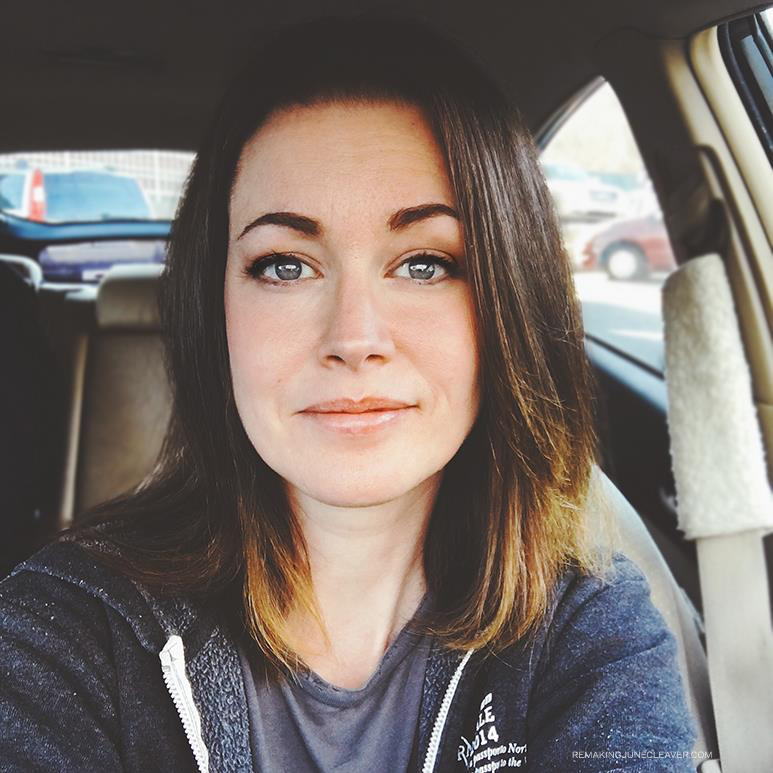
The photo below is how my hair looked air dried after my process was done. There is a bit of frizz on the grown out bleached area - that's why it's important to speak to a professional before doing this if your hair is processed in any way.

AFTER CARE
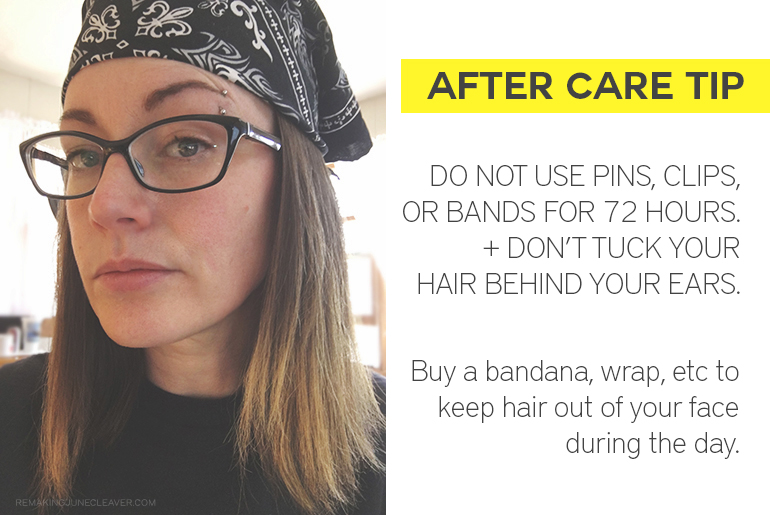
Don't put any accessories in your hair. Not even that super soft Scrunchie you use in the shower. This is very important because your hair is still "setting" for 72 hours and any repeated or forceful binding of your hair can cause kinks and bends to stay permanently.
More Rules For The First 72 Hours:
- DO NOT wash your hair or get it wet. If your hair gets wet on accident (rain, splashed at a pool party, random water balloon incident, etc) dry it and go back over the area with your flat iron ASAP. Also avoid heavy exercise (sweat) and take baths instead of showers because of the steam.
- DO NOT use your curling iron or other heat shaping tools (unless you're fixing a bend with your flat iron).
- DO NOT use any hair products. NONE. It will be tempting because your ends will be a little frayed and if you have any areas of existing damage, they're going to be dry. You'll have plenty of time to repair after your 3 day setting period.
- DO NOT use anti-dandruff shampoo. Like...ever again. Or at least not often. I've read a ton of reports online that the chemicals used in anti-dandruff shampoo will actually reverse the straightening and bring curl back to your hair. I've switched to using natural oils like Oregano and Thyme in my conditioner to combat dandruff and so far it's working great.
- DO use a TON of conditioner when the 72 hours are up. Just slather your hair in it or your favorite type of conditioning treatment and let it sit for 10 - 15 minutes. I use Silk18 Sulfate Free
I love my hair now. The first time I washed it, I let it air dry and it was STRAIGHT. You gals with half curly - half wavy - a little frizzy hair understand how HUGE that is. I didn't have to do anything to it. I just let it dry, brushed it, and left the house. YES! Also, there were 2 surprise side effect: 1. No More Frizz. You heard me. Celebration! 2. My hair dries super fast now. It used to stay wet for hours, even overnight. Now my hair air dries in about 30 minutes.
It's been a month now and my hair is still wonderfully, perfectly straight. The bounce and body has come back and it looks better than ever. I still use my flat iron once in a while on the very ends if I get a little retro "flip" action happening, but otherwise my hair is "fret free".
Top Tips
Tip #1 MAKE SURE YOU HAVE TIME - The directions make it seem like you'll be done in no time. Don't count on it. I needed 3 hours of uninterrupted alone time.
Tip #2: Is your hair already processed? I have what is called "Virgin Hair" which means I do not perm, color, bleach, etc except for a very small grown out blonde spot at the front. If you have previously processed your hair or recently colored it - ask a professional before using this product.
FAQ
As permanent as it can be. Of course, your hair is going to continue growing and any new growth has not been chemically straightened. The time between treatments will vary according to how fast your hair grows and how curly your new growth is.
I can't speak for every hair type, but a curling iron still works in my hair.
Any chemical process is going to cause damage to your hair. Even your flat iron does. But, I have not seen any *noticeable* damage. There is no breakage, frizz, etc.



Hi Kenda, how long did this end up lasting? Do you still do this process, and if so how often (every 6 months, every year)? Also, did you originally have high or low porosity hair to begin with? I have low porosity hair and have heard that protein/keratin treatments like this won't work on low porosity hair. Thanks!
Kenda is no longer with the site so I can't answer that on her behalf. I'm sorry about that.