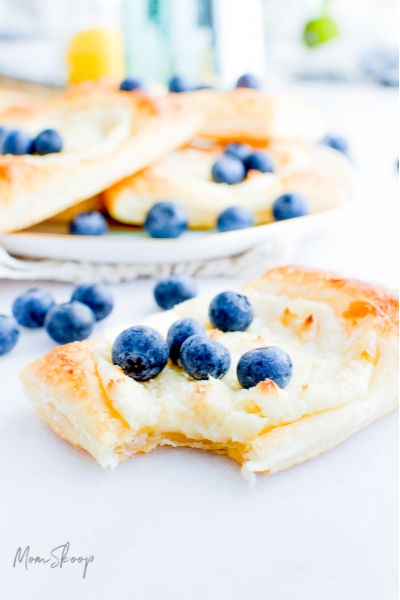
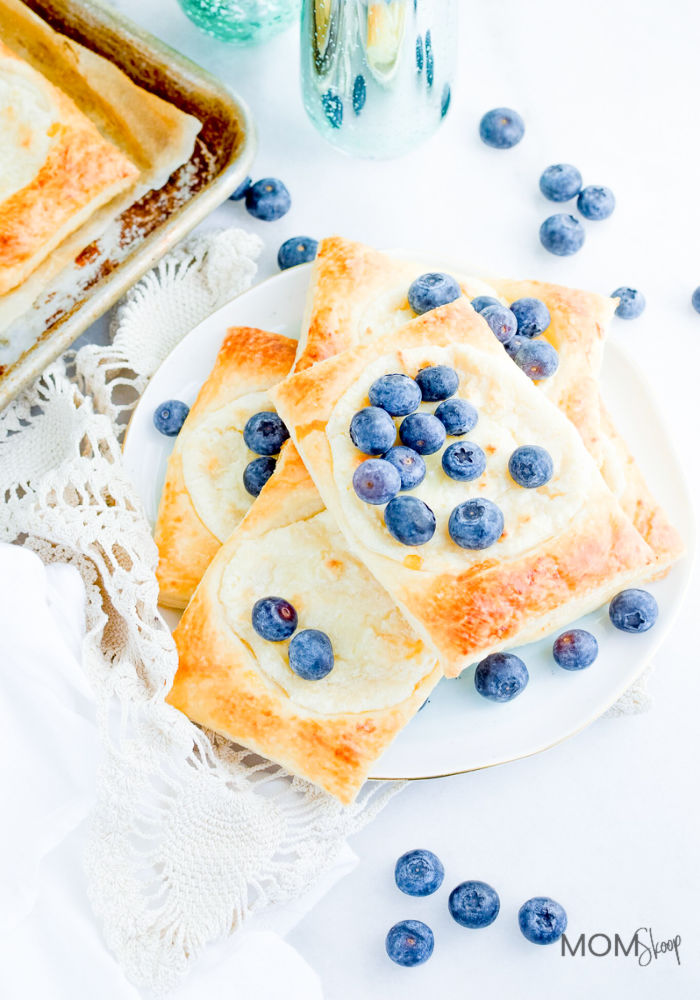
A Puff Pastry Cheese Danish is a timeless breakfast pastry that is perfect at any time of the year or day. It’s great right out of the oven or at room temp! These Danish pastries are simple to make and can be adapted for your family’s taste. If you are looking for an easy brunch idea, this simple pastry is the recipe to bookmark!
How to Make Puff Pastry Cheese Danish
This Danish recipe is very easily doubled or tripled and takes little additional effort, so it is a great choice for larger get togethers or for planning ahead for a quick breakfast treat on the go.
If brunch is on your mind, then I have a few other suggestions for you to check out. Our breakfast frittata is full of cheese and savory flavor. My Apple Cinnamon Pancakes are simple perfection. Of course, you need muffins and my Apple Banana Muffins are moist and easy to make.
Why This Recipe Works
You should totally make this because it’s:
Easy – this recipe goes together quickly pretty quickly thanks to the puff pastry.
Budget-friendly – you probably already have everything you need in the pantry.
Versatile – great for breakfast, brunch, or snack.
Expert Tips, Ingredient List and Suggestions for Recipe Success
Cream cheese – you can use fat-free if you prefer.
Puff pastry dough – any brand you prefer.
What type of cheese is in a Danish?
Typically, cream cheese is the type of cheese in a Danish.
Are Danishes actually Danish?
A Danish pastry translated in Danish means “Viennese bread”. However, Danishes aren’t actually a true Danish pastry.
How long do these last?
Store uneaten pastries in the fridge for 3 days or freeze in an airtight container for up to 1 month.
How Do I Thaw These?
To thaw, simply remove from the freezer the night before or let rest on the counter for about an hour.
What is the difference between a Danish and pastry?
Danishes are made with yeast and pastries are made with puff pastry.
Step by Step Directions
You will find a complete list of the ingredients as well as the directions in the printable recipe card below.
I have included in-process photos for your reference.
Step 1: Preheat the oven and line a cookie sheet with a silicone mat, parchment paper, or spray with non-stick cooking spray.
Step 2: Prepare the puff pastry.
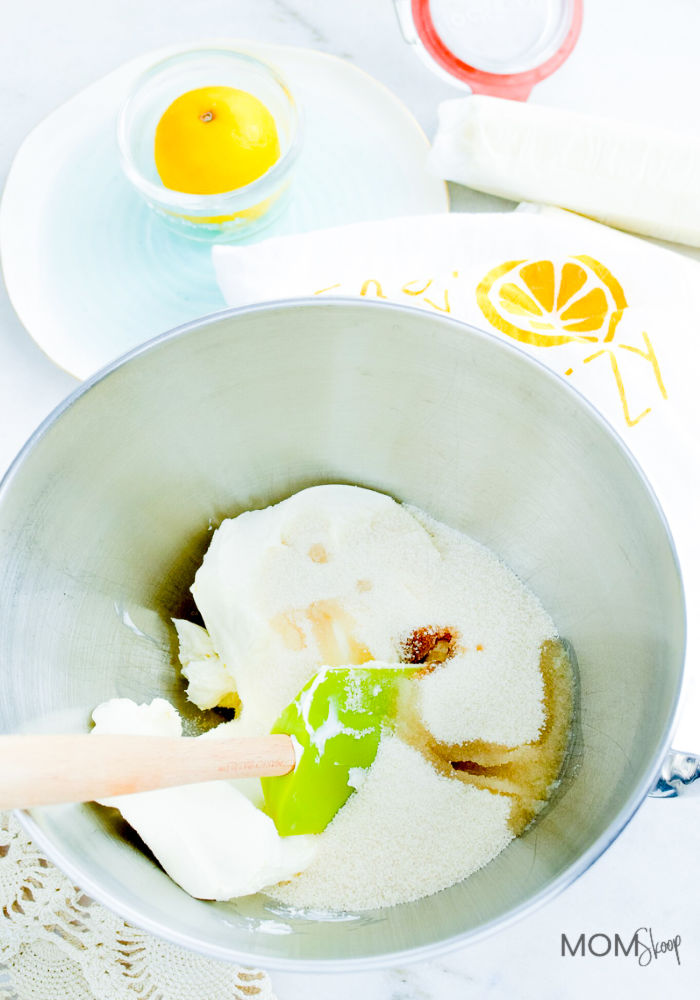
Step 3: Mix the filling together.
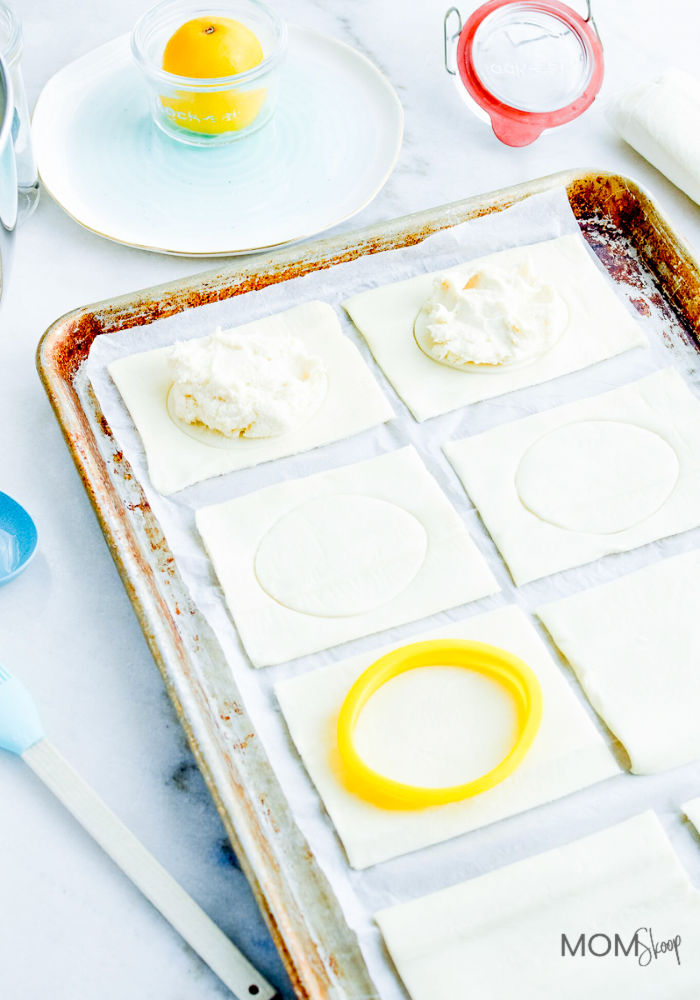
Step 4: Spoon the filling into the center of each pastry square.
Step 5: Brush with egg wash.
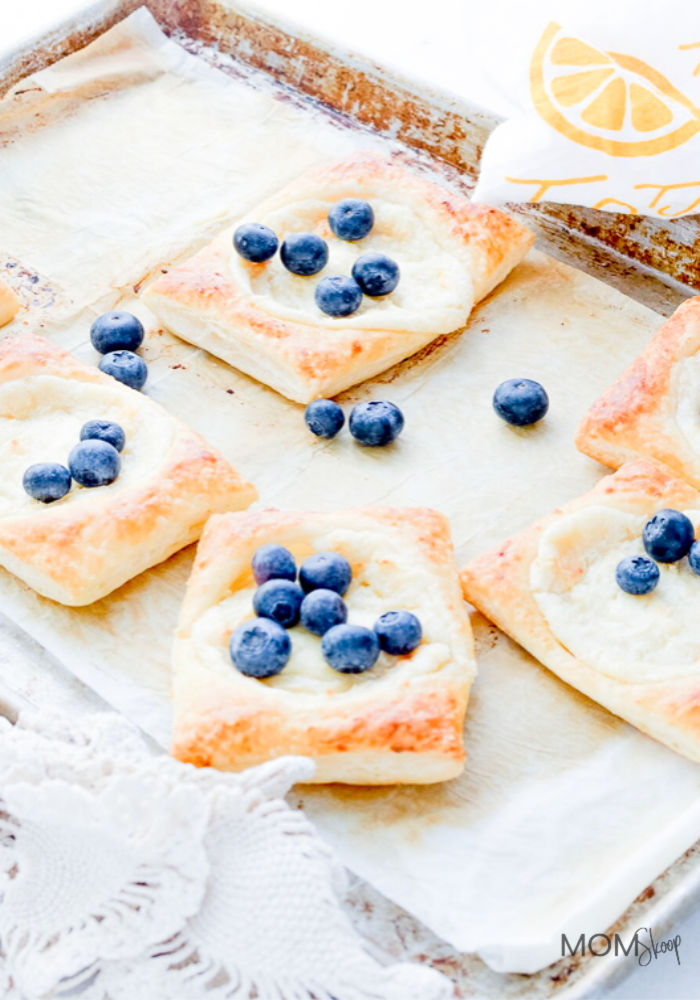
Step 6: Bake and serve.
Related Recipes
White Chocolate Cranberry Scones

How to Make Puff Pastry Cheese Danish
Ingredients
Dough
- 1 package of refrigerated puff pastry dough
Filling
- 8 oz of cream cheese
- 1 teaspoon pure vanilla extract
- ⅓ cup granulated sugar
- 2 tablespoons plain Greek yogurt
- 1 tablespoon fresh lemon juice
Instructions
- Heat the oven to 400 degrees and line a baking sheet with parchment paper.
- Roll out the puff pastry and cut into 8 even pieces. *Use a sharp knife or cookie cutter to cut almost all the way through the pastry dough. You want to make sure there is still enough room all the way around the filling for the sides of the pastry to rise. By cutting a bit of the dough beforehand you help this process along AND help keep most if not all of the filling right in the middle vs running off the sides. I used an Easter egg shaped cookie cutter for these. *I have made these with both slightly spacing the pastries out a bit and with just leaving them touching and it does not make a difference in how this exact dough used preforms or on their final size.
- You can mix the filling by hand or with a stand mixer. I like to use the paddle attachment with the spatula edge,
- Cream everything together and then evenly divide and spoon it into the centers of each pastry.
- Brush with the egg or apricot wash.
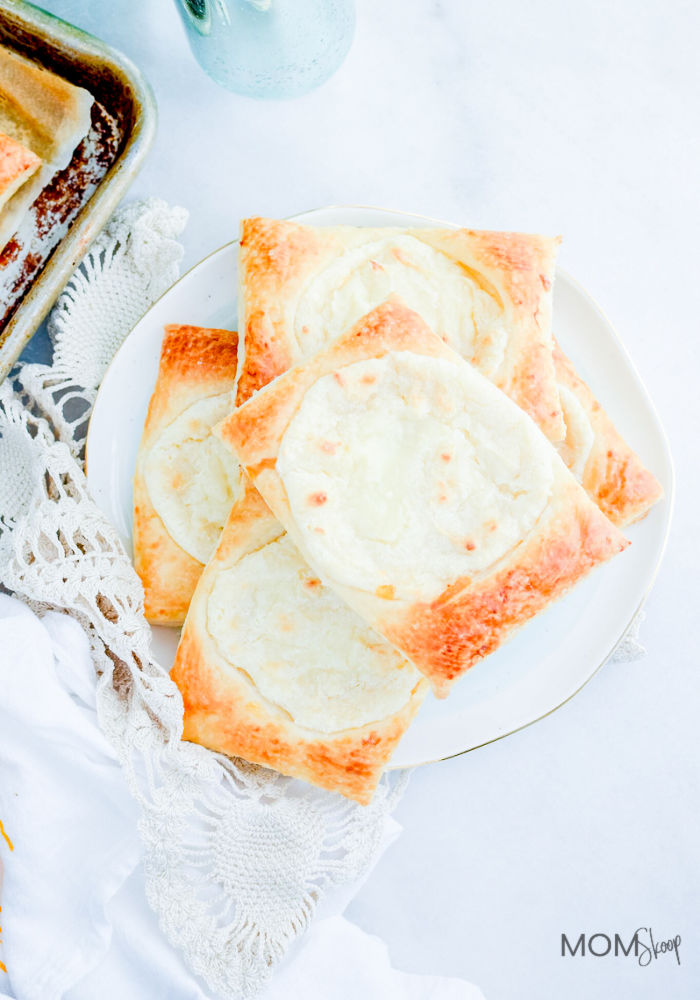
- Bake for 22 to 25 minutes. The pastries are done when they are golden brown and the filling has puffed up just as nicely as the pastry.
- Allow the pastries to cool on the tray for a few minutes before transferring to a cooling rack or plate.
- You can enjoy these right out of the oven and or you can let them chill in the fridge, I personally like them room temperature.